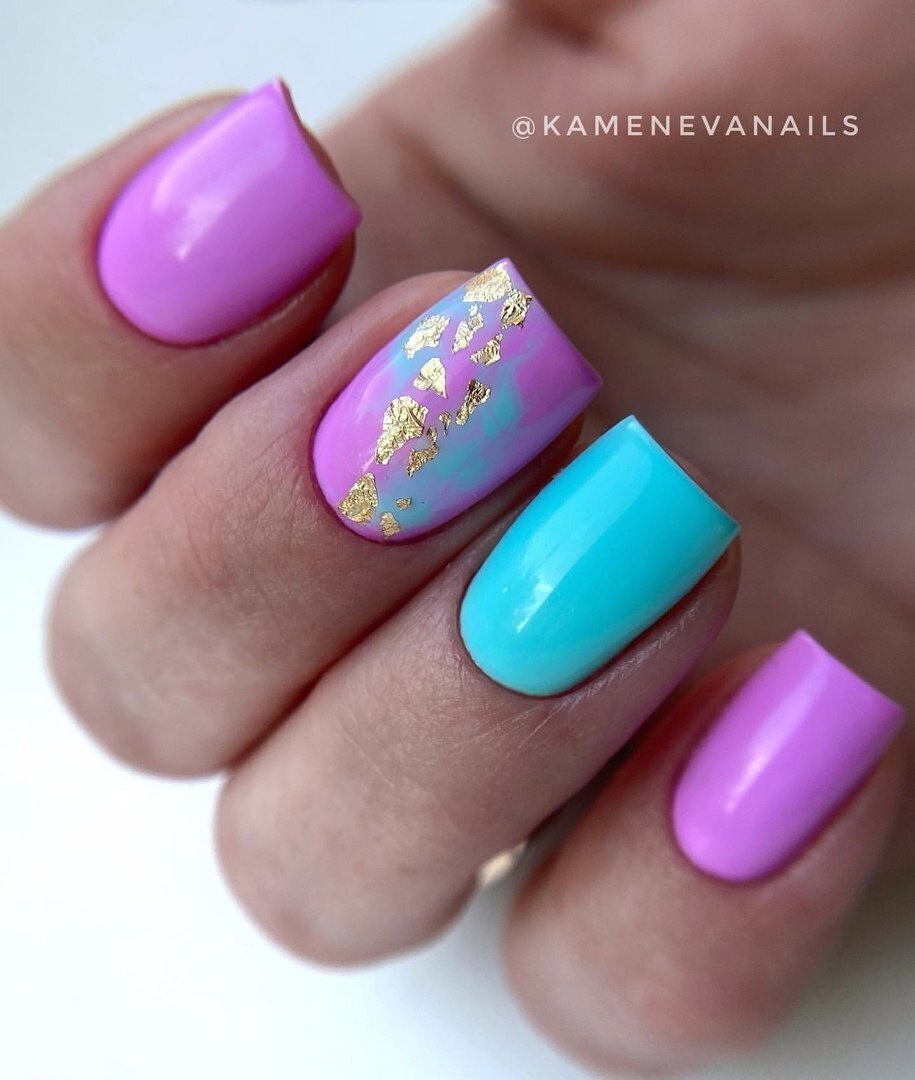
Try the Aura Nail Trend for the Dreamiest Spring Manicure
It is a mood-boosting look we will be wearing all season.
The air is just beginning to lose its winter bite, leaving behind a crisp, cool stillness that makes the morning light feel thin and silver. You are standing in a kitchen filled with the scent of brewing tea and sliced citrus, watching a single shaft of sun illuminate the dust motes dancing in the air. There is a profound sense of quiet, a feeling of being completely centered and still, as if the world has paused for a moment to breathe before the rush of the season begins.
You likely aren’t spending your Tuesday morning in a silent retreat or a sun-drenched sanctuary in the hills, but you can carry that same sense of calm and energy with you. The feeling of a centered, glowing spirit is something that can be translated into a visual, and right now, that translation is happening on the fingertips.
What Are Aura Nails?
Aura nails are a gradient manicure characterized by a diffused, circular burst of color in the center of the nail plate, fading seamlessly into a different, usually lighter, base shade. Unlike a traditional ombre that moves linearly from one end of the nail to the other, the aura technique creates a soft-focus orb that mimics the look of a heat map or a spiritual energy field. The finish is typically a high-gloss, glass-like shine that gives the colors a luminous, three-dimensional quality, making the central pigment appear as if it is radiating from within the nail itself.
Behind the Trend
For several seasons, the nail landscape was dominated by the quiet restraint of the clean girl aesthetic—sheer nudes, milky whites, and a minimalist approach that aimed for invisibility. Aura nails represent a shift toward a more expressive, emotionally driven form of beauty. They offer a middle ground between the starkness of a solid color and the complexity of detailed nail art. By focusing on a blur rather than a line, the look feels organic and fluid rather than engineered.
There is a subtle nostalgia at play here as well, echoing the airbrushed graphics of nineties streetwear and the psychedelic art of the seventies, but the current iteration is tied more closely to the modern wellness movement. In a culture increasingly focused on mindfulness, crystals, and energy healing, the aura manicure serves as a wearable mood board. It is less about following a strict color palette and more about choosing hues that reflect a specific internal state—calm blues for peace, vibrant oranges for energy, or soft pinks for affection. It transforms the manicure from a simple grooming habit into a tool for personal expression.
How to Get Aura Nails
Achieving the aura effect requires a focus on blending and layering rather than precision. You will need a base color polish, a more saturated pigment for the center, and a high-shine top coat. While professional salons often use an airbrush machine to achieve the perfect blur, you can recreate the look at home using a small makeup sponge or a silicone detailing tool.
Begin by applying a standard base coat to ensure a smooth surface. Follow this with two thin coats of your lighter base shade. Let this dry completely before moving to the center detail. To create the aura, dip your sponge into the more saturated polish, dabbing off any excess so the sponge is damp but not dripping. Gently press the sponge into the center of the nail in a light, rhythmic motion. The goal is to build the color from the inside out, working in small, concentric circles.
Two light dabs read more true-to-trend than one heavy application, which can leave a harsh, visible ring around the pigment. While the center color is still tacky, use a clean side of the sponge to soften the edges, blending the saturated hue into the base color until the transition is invisible. This blurring stage is the most critical part of the process; the more you diffuse the edges, the more the nail looks like a glowing field of energy. Once the gradient is seamless and dry, apply a generous layer of a high-shine top coat. This not only protects the art but flattens the texture of the sponge marks and adds the depth necessary to make the colors pop.
If you want to take the look a step further, try adding a singular, microscopic dot of metallic chrome polish or a tiny rhinestone at the very center of the aura. This creates a focal point that makes the surrounding colors feel as if they are radiating from a single, brilliant source, turning a soft gradient into a celestial statement.