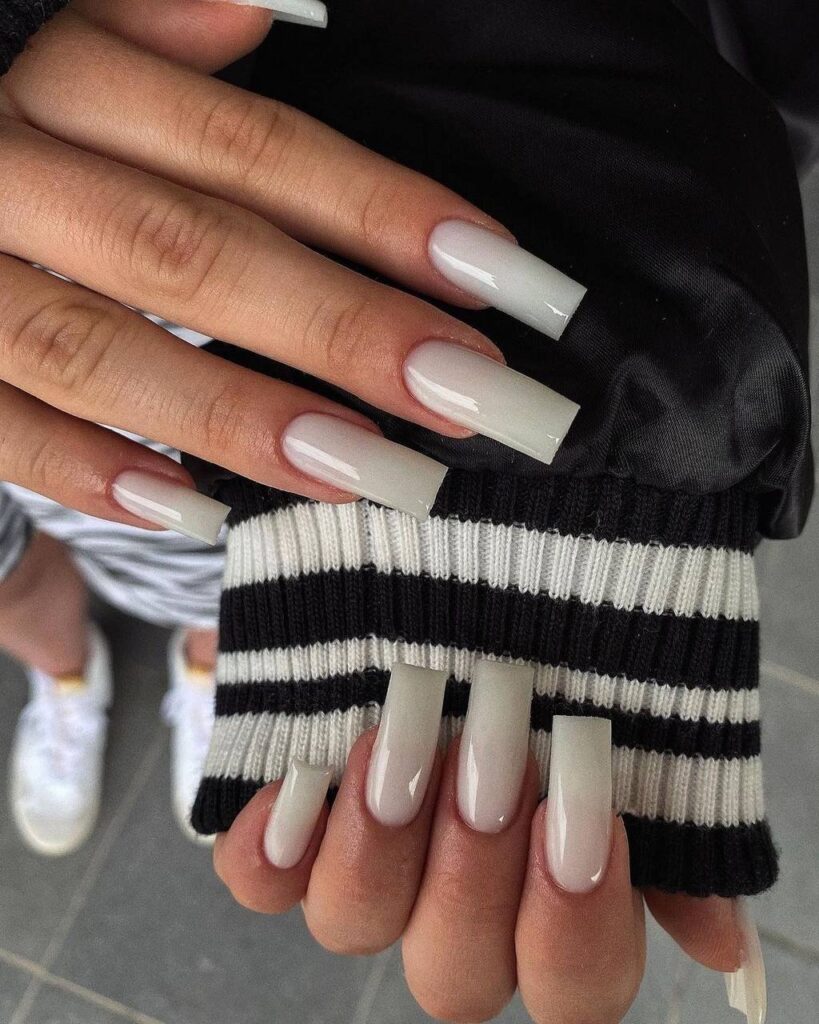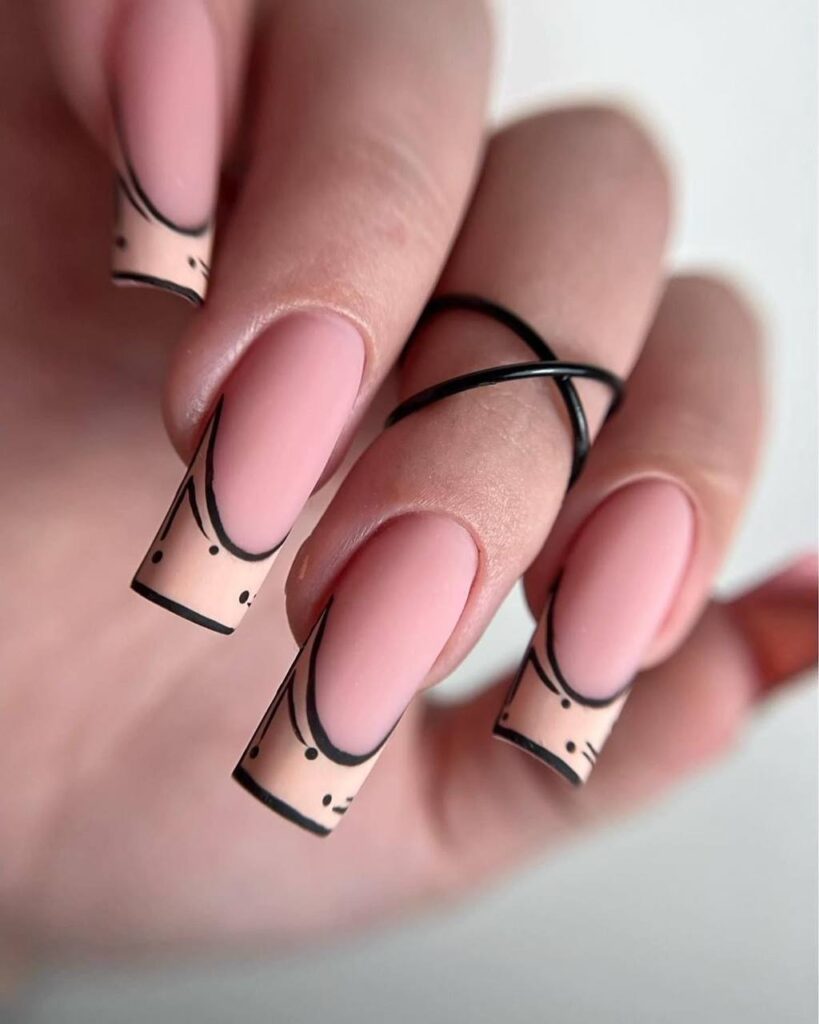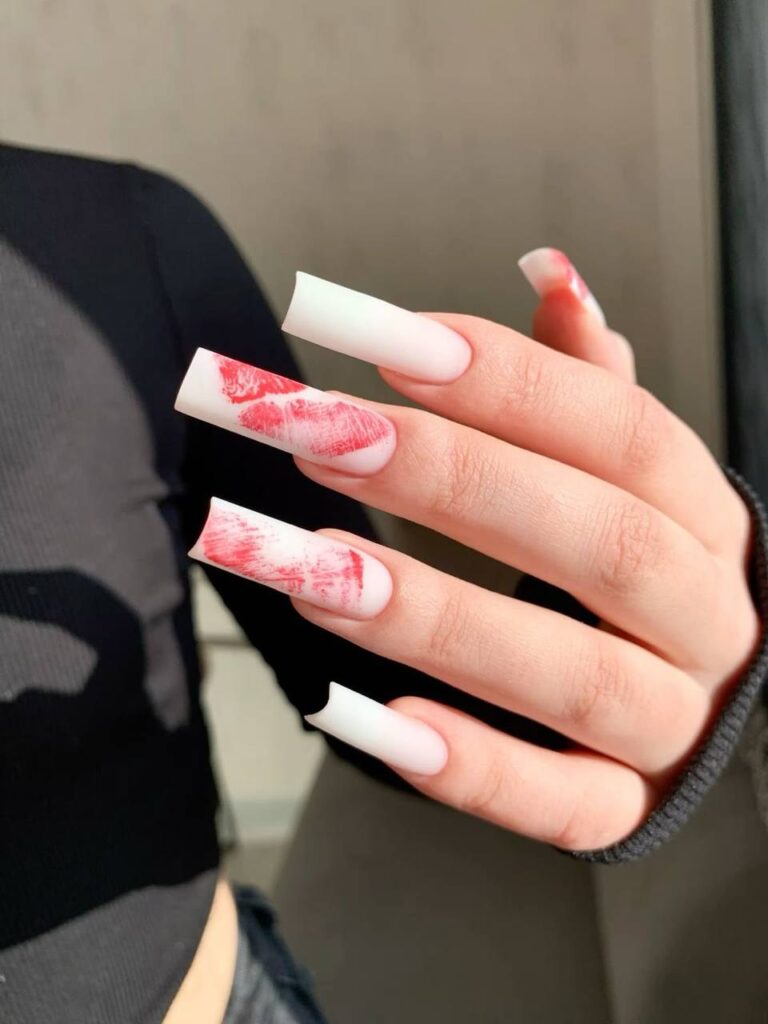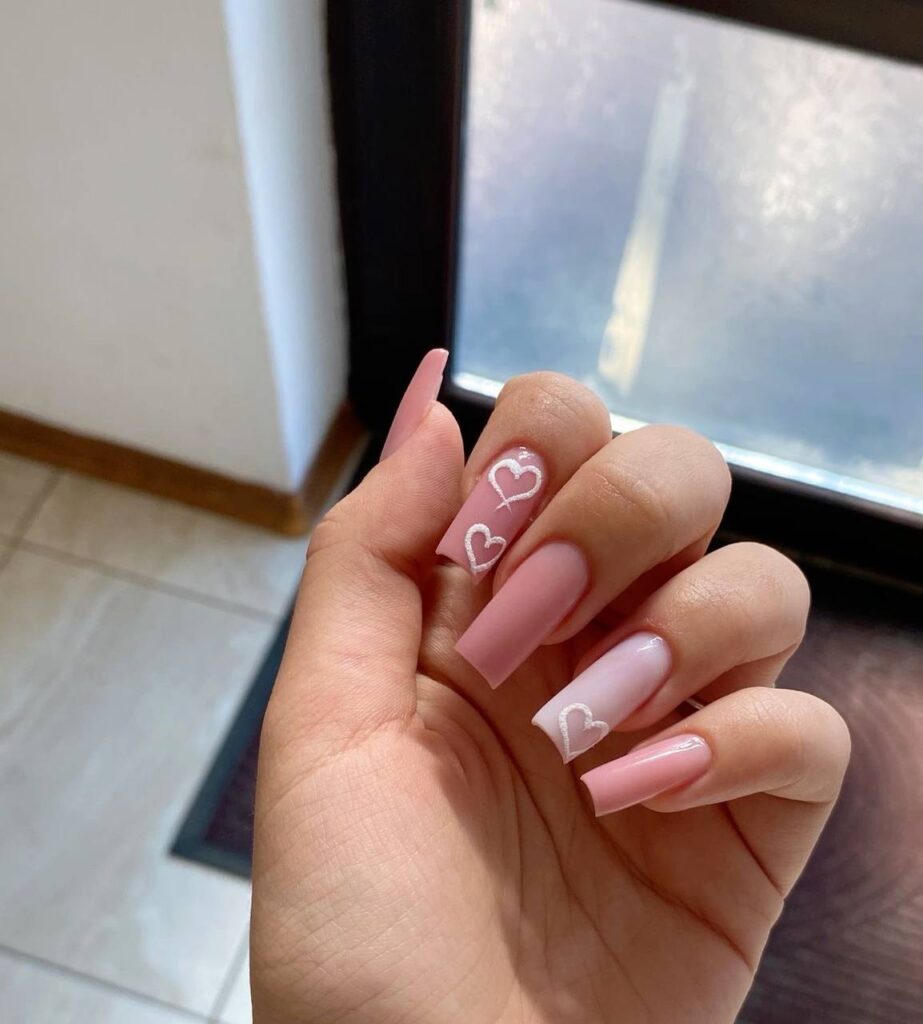
Try the Aura French Nail Trend for the Etherealest Spring Manicure
It is the soft-focus look we are repeating all season.
There is a specific kind of light that only seems to exist in the early hours of a spring morning, just before the sun has fully climbed above the tree line. It is a soft, diffused glow that turns everything it touches—the dew on a garden petal, the steam rising from a ceramic mug, the light fabric of a linen curtain—into something slightly out of focus. It feels less like a sharp reality and more like a watercolor painting that hasn’t quite dried yet, where colors bleed into one another without the interference of hard lines or harsh shadows.
You likely aren’t waking up in a mist-covered garden every day, but you can certainly carry that sense of soft-focus luminosity with you. It turns out that the same principle of blurred edges and translucent layers is currently taking over the manicure world, offering a way to wear color that feels light, airy, and intentional. You can get this exact atmospheric effect with an aura French manicure.
What Are Aura French Nails?
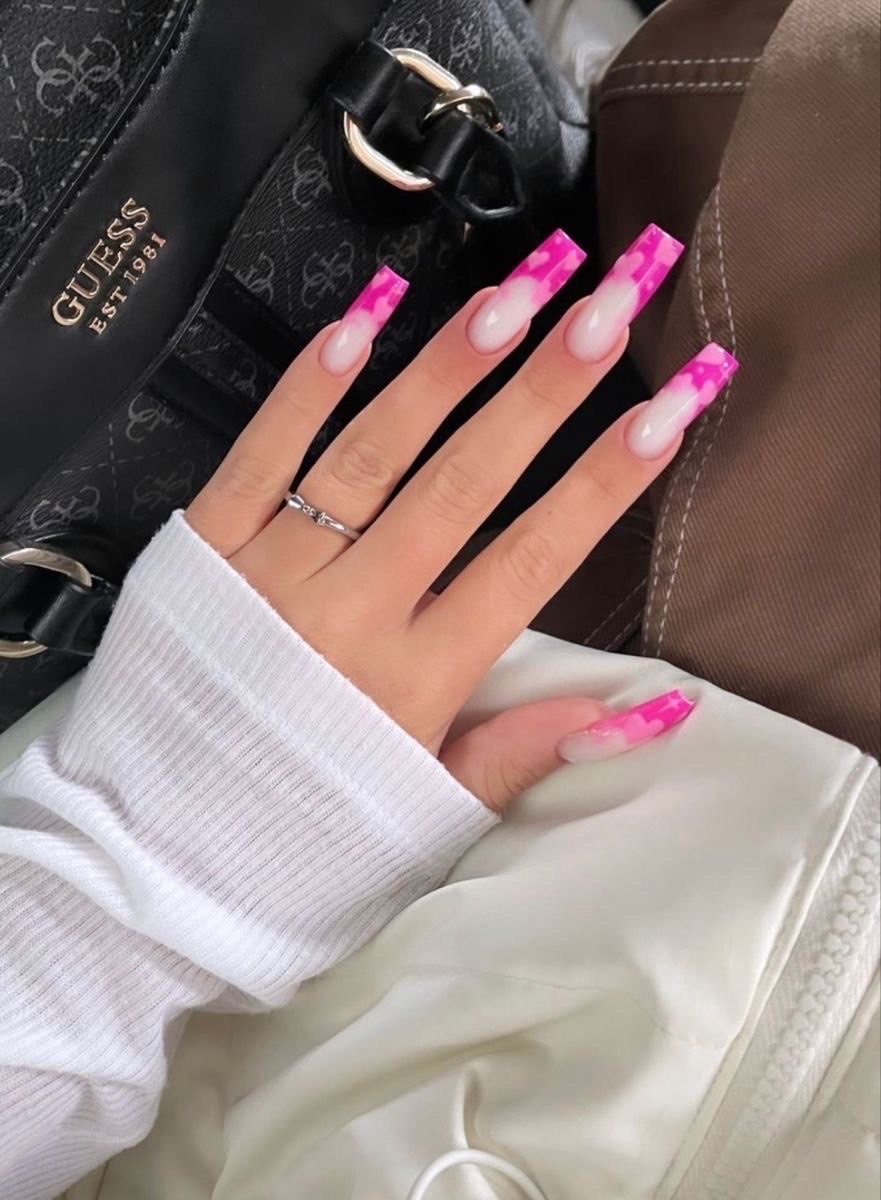
Aura French nails are a hybrid technique that merges the classic French manicure with the aura trend—a style defined by a soft, circular gradient of color that appears to glow from within. Unlike a traditional French tip, which relies on a crisp, opaque line at the edge of the nail, this version uses jelly-textured polishes and translucent pigments to create a blurred, airbrushed effect. The result is a manicure that looks less like paint applied to a surface and more like a wash of color suspended in glass, characterized by a hazy transition between a milky, neutral base and a vibrant, diffused tip.
Behind the Trend
For a long time, the nail industry has been caught in a tug-of-war between two distinct aesthetic extremes. On one side, you have the strictly minimalist “clean girl” aesthetic—think sheer nudes, subtle pinks, and manicures so understated they almost disappear into the skin. On the other, you see the high-octane, metallic flash of chrome finishes and the sharp, precise geometry of maximalist nail art. Aura French nails act as a bridge between these two worlds. They provide the color and personality of a statement manicure while maintaining the soft, wearable grace of a neutral look.
There is also a deep sense of nostalgia at play here. The technique mimics the airbrushed styles of the late nineties and early two-thousands, yet it feels modern because of its emphasis on texture and light rather than just bold patterns. It taps into a broader cultural shift toward “softness” in beauty—a move away from the rigid, “Instagram-perfect” lines of the past decade and toward something that feels more organic, tactile, and even a little bit dreamy. It feels like a way to express a mood rather than just a color choice, making it feel personal rather than performative.
How to Get Aura French Nails
To achieve this look, you must first prioritize the foundation of the nail. Begin by establishing a clean, even canvas with a semi-sheer nude or milky base coat. This serves as the foundation that allows the subsequent colors to appear as though they are floating just beneath the surface of the nail rather than sitting heavily on top. If you are using gel, ensure your natural nail is well-prepped and buffed lightly to allow the base to adhere smoothly. A milky white or a very pale, sheer pink works best to create that “cloud-like” depth.
Once your base is set, the magic happens with the color. You will need a jelly-finish polish in a vibrant, saturated shade, such as a hot pink, a bright lilac, or even a sunset orange. The key to the aura effect is the density of the pigment; you want something that is translucent enough to let light pass through, but pigmented enough to be visible. Instead of applying this color with a traditional brush, which will leave visible streaks and hard edges, you will use a small, dense makeup sponge. Dip the edge of the sponge into the jelly pigment, then lightly tap it onto the free edge of your nail, working inward toward the center of the nail bed. You are not painting a line; you are creating a bloom of color.
As you tap the sponge, focus on the radius of the blur. You want the color to be most intense at the very tip and to gradually fade into nothingness as it moves toward the middle of your nail. If the edges look too harsh or if the color feels too concentrated in one spot, do not try to wipe it away with a brush, as this will ruin the gradient. Instead, layer another sheer, translucent coat of your base color over the entire nail. This helps to “melt” the two colors together, smoothing out the transition. Two thin, translucent layers read more true-to-trend than one heavy, opaque application that hides the depth of the gradient. Finally, finish with a high-shine clear top coat to maintain the glass-like, liquid appearance of the jelly polish, which is essential for that luminous, light-catching quality.
If you want to take this look a step further, consider adding a touch of texture. A few tiny, iridescent pearls placed near the base of the nail, or a dusting of very fine silver micro-glitter over the blurred pink area, can transform the manicure from a soft spring look into something more whimsical and ethereal.