Try the Glazed French Nail Trend for the Brightest Spring Manicure
A luminous twist on a classic we know by heart.
There is a specific kind of light that only exists in the early hours of a spring morning. It is thin and pale, filtering through white linen curtains and catching the surface of a half-filled glass of water on a bedside table. Everything feels washed in a soft, pearlescent glow, stripping away the heavy shadows of winter and replacing them with a sense of clarity and quiet renewal. It is the feeling of a cool breeze hitting your skin just as the sun begins to warm the pavement, a moment of pure, unadorned brightness.
You might not be sitting in a sun-drenched room with a breeze at your window right now, but you can carry that exact sense of luminosity with you. You can translate that morning light into something you carry on your fingertips, turning a simple manicure into a reflection of the season’s shifting energy.
The beauty of this look lies in its ability to feel both intentional and effortless. It mimics the way light dances across a silk slip dress or the subtle sheen of a freshwater pearl, providing a polished appearance that never feels heavy or overdone.
What Are Glazed French Nails?
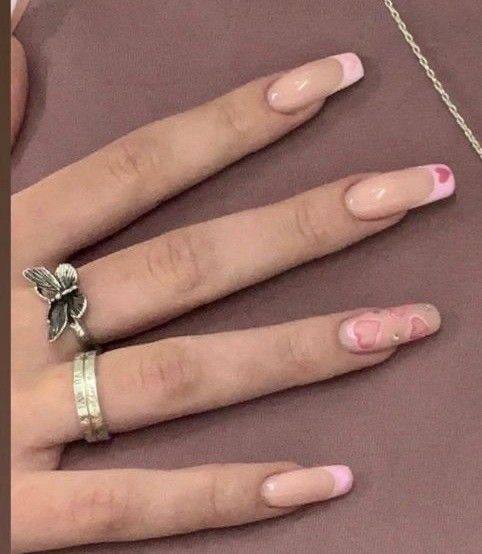
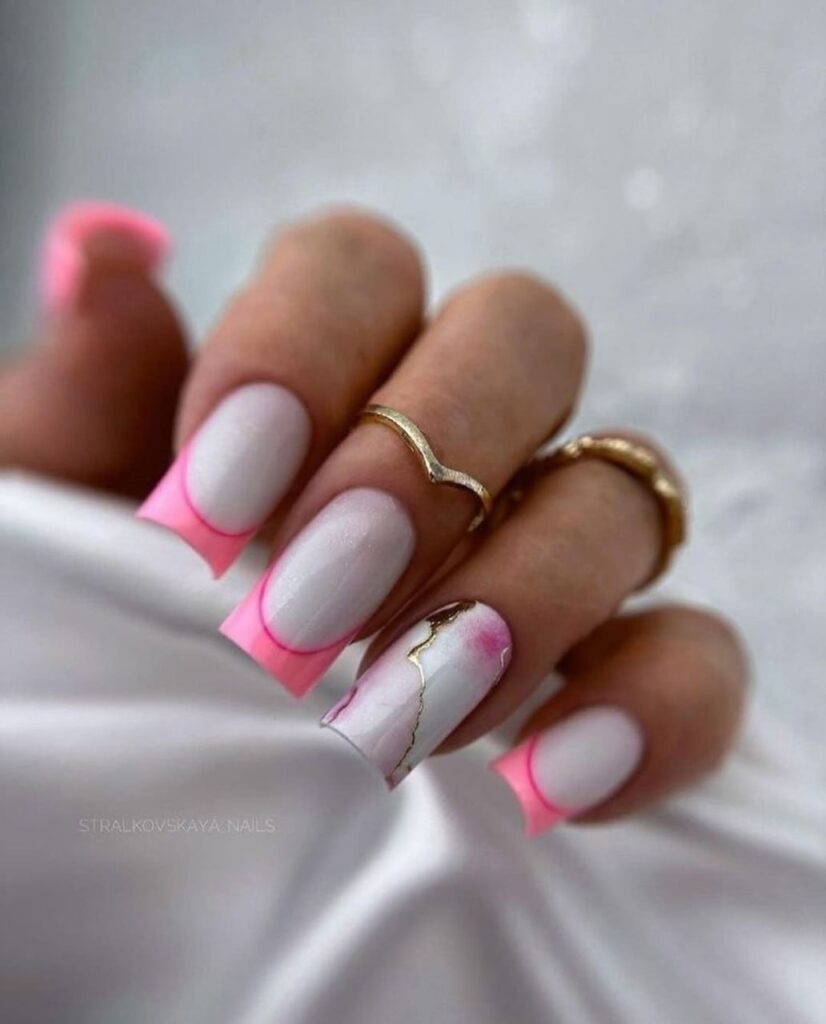
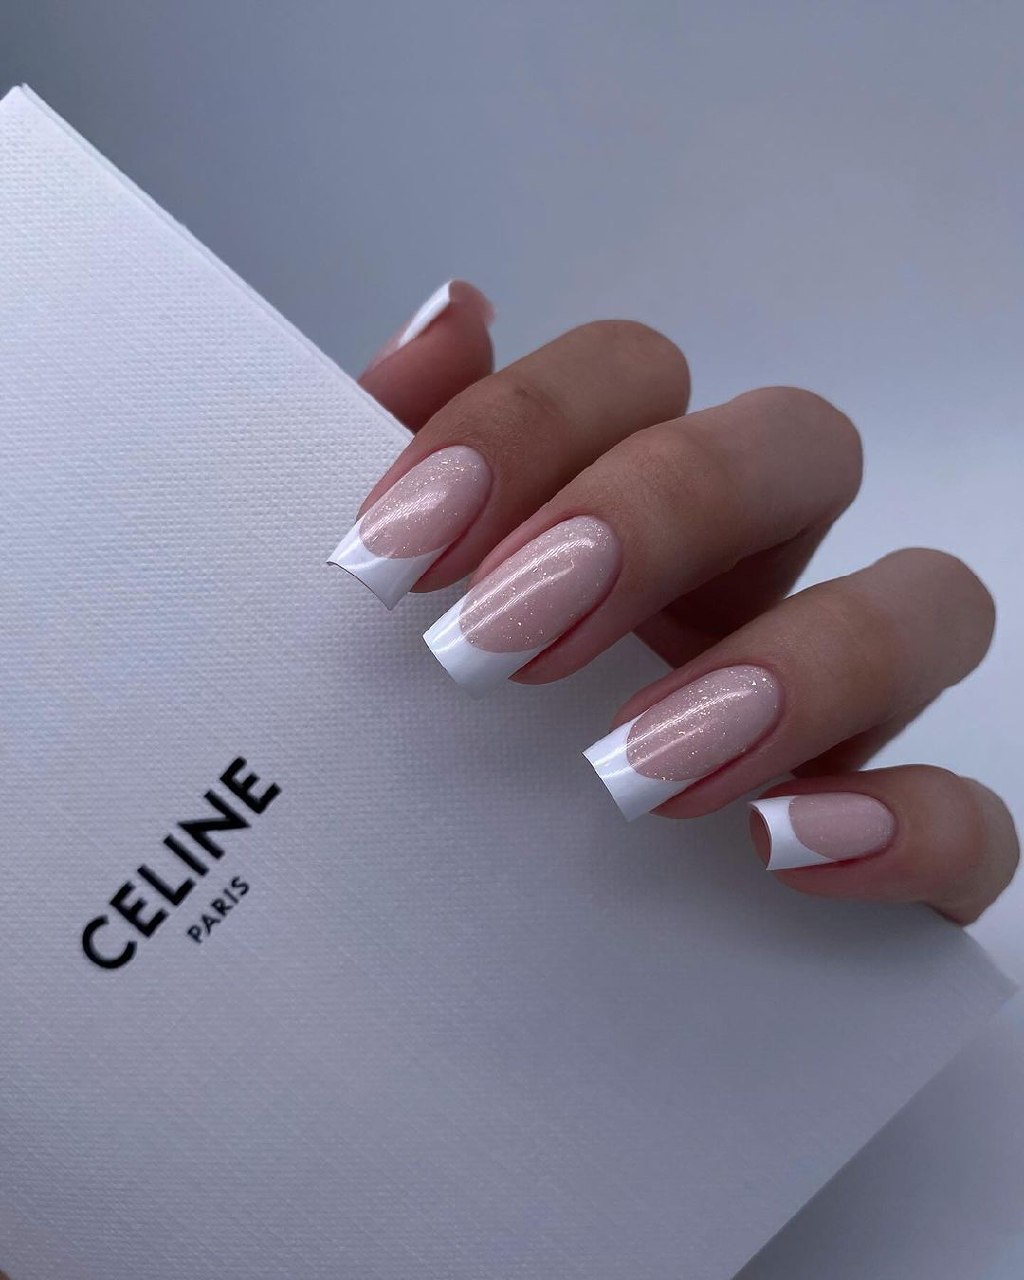
Glazed French nails are a contemporary evolution of the traditional French manicure. Instead of using a standard, opaque nude or pale pink polish for the base of the nail, this technique utilizes a sheer, translucent base infused with micro-shimmer or a pearlescent finish. The result is a “jelly” or “glass-like” effect that allows the natural nail bed to peek through while adding a multidimensional, light-reflecting quality. This shimmering base is then topped with a clean, sharply defined white tip, creating a high-contrast look that feels much more dynamic than a monochromatic manicure.
Behind the Trend
For much of the last year, nail trends have swung between two extremes: the high-octane, colorful maximalism of “aura” nails and the heavy, dark-toned aesthetics that favored depth and drama. As the seasons shift toward spring, there is a palpable movement back toward a more refined, light-filled sensibility. We are seeing a departure from heavy pigments in favor of texture and light play. While the “chrome” trend of previous seasons brought a high-shine, almost metallic finish to the table, the Glazed French manicure offers a softer, more organic version of that shine.
This trend taps into a desire for “quiet” beauty—the kind of aesthetic that relies on the quality of the finish rather than the loudness of the color. It feels nostalgic, nodding to the clean, polished manicures of the late nineties, yet it feels entirely modern because of the added depth of the shimmer. It is a style that works as well with a structured blazer as it does with a casual sundress, making it a versatile choice for a season defined by transition.
How to Get Glazed French Nails
Achieving this look at home or in a salon requires a focus on layering and precision. To start, you will need a sheer, pearlescent base polish—look for categories described as “jelly,” “sheer,” or “milky shimmer.” This is the most important element; the base must be translucent enough to let the natural nail show through, otherwise, you lose the depth that defines the trend. Apply two very thin coats of this shimmer polish. Applying two thin layers reads more true-to-trend than three thick layers, which can become too opaque and lose that watery, light-catching quality.
Once your base is completely dry or cured, you will move to the French tip. You will need an opaque, highly pigmented white polish. For the most professional result, use a fine-tipped detail brush rather than the standard wide brush that comes in most bottles. Start at the free edge of your nail and work your way toward the sides, creating a crisp “smile line.” If you are working on your own nails, it is often easier to paint the white tip in small, controlled strokes rather than trying to swipe it across the entire nail in one motion. The goal is a sharp, clean boundary between the shimmering base and the solid white tip.
To finish, the final step is a high-shine, clear top coat. This serves two purposes: it protects the intricate work of the French tip and it acts as a lens, magnifying the micro-shimmer in the base layer. A glossy finish is essential here; a matte top coat would dull the effect and strip the manicure of its namesake glow. Ensure your top coat is applied smoothly to avoid any streaks, especially where the white tip meets the shimmer.
If you want to take this look a step further, consider a tonal variation for the season. Instead of the classic white tip, try a soft, milky lavender or a pale peach tip to lean into the pastel palette of spring. You can also experiment with the base by choosing a gold-flecked shimmer instead of silver for a warmer, more sun-kissed appearance that works beautifully as the weather continues to warm.