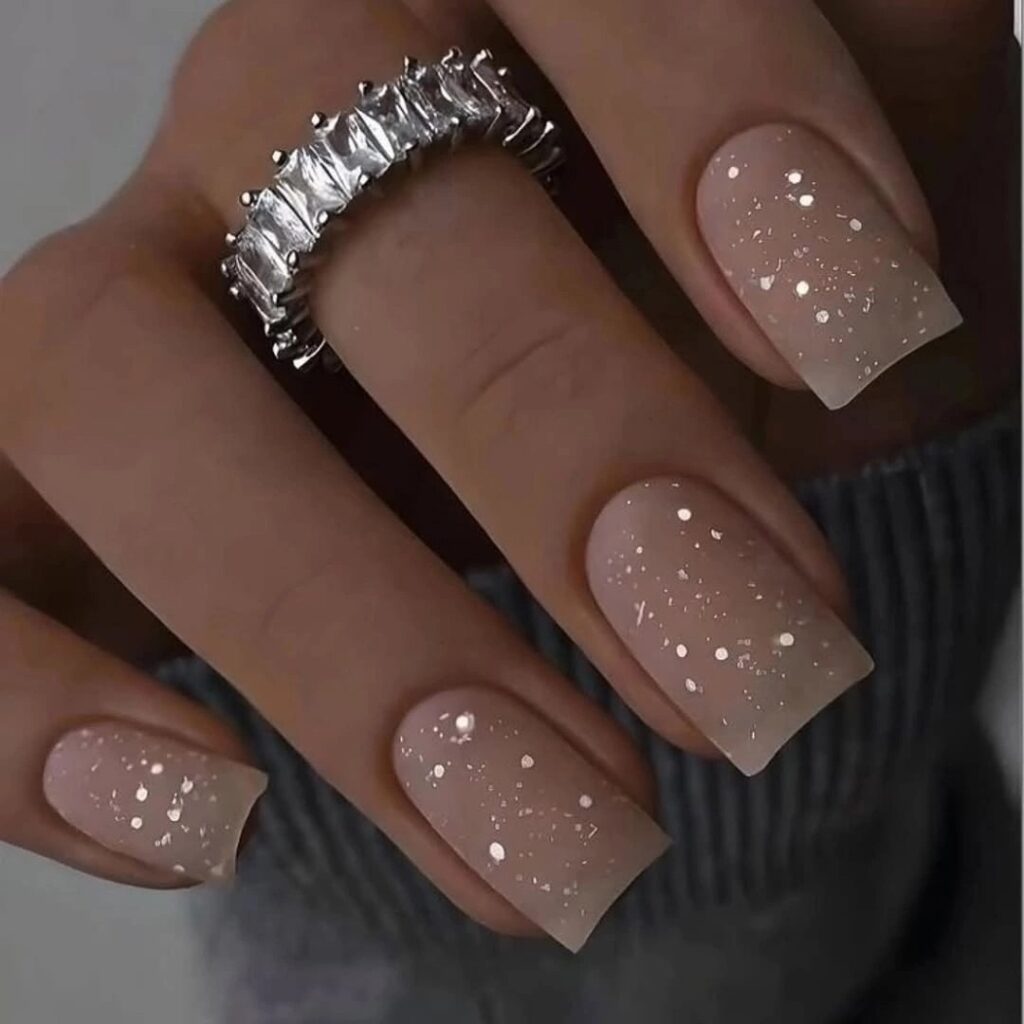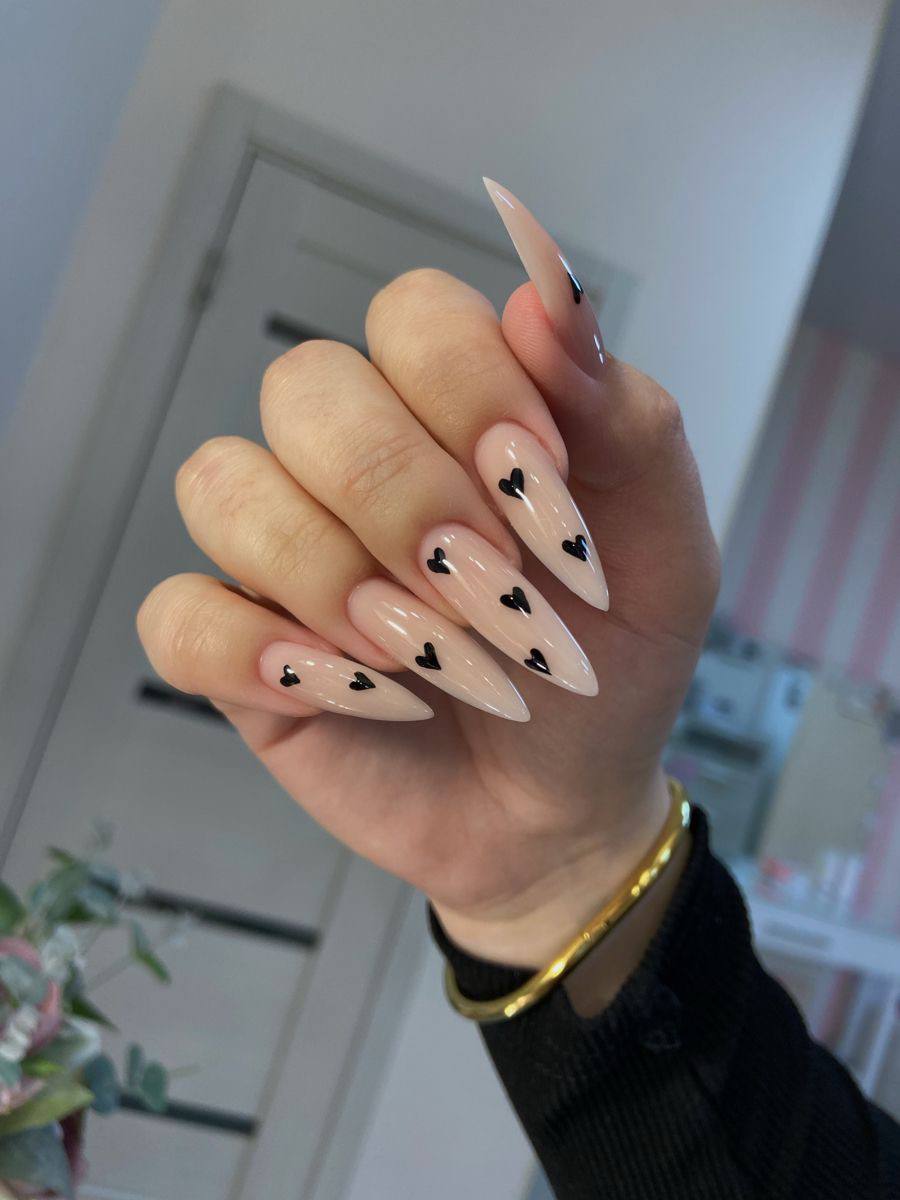
Try the Milky Heart Nail Trend for the Sweetest Spring Manicure
A little bit of whimsy that will stay with you all season.
The air is just beginning to lose its winter bite, replaced by a damp, sweet scent that clings to the pavement after a light morning rain. You might find yourself reaching for a lighter sweater, one that feels soft against your skin, or perhaps you are noticing the way the sunlight finally lingers a few minutes longer on your desk each afternoon. There is a specific kind of quiet that comes with this transition—a softness in the light, a gentleness in the textures of the world around you.
You aren’t necessarily standing in a sun-drenched garden or wrapped in cashmere right now, but you can certainly invite that same sense of delicate composure into your daily routine. It is a small, tactile way to signal a change in season, and it starts with the way your hands look when they reach for a coffee cup or a book.
What Are Milky Heart Nails?
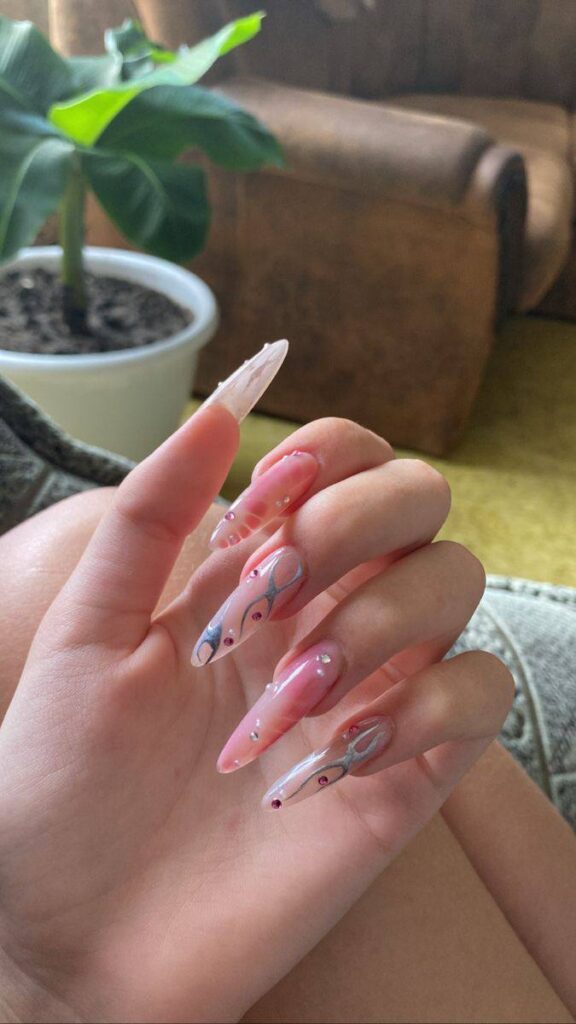
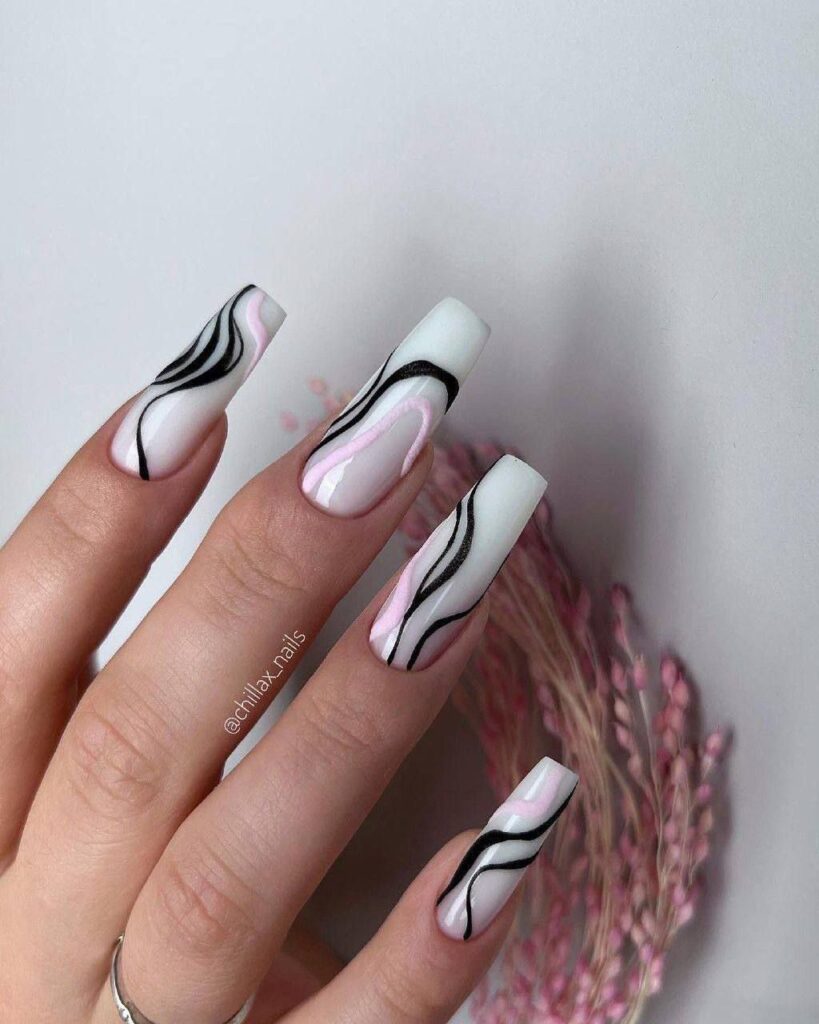
Milky heart nails are defined by a high-contrast, minimalist aesthetic that relies on light and translucency. The base is a semi-sheer, milky polish—somewhere between a nude and a true white—that offers a soft, clouded appearance similar to frosted glass. This base allows the natural color of your nail bed to show through slightly, preventing the manicure from looking heavy or artificial. The defining detail is the addition of small, graphic motifs, most commonly tiny black hearts, which are applied with precision over the sheer foundation. The finish is typically high-shine, creating a smooth, glass-like surface that makes the dark accents pop against the diffused background.
Behind the Trend
This trend feels like a thoughtful response to the recent waves of maximalism. After months of seeing heavy chrome finishes, intricate 3D textures, and bold, neon colorways, there is a collective leaning back toward something more understated and quiet. While the previous obsession with the “clean girl” aesthetic focused on perfection and seamlessness, the milky heart trend introduces a layer of personality without sacrificing that sense of order. It sits in a unique space between the rigid minimalism of neutral tones and the hyper-feminine, romantic energy of the coquette movement.
There is a certain nostalgia baked into this look, too. It evokes the feeling of something small and cherished—like a doodle in the margin of a notebook or a delicate charm on a vintage bracelet. It provides a sense of playfulness that feels intentional rather than loud, making it a versatile choice for those who want to experiment with patterns without committing to a full, busy design. It is a way to embrace femininity through a lens of subtlety, offering a visual softness that matches the shifting moods of the season.
How to Get Milky Heart Nails
Achieving this look requires a focus on layering and precision rather than heavy coverage. Begin by ensuring your nails are clean and shaped; an almond or soft stiletto shape tends to complement the elongated, delicate feel of this trend most effectively. The foundation is the most critical step. You will need a sheer, milky-colored polish or a translucent gel base. When applying, prioritize two very thin layers over one thick one. If you apply the polish too heavily, you risk losing the milky effect and ending up with a standard, opaque white, which lacks the depth and ethereal quality necessary for the look. Two thin coats read more true-to-trend than one thick layer going for full opacity.
Once your base is completely set and dry, you will move into the detailing phase. To get those sharp, clean hearts, use a very fine-tipped detail brush rather than the brush that comes in the bottle. A small amount of highly pigmented black polish or gel will suffice. Instead of painting a single, large heart in the center of each nail, aim for a more scattered, organic arrangement. Place a tiny heart near the cuticle of one finger, a slightly larger one near the tip of another, and perhaps a pair of them side-by-side on a third. This asymmetry is what prevents the manicure from looking too manufactured, giving it that effortless, hand-painted charm. Finally, seal everything with a high-shine, clear top coat. This not only protects the delicate art but also provides the glassy finish that makes the milky base look truly luminous.
If you find yourself wanting to evolve the look as the weather warms, try swapping the black accents for something even lighter. A tiny, hand-painted cherry or a single, pale blue dot can transform the manicure into something that feels even more aligned with the bright, blooming energy of late spring.