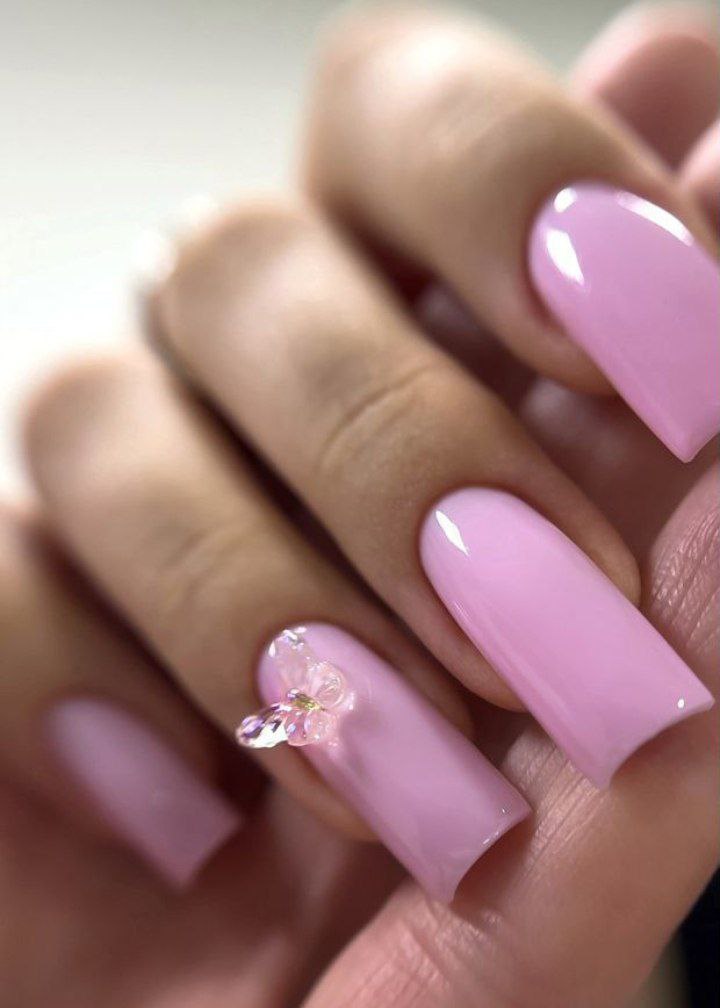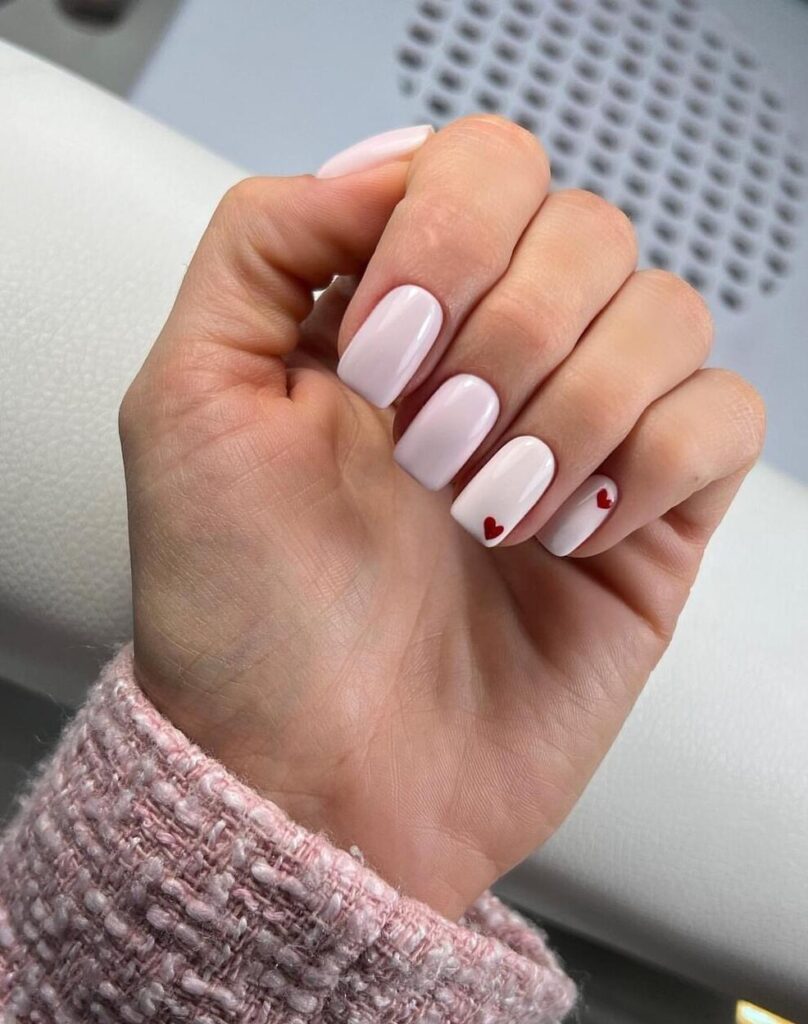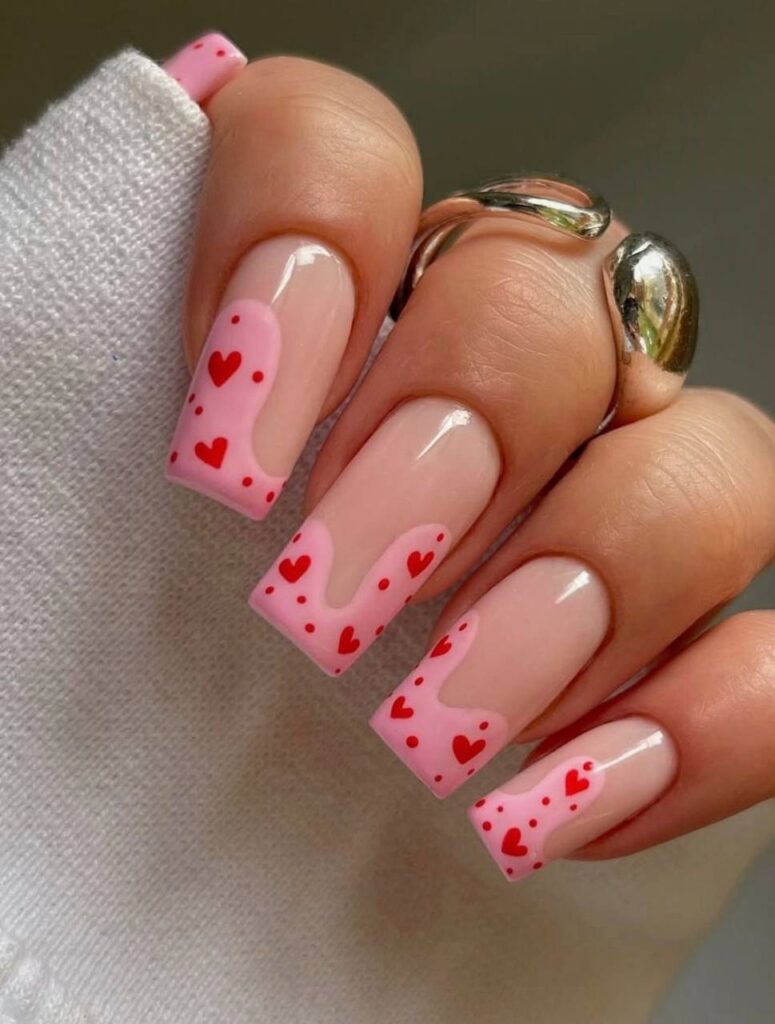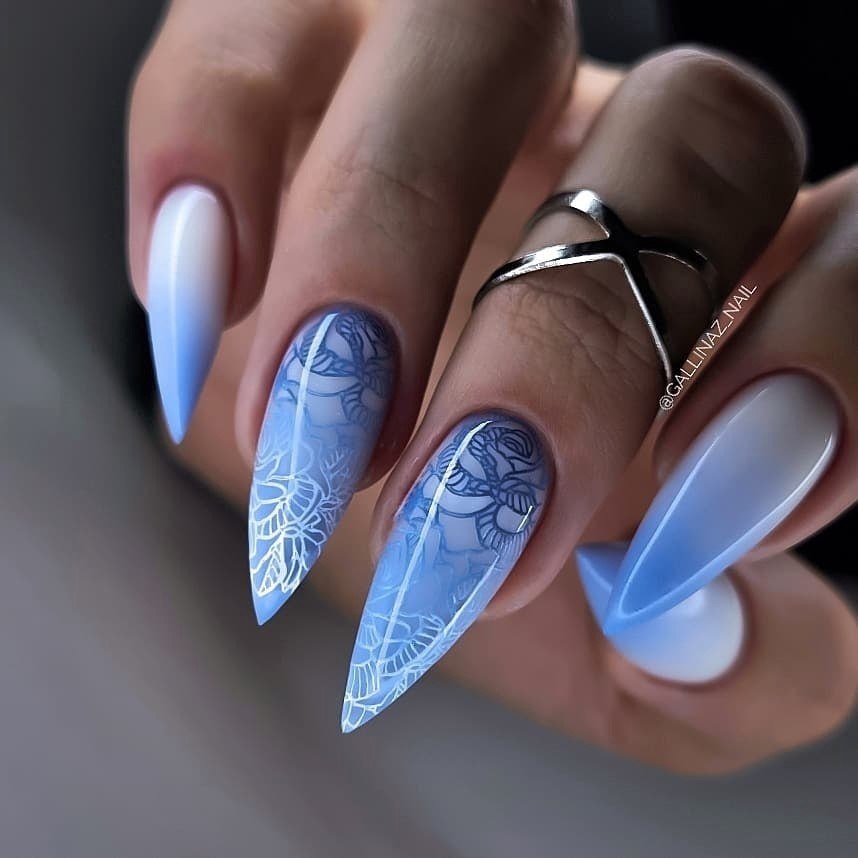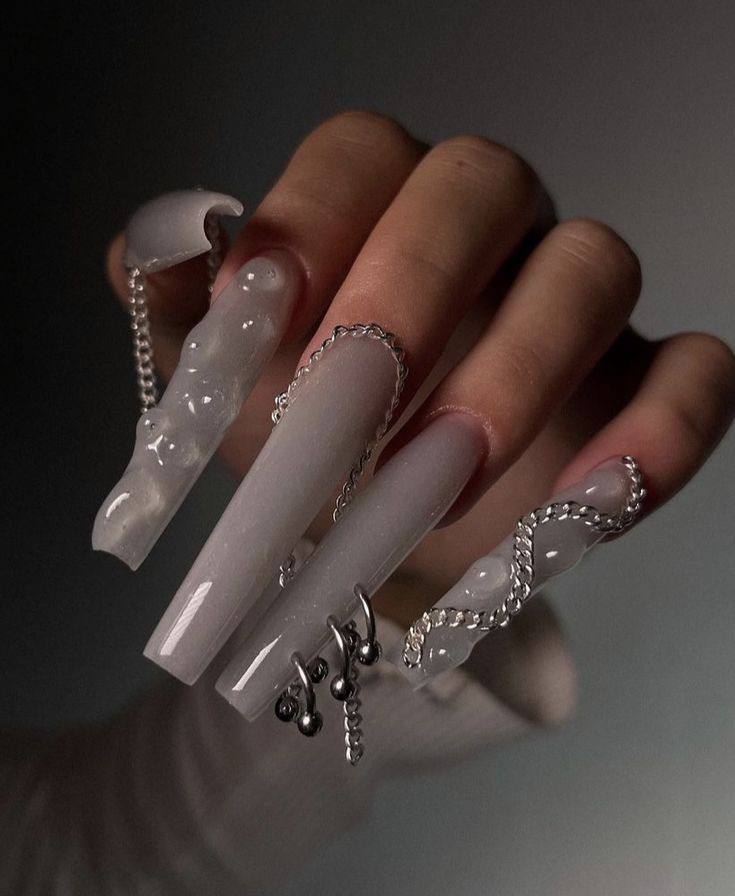
The shift from two-dimensional color to sculptural art marks a significant change in how you might approach your next manicure. For years, the focus remained on the precision of a clean line or the depth of a single pigment. Now, the interest has moved toward the tactile. You are seeing a move away from flat, opaque lacquer and toward designs that interact with light and touch through texture and depth. This trend isn’t just about a new shade; it is about treating the nail as a three-dimensional canvas where liquid-like shapes and metallic hardware create a sense of movement.
The Milky Jelly Aesthetic
The foundation of this look is the milky jelly finish. Unlike a standard opaque white, which can appear heavy or stark, a jelly base relies on translucency. This creates a glass-like effect that allows light to penetrate the surface, giving the nail a soft, internal glow. By using a semi-sheer, milky builder gel, you achieve a depth that mimics the appearance of frosted glass or quartz. This translucency is what allows the subsequent 3D elements to appear integrated rather than simply sitting on top of the nail. When the light hits these rounded, undulating shapes, it creates shadows and highlights that emphasize the organic, liquid quality of the design.
Technical Application and Viscosity
To achieve the liquid or melted effect, the technical execution requires a specific type of product. You cannot rely on standard soak-off gel polish, as its viscosity is too low; it will simply level out and lose the sculptural shape you intend to create. Instead, you need a high-viscosity, non-leveling builder gel. This type of gel is thick and holds its shape upon application, allowing you to manipulate it into raised ridges, droplets, or flowing waves.
When applying the 3D relief, start with your milky base and cure it fully. Once the base is set, use a fine-liner brush to place small beads of the thicker gel onto the nail surface. You can manipulate these beads into organic, fluid shapes that look as though they are still in motion. The key is to avoid perfect symmetry. The aesthetic relies on a sense of natural, irregular movement. After shaping the gel, you must cure it under a UV or LED lamp to lock the structure in place. For those managing this at home, ensuring your gel is specifically labeled as non-leveling is the difference between a sophisticated sculptural piece and a messy, flat finish.
Shape and Structural Integrity
The choice of nail shape is not merely a matter of preference; it dictates how the 3D elements will sit on the hand. For these heavy, textured designs, a long coffin or a sharp stiletto shape provides the necessary structural foundation. A long coffin shape, with its tapered sides and squared-off tip, offers a large enough surface area to support the weight of the builder gel without making the nail look cluttered.
Crucially, you must pay attention to the apex placement. The apex is the highest point of the nail’s curve, which provides strength and prevents breakage. When adding 3D gel, you are adding physical weight to the nail. If the gel is applied too far toward the free edge without a strong apex to support it, the nail may become top-heavy and prone to snapping. Ensure your technician builds a strong foundation underneath the decorative elements to maintain the structural integrity of the extension.
Integrating Silver Hardware
The most avant-garde element of this trend is the integration of metallic hardware. This moves the manicure into the realm of jewelry. Rather than simply wearing rings, you are incorporating silver-tone chains and charms directly into the nail architecture. This can be achieved in two ways: temporary styling or permanent adhesion.
For a temporary look, you can drape fine silver-link chains between your fingers, which complements the cool tones of a milky white or pale grey manicure. For a more permanent, editorial look, you can ask your technician to adhere small silver charms or segments of chain directly to the nail using a strong, clear builder gel. The contrast between the soft, organic curves of the jelly gel and the hard, geometric lines of the silver hardware creates a striking visual tension. When selecting hardware, stick to cool-toned metals like silver or white gold to maintain the clean, sophisticated palette of the milky base.
Maintenance and Longevity
Because these manicures feature raised surfaces, they require a more intentional maintenance routine than a standard polish. The primary concern is snagging. The edges of 3D gel can catch on hair or clothing if they are not properly sealed. To prevent this, ensure that your technician finishes the design with a high-shine, no-wipe top coat that smooths over the transitions between the 3D gel and the base nail.
Regular application of a heavy-duty cuticle oil barrier is also non-negotiable. Keeping the skin around the nail hydrated prevents the gel from lifting at the edges, which is especially important when the nail carries extra weight. If you notice any slight separation between the 3D element and the base, address it with a professional touch-up immediately. This prevents moisture from becoming trapped, which could compromise both the nail health and the longevity of the sculpture.
Embracing these textures allows you to step away from the predictable and move toward a more curated, intentional style. Whether you opt for the subtle depth of a milky jelly or the bold statement of silver-wrapped hardware, the focus remains on the intersection of shape, light, and tactile detail.