Sally Hansen Miracle Gel Review: Can You Get Salon-Quality Nails at Home?
Salon-Quality at Home? A Comprehensive Review of Sally Hansen Miracle Gel Nail Polish
Introduction
If you have ever spent hours at a salon only to have your manicure chip within days, you have likely looked for a way to get that high-shine, long-lasting look from the comfort of your own home. The Sally Hansen Miracle Gel Nail Polish system has long been a staple in the drugstore beauty aisle, promising a gel-like finish without the need for a UV or LED lamp. As someone who is always hunting for the perfect at-home mani, I decided to dive deep into what makes this two-step system tick, analyzing how it performs, where it succeeds, and where it might fall short for some users.
Key Features
The Sally Hansen Miracle Gel system is built on a simple premise: a two-step application process designed to mimic the durability and shine of a professional salon gel manicure without the intensive curing process.
The Two-Step System
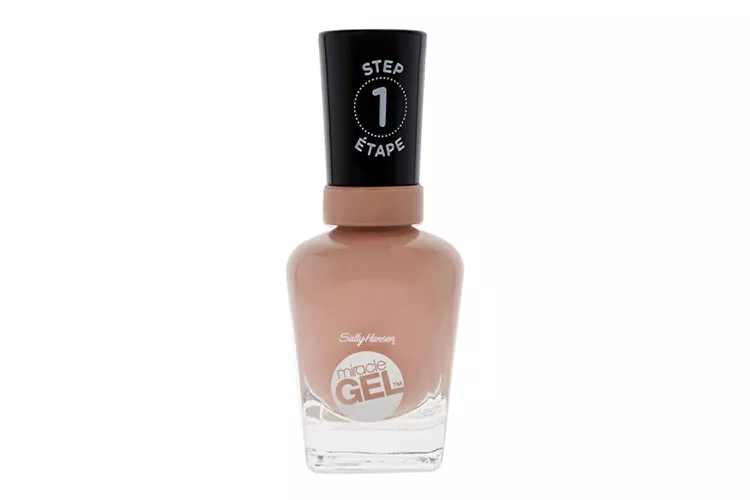
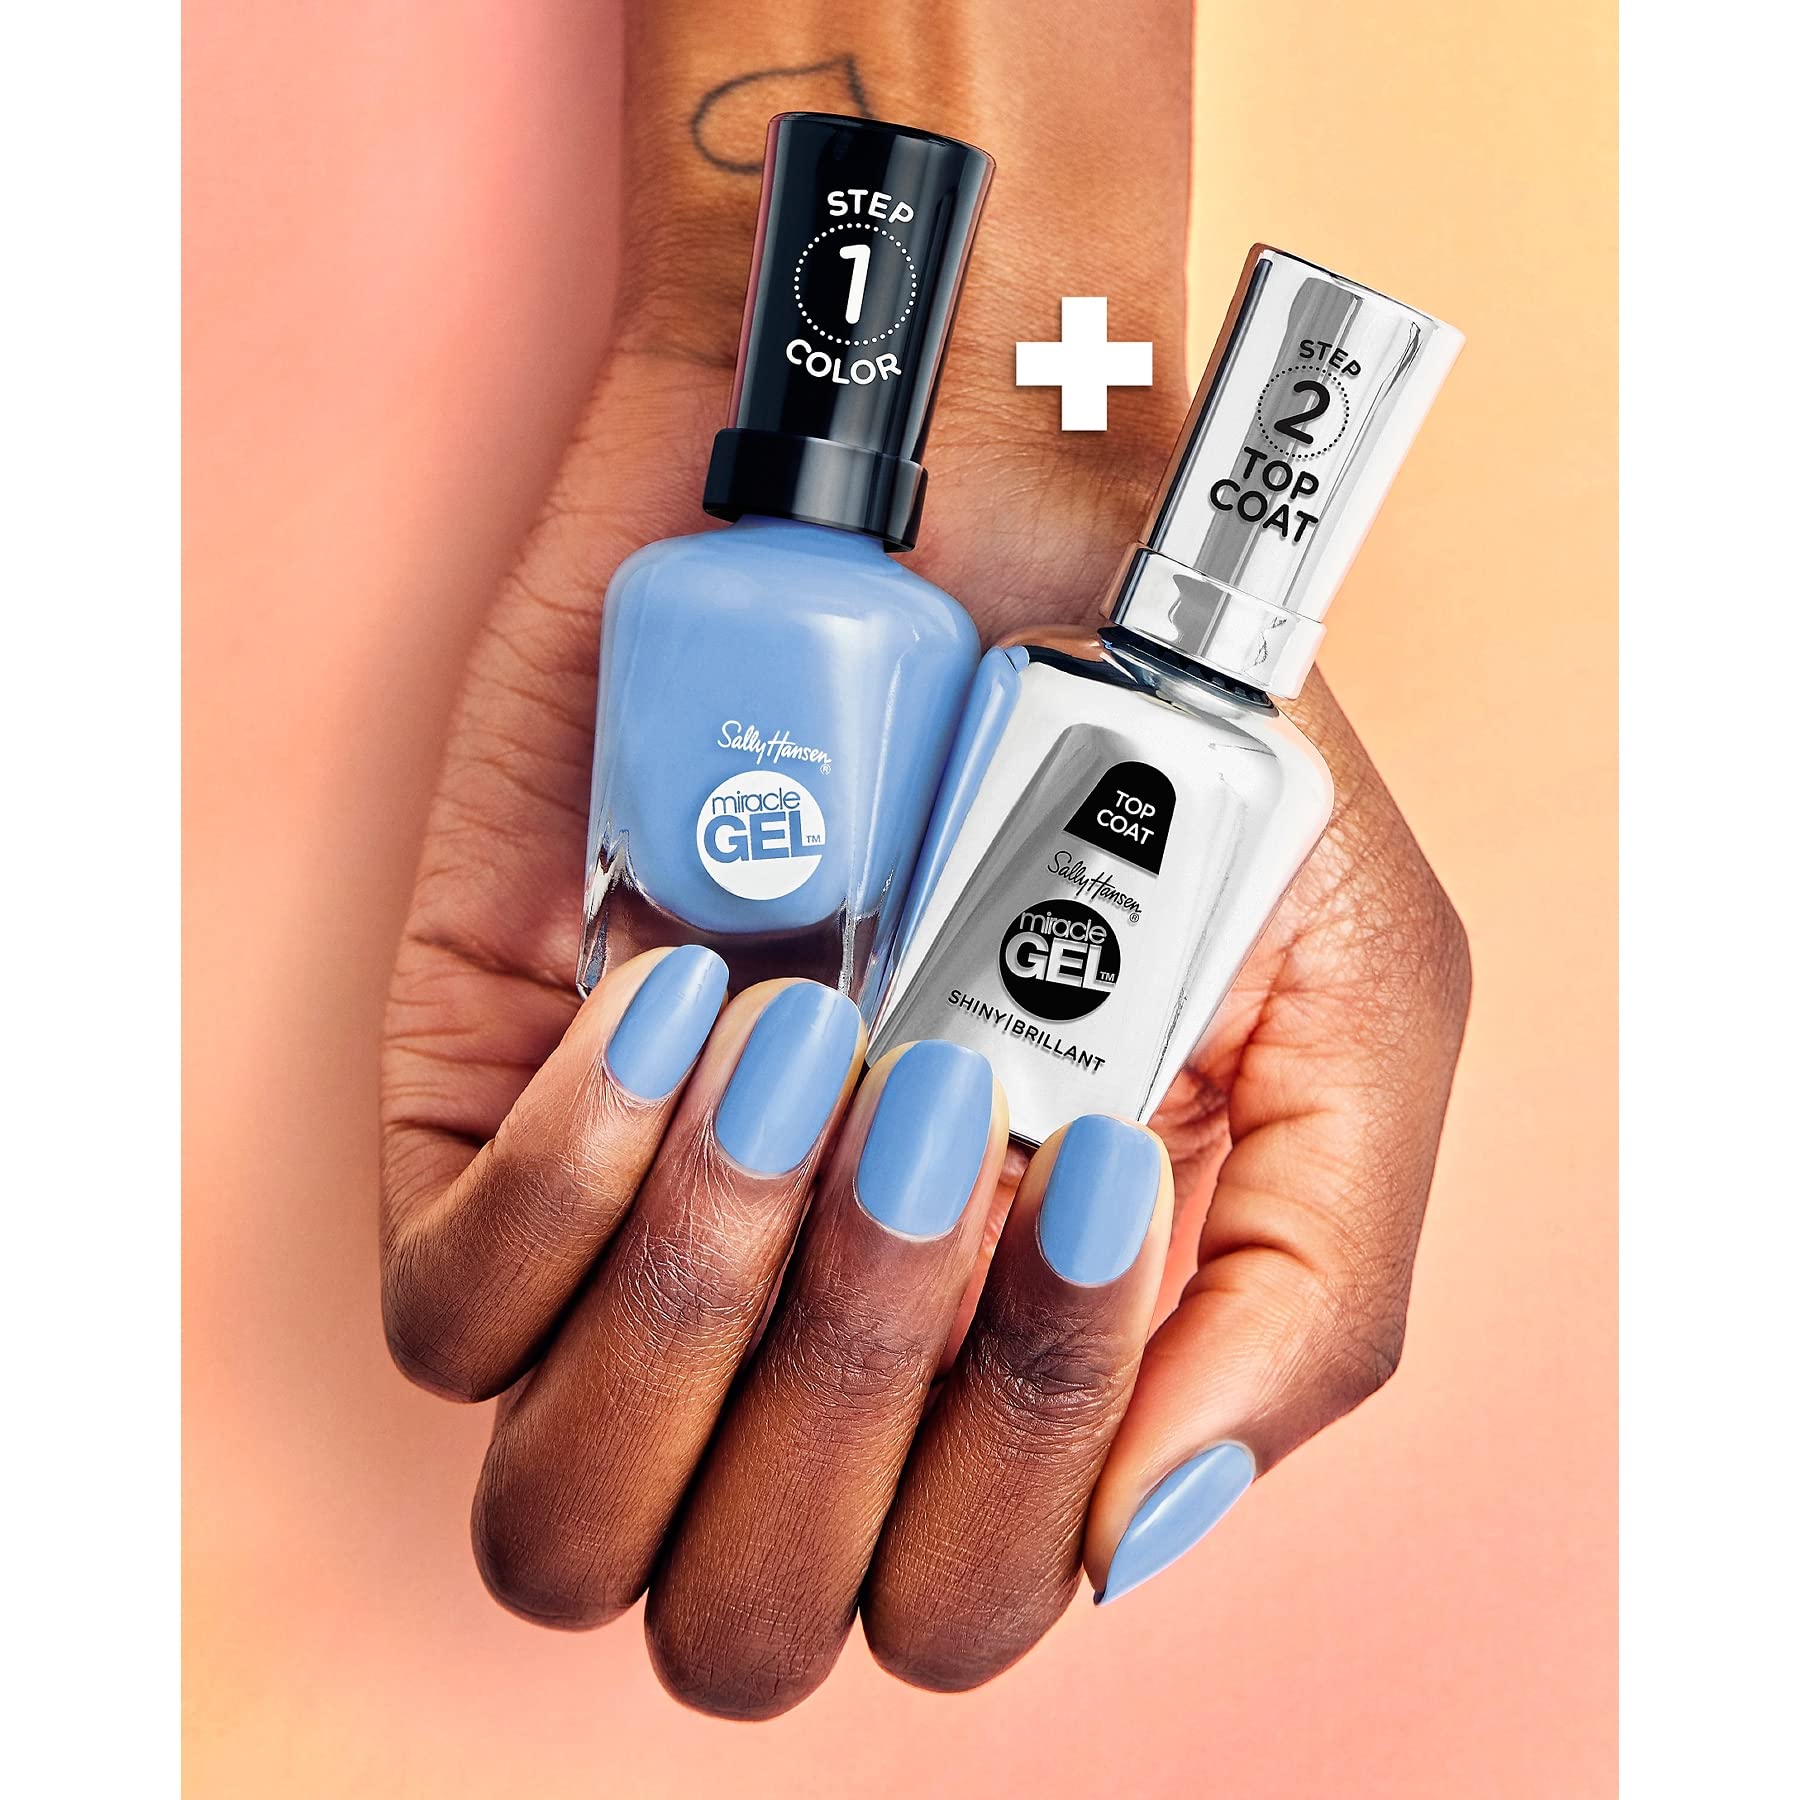
The product is sold as a “Step 1” color and a “Step 2” top coat. The color layer is formulated to provide pigment and adhesion, while the Step 2 top coat is specifically engineered to interact with the color layer to lock in the finish. The clear differentiator here is the lack of a UV lamp; it relies on natural light to cure the polish, which is a major convenience factor for those of us with limited time or storage space.
Application Convenience
Because it acts like a traditional nail lacquer, it requires no specialized base coats or long-term soaking for removal. You can apply it using a standard nail polish routine, which makes it far more accessible than professional-grade gel kits that require harsh chemical removal or heavy equipment.
Design & Application/Wear Quality
Visually, the packaging is distinct. The color bottles are straightforward, while the Step 2 Top Coat is housed in a metallic-finish bottle, making it easy to distinguish between the two on your vanity. The brush applicators are designed for smooth, streak-free distribution of color, which is essential for a product that mimics professional services.
In terms of application, the texture is generally consistent, though it varies slightly depending on the specific shade chosen. The goal of this system is a smooth, high-gloss surface. When applied correctly, the result is a plump, shiny finish that looks noticeably thicker than standard polish, which is the hallmark of the “gel” aesthetic.
What Customers Are Saying
After synthesizing feedback from a wide array of beauty enthusiasts and daily users, a few clear consensus points emerge regarding the Miracle Gel experience.
Many users are thrilled with the ease of use. The ability to achieve a salon-quality shine without sitting under a lamp is frequently cited as the primary reason for choosing this product. People love that the removal process is simple, using standard nail polish remover rather than the tedious foil-soak method required by traditional gels.
Regarding longevity, feedback is somewhat split. While a large portion of the user base reports that their manicure lasts significantly longer than standard drugstore polishes—often citing 7 to 10 days of wear—a segment of users notes that performance is highly dependent on lifestyle. Those who frequently use their hands for cleaning or heavy-duty tasks often report tip wear occurring earlier than expected.
Color accuracy is another common talking point. Most reviewers feel the shades appear true to the bottle, though some note that lighter or pastel shades may require three thin coats to reach full opacity rather than the standard two. A recurring piece of advice across the community is that the “secret sauce” is the Step 2 top coat; users who skip it or substitute it with a generic top coat often report disappointing results in terms of shine and durability.
Pros & Cons
- Pros:
- No UV or LED lamp required for curing.
- Professional-looking, high-gloss finish.
- Easy removal with standard nail polish remover.
- Wide range of available colors to suit any season.
- More affordable and accessible than salon gel services.
- Cons:
- Longevity can vary based on individual nail type and lifestyle.
- Requires a two-step system to work effectively; the top coat is non-negotiable.
- Some lighter shades may require three coats for complete opacity.
- May not hold up as long as professional-grade salon gels for those with high-impact lifestyles.
Who It’s For
The Sally Hansen Miracle Gel is perfect for the beauty enthusiast who wants a durable, shiny manicure but finds the commitment and cost of professional salon gels to be too much. It is an excellent choice for individuals who value speed and convenience and want to avoid the potential damage to nails that can come from the aggressive scraping or soaking associated with traditional gel removal. If you are someone who enjoys changing your nail color every week or so but still wants the “gel look,” this is essentially designed for you.
Final Verdict & Tips
My research confirms that the Sally Hansen Miracle Gel is a highly effective middle-ground product. It successfully bridges the gap between basic, fast-chipping nail polish and the intense, long-term commitment of professional UV gels. While it may not offer the multi-week rock-solid durability of a salon set, its ease of use, beautiful finish, and non-destructive removal make it a standout in the drugstore category.
To get the best possible result from your Miracle Gel manicure, keep these research-backed tips in mind:
- Prep is Key: Even if you are rushing, take a moment to wipe your nails down with an alcohol pad before applying the first coat. Removing natural oils from the nail plate is the single most important step for long-lasting adhesion.
- Thin Layers Win: Avoid the temptation to apply thick coats. Two thin, even coats of color, followed by one thin layer of the Step 2 Top Coat, will dry faster and chip less than one thick, gloopy application.
- Don’t Skip the Top Coat: The chemical formulation of the Miracle Gel Top Coat is designed to activate the color. Using any other brand of top coat will likely result in a duller finish and significantly reduced wear time.
- Cap the Free Edge: When applying both the color and the top coat, swipe your brush horizontally across the very edge of your nail. This “seals” the tip and helps prevent premature edge-wear.
- Be Patient: Although it doesn’t require a lamp, it still needs time to set properly. Avoid doing activities that involve water or oil for at least an hour after your application to allow the formula to fully harden.