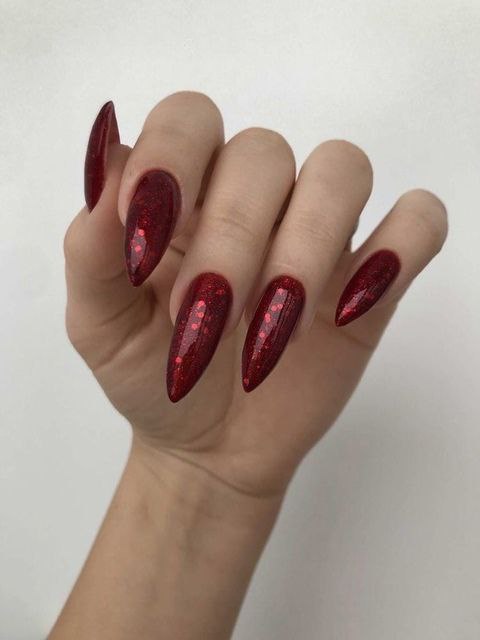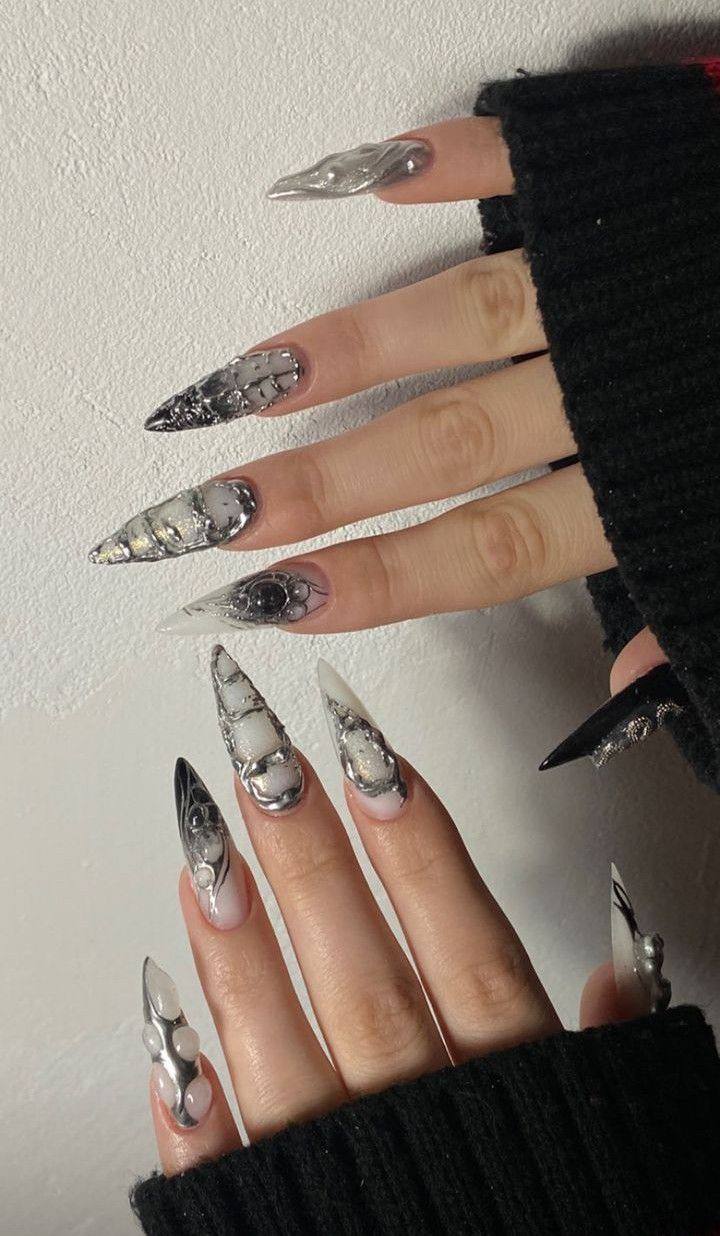
The visual weight of liquid metal against a translucent, milky base creates a tension that is difficult to ignore. While traditional manicures rely on flat color and smooth surfaces, the current movement toward 3D sculptural elements introduces a tactile, almost architectural dimension to nail art. The look is not merely about applying silver pigment; it is about manipulating the viscosity of gel to create forms that mimic molten mercury or flowing chrome. This technique shifts the focus from simple color application to a study in light, shadow, and structural depth.
The Anatomy of Molten Chrome
To understand this aesthetic, one must look past the shine and focus on the interplay between the base and the accent. The foundation is typically a jelly-style polish or a semi-sheer milky base. This translucency is crucial because it provides a soft, ethereal backdrop that prevents the metallic elements from looking overly heavy or harsh against the skin. The 3D elements themselves are achieved through the strategic use of high-viscosity builder gel or sculpting gel. Unlike standard soak-off gels, these products hold their shape upon application, allowing you to manipulate “blobs” or “drips” of material before they are cured under a UV or LED lamp.
Once the gel is shaped into the desired organic or geometric form, it is cured to create a hard, raised surface. The final step involves applying a non-wipe top coat and buffing a fine chrome powder over the raised areas. This creates a striking contrast: the soft, blurred edges of the milky base versus the sharp, reflective, and highly defined edges of the metallic sculpture.
Mastering the Sculptural Technique
Achieving this look at home requires a steady hand and a specific set of tools. If you are attempting this as a DIY project, start by ensuring your base layer is completely dry and smooth. A well-constructed apex is vital here; if your natural nail lacks strength, apply a layer of builder gel to create a stable foundation that can support the weight of the 3D elements without lifting.
The actual sculpting is where the precision lies. Instead of using a standard nail brush, reach for a fine-tipped silicone tool or a dotting tool. Dip the tool into a thick builder gel and place small amounts onto the nail surface. Because of the gel’s high viscosity, you can pull, stretch, and manipulate the droplets to create the appearance of liquid moving across the nail. You might opt for a “drip” effect that crawls from the cuticle toward the free edge, or a more abstract, “encrusted” look where metallic nodules are scattered across the surface.
Timing the cure is critical. If you work too quickly, the gel may lose its shape; if you work too slowly, the gel may begin to settle or run. Once you are satisfied with the placement, cure the gel thoroughly. For the chrome effect, ensure you are using a top coat specifically formulated for chrome application. If the top coat is too tacky, the powder will become muddy; if it is too smooth, the pigment will not adhere. Once the powder is rubbed in, seal the entire nail with a final layer of high-shine top coat to protect the integrity of the metal.
Complementary Shapes and Colorways
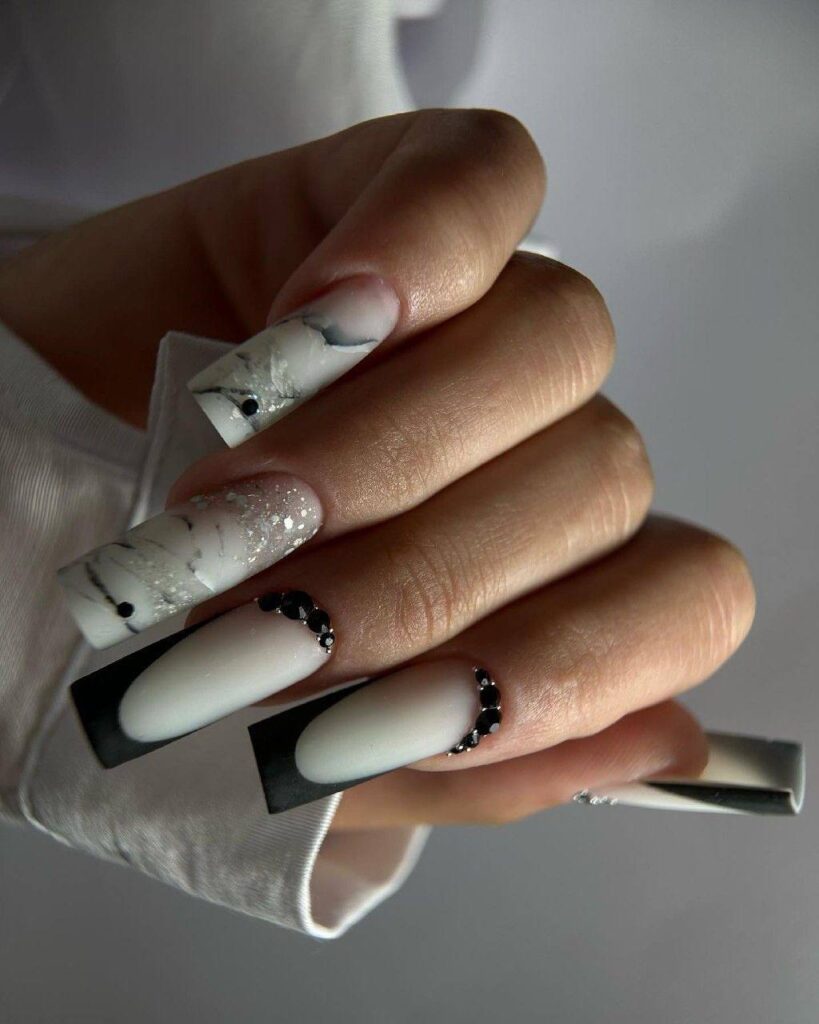
The success of a molten metal manicure often depends on the silhouette of the nail. The stiletto shape, characterized by its long, tapered point, provides an expansive canvas for dramatic, sweeping chrome lines. The length allows the metallic “drips” to follow the natural flow of the nail, enhancing the sense of movement. However, an almond shape offers a more refined, sophisticated alternative. The softer curves of the almond shape balance the aggressive shine of the chrome, making the look more suitable for professional environments or more subtle evening wear.
Color pairings can shift the mood of the manicure significantly. While silver is the standard for a mercury-like finish, rose gold or copper pigments can lend a warmer, more antique feel. To maintain the modern edge, keep the base colors in the neutral spectrum. A sheer nude provides a “clean girl” foundation that makes the metal pop, while a soft grey jelly base can create a monochromatic, futuristic aesthetic. For those seeking a higher level of contrast, a deep charcoal or even a sheer black jelly base can make the silver elements appear more luminous and stark.
Longevity and Structural Maintenance
Because 3D nail art introduces physical protrusions, maintenance requires more attention than a standard flat manicure. The primary concern is snagging. As the chrome elements rise above the surface of the nail, they can catch on knitwear, hair, or delicate fabrics. To mitigate this, ensure that the edges of your 3D gel are smoothed out with a fine brush before curing, so there are no sharp “cliffs” of gel that could catch.
Maintaining the shine is equally important. Over time, the chrome powder can lose some of its luster due to daily wear and contact with oils or lotions. To preserve the brilliance, avoid using heavy hand creams that contain high amounts of silicone or oil directly on the nail surface, as these can dull the metallic finish. Instead, focus your hydration on the cuticle area using a dedicated cuticle oil barrier. Applying oil to the skin around the nail helps keep the surrounding area hydrated without compromising the structural integrity of the gel or the reflectivity of the chrome. If the shine begins to fade, a quick application of a clear, high-gloss top coat can often restore the original intensity.
Refining Your Personal Aesthetic
Nail art serves as a personal signature, a small but impactful way to express a specific stylistic direction. The move toward sculptural, metallic textures allows you to treat your hands as a medium for wearable art. Whether you opt for the sharp, avant-garde lines of a stiletto or the softened elegance of an almond, the ability to manipulate light and texture through 3D gel gives you a level of creative control that goes far beyond traditional polish.