Try the Milky Wave Accent Trend for the Freshest Spring Manicure
A balance of soft textures and a single, bright pop of color.
There is a specific kind of light that arrives in the early spring. It is not the harsh, direct glare of summer, but something softer and more diffused, filtering through the clouds and catching the texture of a light-wash denim jacket or the weave of a linen shirt. It is the feeling of stepping outside after a long morning indoors and feeling the air shift from crisp to temperate, a subtle transition that feels both quiet and full of potential.
You might not be standing in a sun-drenched garden right now, but you can certainly carry that sense of breezy, effortless movement with you. If you find yourself craving a look that feels as light as a spring morning but still carries enough personality to stand out, a manicure like this is the answer. It is a way to bring a bit of artistic, organic energy to your daily routine without feeling overdone.
What Are Milky Wave Accent Nails?
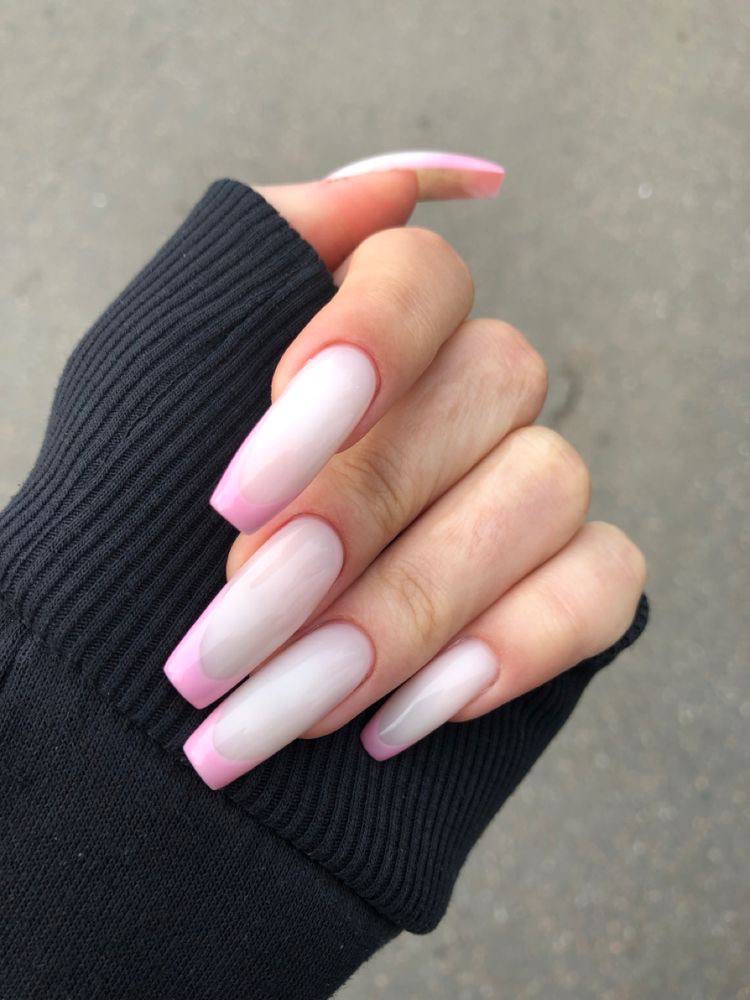
Milky Wave Accent nails feature a soft, semi-opaque pale pink base on most fingers, providing a translucent, “jelly-like” quality to the nail plate. This neutral foundation is decorated with thin, hand-painted white lines that move in irregular, organic waves across the surface. To provide a visual counterpoint to the muted tones, a single accent nail—usually the pinky—is finished in a highly saturated, opaque bright pink. The entire look is unified by a smooth, high-gloss top coat and a clean, squoval nail shape.
Behind the Trend
This aesthetic resonates because it sits in the perfect middle ground between two polarizing worlds of manicure design. On one side, there is the hyper-minimalism of “clean girl” aesthetics, which often relies on sheer, almost invisible nudes. On the other, there is the expressive maximalism of 3D charms, heavy glitter, and complex character art. The Milky Wave Accent manicure bridges this gap by offering the polished, low-maintenance feel of a neutral manicure while incorporating the playful, intentional energy of abstract art.
The visual success of the look lies in its use of contrast and rhythm. The milky pink base provides a sense of calm and “visual rest,” allowing the eye to move easily across the hand. The white linework adds a sense of movement, mimicking the organic shapes found in nature—like the ripples in water or the curves of a petal. Then, the sudden introduction of the saturated magenta accent nail acts as a focal point, preventing the manicure from looking too understated. It is a study in balance: the softness of the nude, the fluidity of the lines, and the sharpness of the bright pop.
How to Get Milky Wave Accent Nails
To begin, ensure your nails are shaped into a soft square or squoval shape, as the blunt edges provide a modern canvas that complements the organic curves of the linework. Start with a clean, well-buffed nail surface to allow for a smooth application. To achieve the specific translucency seen in the base, you will need a sheer, milky pink polish. Rather than attempting to achieve full opacity in one go, apply two very thin, even layers. This allows the natural warmth of your nail bed to show through, which is essential for that soft, ethereal effect. While the base is drying, prepare your accent nail. For the pinky, select an opaque, high-pigment bright pink. You will want to apply this in two solid coats to ensure the color is completely even and saturated, providing a sharp contrast to the sheer pink on the other fingers.
Once your base colors are completely dry, you can move on to the hand-painted details. You will need a very fine detailing brush or a thin striping brush, along with a white polish that has a smooth, fluid consistency. The key to achieving these waves is to avoid any attempt at symmetry. Instead of trying to draw a specific pattern, think about the movement of the brush. Start at one edge of the nail and allow the brush to travel in gentle, rhythmic loops and undulations toward the other side. You can vary the length and curvature of the lines to create a sense of organic flow. If a line feels too thick or heavy, wait for it to dry completely and then use a smaller brush to refine the edges. The goal is for the lines to look effortless, as if they were part of the natural landscape of the nail. Finally, seal the entire manicure with a high-shine, clear top coat. A glossy finish is vital here, as it levels out any slight ridges from the linework and gives the manicure a cohesive, polished appearance that catches the light beautifully.
If you want to take this look into the next season, try swapping the bright magenta accent for a deep, moody plum, or replace the white linework with a thin, shimmering gold for a more evening-ready version of this organic aesthetic.