The shift away from the muted, “clean girl” minimalism that dominated recent years has arrived in a wave of high-saturation, kinetic energy. Instead of sheer nudes and micro-frénches, the current aesthetic landscape favors movement, maximalism, and a heavy nod to 1970s psychedelia. This is most evident in the resurgence of swirl nail art—a technique that trades rigid geometry for fluid, organic lines that dance across the nail plate. Whether you are looking to make a statement at a gallery opening or simply want to inject personality into your daily routine, mastering the art of the swirl allows for a level of personal expression that standard solid colors cannot match.
The Visual Language of the Swirl
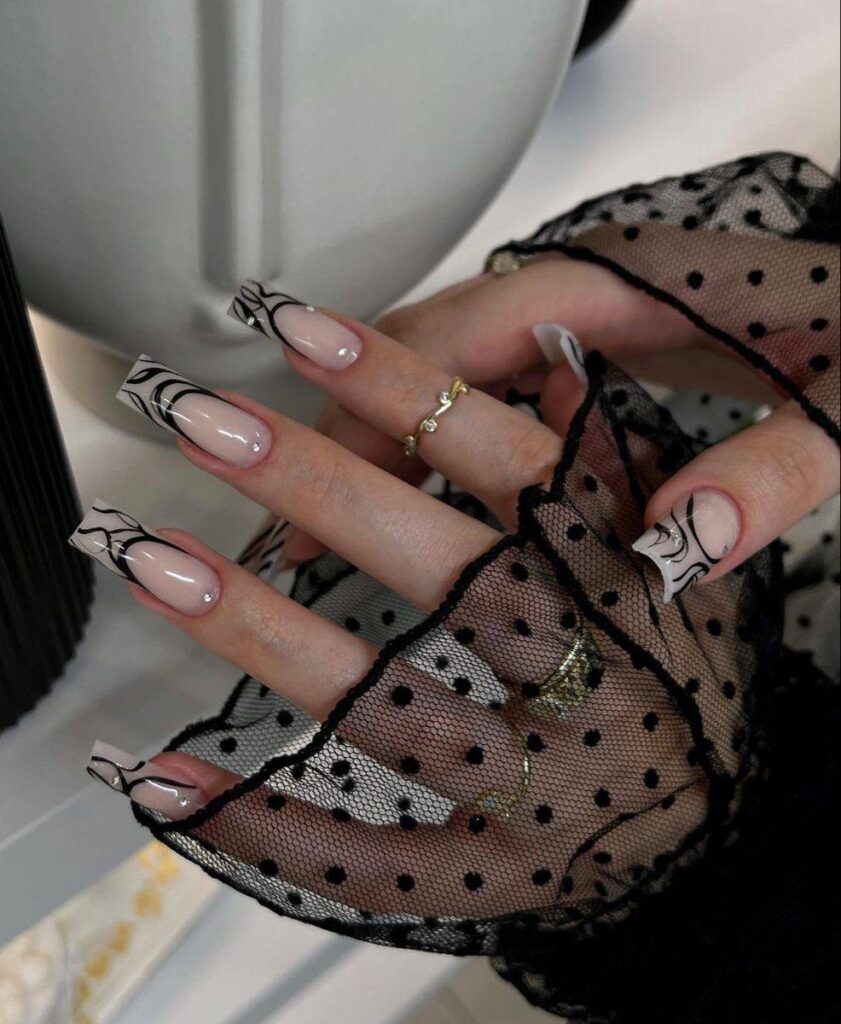
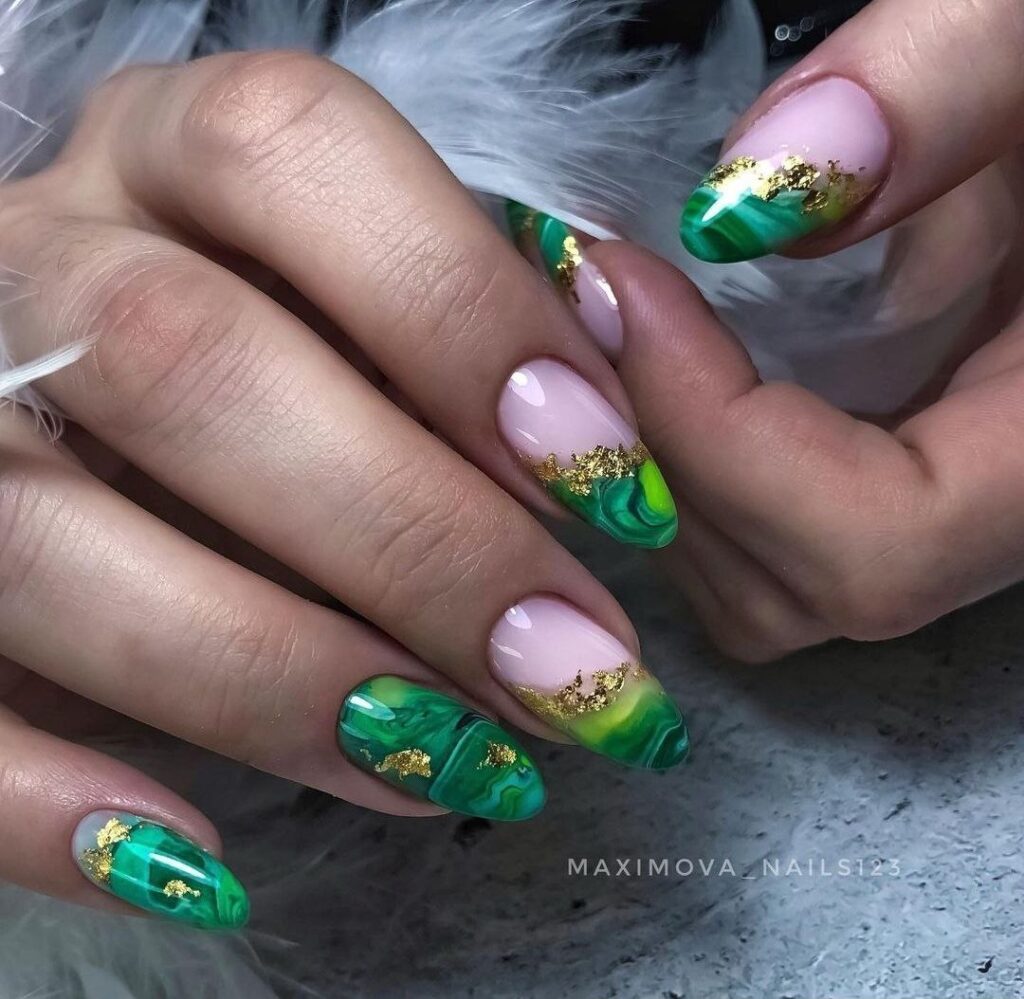
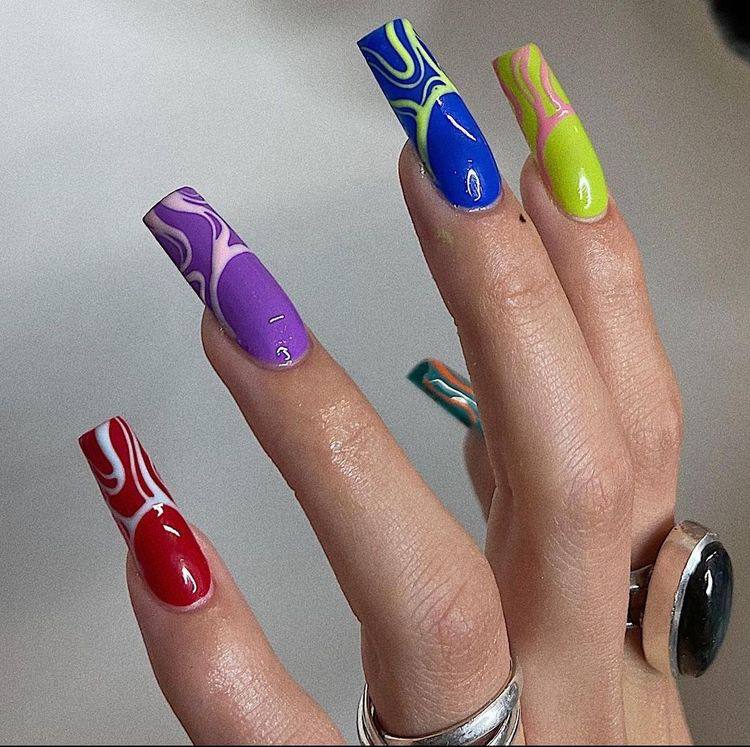
At its core, swirl nail art is about the interplay of pigment and motion. Unlike traditional patterns that follow a predictable grid, swirls are inspired by liquid dynamics, marble textures, and topographic maps. The aesthetic relies heavily on contrast; the eye is drawn to the way a bright, high-viscosity line cuts through a saturated base color. This can be achieved through two primary methods: the high-contrast approach, where a light color (like cream or neon lime) is laid over a dark base (like cobalt or deep plum), or the tonal approach, where various shades of the same color family are layered to create a more subtle, undulating effect.
The result is a look that feels alive. When applied to a long silhouette, such as a coffin or ballerina shape, the lines have more room to stretch and breathe, creating a sense of elongated elegance. On a shorter squoval shape, the swirls become tighter and more concentrated, offering a punchier, more graphic vibe.
Technical Execution: The Liner Brush and Viscosity
Achieving a professional-grade swirl requires more than just a steady hand; it requires an understanding of your tools and the physics of your medium. If you are attempting this at home, the primary instrument in your kit should be a long, slender liner brush. A brush with a fine, tapered tip allows you to pull the pigment in a single, continuous motion. This is critical because “stuttering”—where the brush pauses or lifts—creates jagged edges that break the illusion of fluid movement.
Viscosity is your second major consideration. If you are using gel polish, you want a medium-to-high viscosity for the linework. If the gel is too thin or “runny,” the swirl will bleed into the base color, resulting in a muddy, blurred appearance rather than a crisp, defined line. If the gel is too thick, you will struggle to maintain a smooth flow, leaving visible ridges in the design.
When applying the art, start from the center of the nail and work your way toward the free edge in sweeping, rhythmic strokes. Avoid overworking the product. Each line should be laid down with intention. Once the pattern is complete, ensure your top coat is applied with a medium thickness to encapsulate the design without flattening the texture of the lines, particularly if you are using a building gel to create a 3D effect.
Sculpting the Canvas: Shape and Silhouette
The shape of your nails acts as the frame for your art. For those seeking the most impactful version of this trend, the coffin shape is the industry standard. The tapered sides and flat free edge provide a large, uninterrupted canvas that allows for long, sweeping curves. This shape also provides a structural advantage; by ensuring proper apex placement during the extension process, you create a durable foundation that can support the weight of heavy pigment and multiple layers of gel.
However, if you prefer a more understated approach, a squoval or almond shape offers a sophisticated alternative. On these smaller surfaces, the swirls should be more compact. Think of them as accents rather than the primary focus. Instead of a single line that travels from cuticle to tip, you might opt for two or three small, interlocking curves near the base of the nail. This provides a sense of movement without overwhelming the hand.
The Color Theory of High-Contrast Art
Color selection dictates the mood of the entire manicure. To lean into the retro, psychedelic aesthetic, look to complementary color pairings. A cobalt blue base paired with a lime green swirl creates a high-voltage visual tension that feels intentional and modern. Similarly, a deep violet base with a lavender or lilac swirl offers a more harmonious, analogous look that is softer on the eye but still visually interesting.
For a more classic, editorial feel, consider high-contrast neutrals. A deep crimson base with cream-colored, thick swirls mimics the look of vintage porcelain or high-end marble. This is a way to engage with the trend while maintaining a level of sophistication that works well in professional or formal settings. When choosing your palette, remember that the more contrast you introduce, the more the design will pop. If you are working with subtle tones, the movement becomes an architectural detail; if you are working with neons, the movement becomes the focal point.
Longevity and Maintenance
Because swirl art often involves multiple layers of product, maintaining the integrity of the design is essential for a long-lasting look. The most common point of failure is the free edge. As the nail grows, the gap between the polish and the cuticle becomes more apparent, and any lifting at the tip can disrupt the visual flow of the swirls.
To prevent this, prioritize the health of your natural nail and the surrounding skin. A consistent application of cuticle oil is non-negotiable. A well-hydrated cuticle barrier prevents the skin from pulling away from the gel, which in turn prevents the edges of your art from chipping. Additionally, keep an eye on the shine of your top coat. High-pigment colors can sometimes appear duller over time as micro-scratches accumulate on the surface. A quick application of a high-shine top coat every two weeks can refresh the manicure and restore the liquid-like appearance of your swirls.
Mastering this aesthetic is about finding the balance between controlled precision and organic freedom. Whether you are presenting a technical request to your technician or picking up a liner brush yourself, you are moving beyond simple color into the realm of wearable art.