Try the Glacier Mint Nail Trend for the Coolest Spring Manicure
We’ll be wearing this frosty gradient all season long.
Imagine stepping out onto a quiet, gravel path just as the very first hints of morning light begin to break through a cool mist. The air is sharp, carrying the clean, wet scent of melting frost and damp earth. Underfoot, tiny patches of pale green moss are just starting to peek through the remaining patches of winter ice, glittering faintly in the pale sunrise. It is a quiet, peaceful moment of transition, where the coldness of winter slowly yields to the soft promise of spring.
While you might not be spending your mornings wandering through a quiet alpine meadow as the frost melts, you can bring that exact sense of fresh, crisp transition to your daily routine. The start of a new season always brings a desire to shed the heavy layers of winter, and this feeling extends all the way to our beauty choices. This season, the easiest way to channel that cool, quiet shift in the weather is right at your fingertips with a fresh, airy manicure.
What Are Glacier Mint Nails?
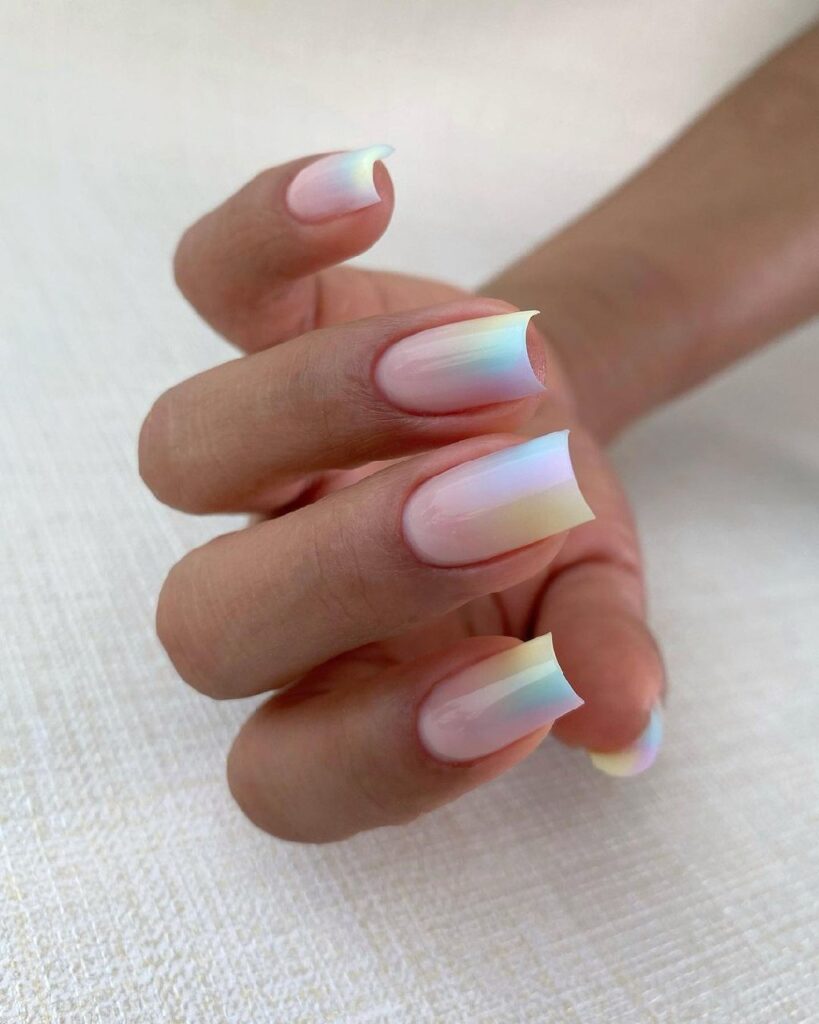
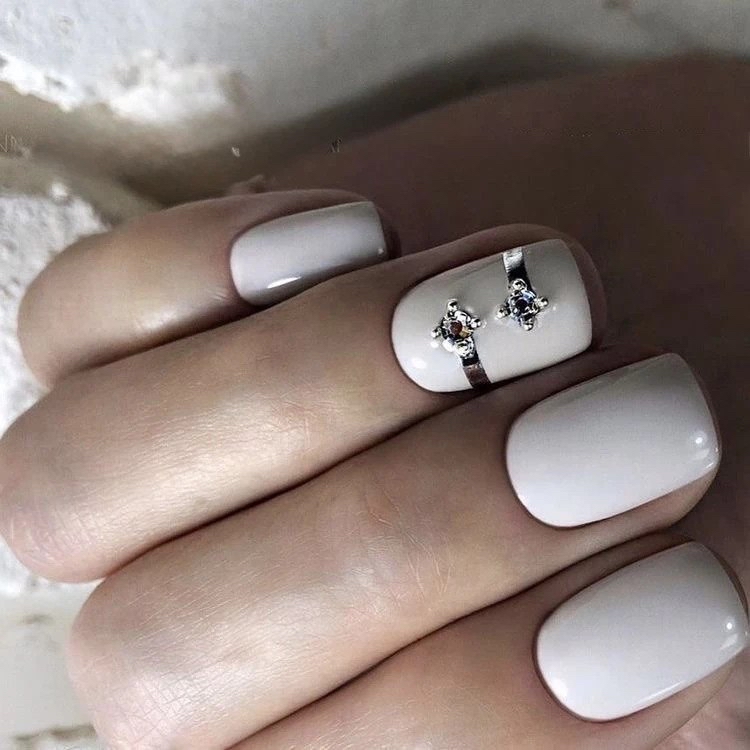
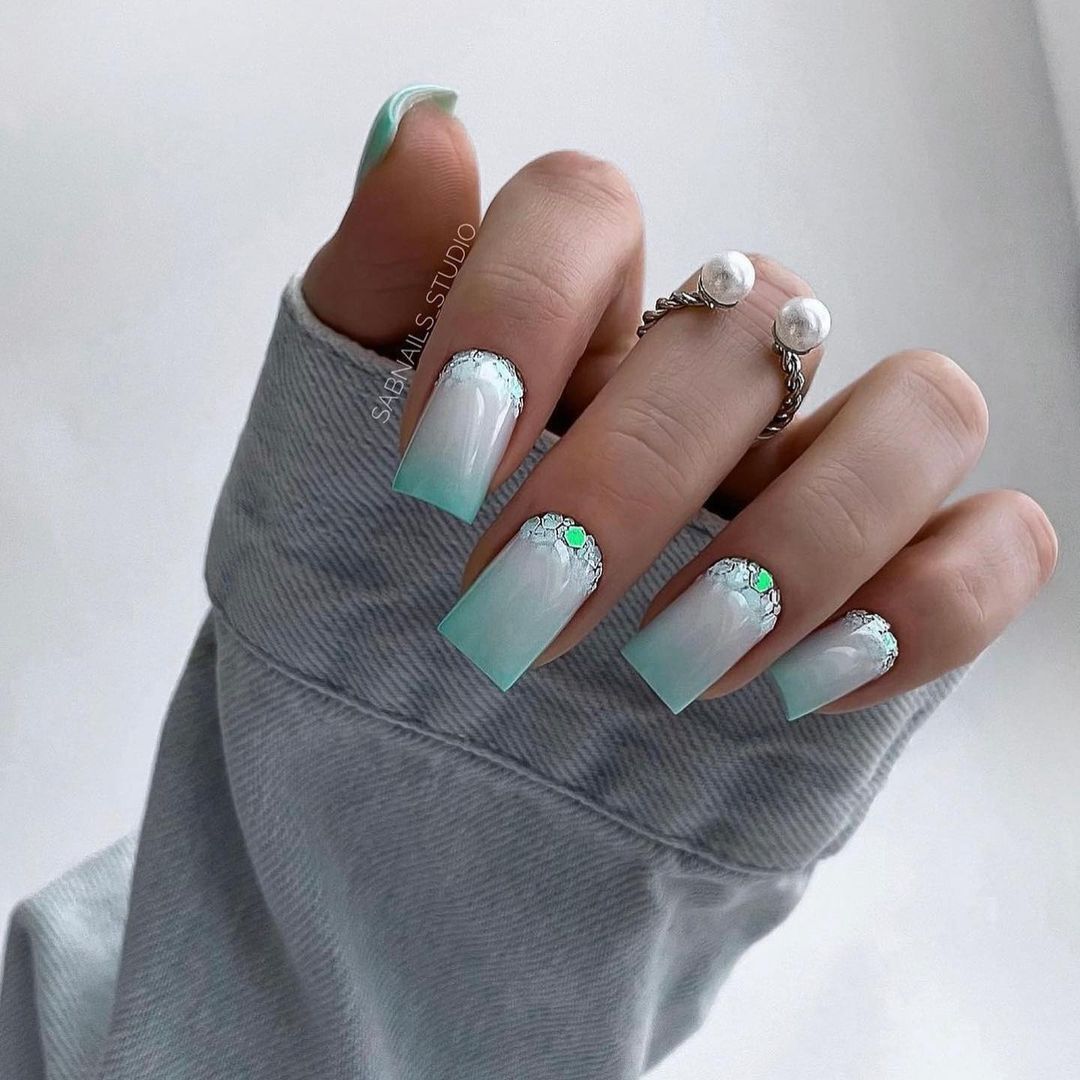
Glacier Mint nails combine a diffused, two-tone ombre gradient with a touch of textured metallic detail. The look starts with a soft, semi-sheer milky white base at the cuticle that seamlessly blends into a cool, pastel mint-green tip. The transition between the two shades is soft, blurred, and hazy rather than sharp, mimicking the natural gradient of thinning ice over moving water. To finish, a delicate sweep of textured silver glitter, metallic foil, or reflective pigment is placed precisely along the curve of the cuticle bed. This creates a sparkling, frosted frame that catches the light with every movement, adding a three-dimensional quality to the clean, pastel base. It works beautifully on medium-to-long nails, particularly square or coffin shapes, which offer a wide canvas to showcase the smooth color transition.
Behind the Trend
This look is resonating right now because it captures the clean, hopeful energy of a seasonal shift. After months of deep, heavy winter tones like chocolate brown, rich burgundy, and forest green, there is a natural desire for light and clarity. Yet, jumping straight into bright summer neons or overly sweet pastel florals can feel premature when there is still a chill in the air. This style offers a clean slate, bridging the gap with its cool undertones and airy finish. While recent seasons have focused heavily on high-shine, uniform finishes like glazed chrome or the stark minimalism of a classic French manicure, this trend introduces a soft, artistic play on texture and depth. It reimagines the traditional French tip by erasing the harsh lines, replacing them with a gentle fade that feels much more organic. It brings to mind the nostalgia of early spring mornings and the quiet anticipation of warmer days, making it the perfect middle ground for anyone looking to refresh their look without rushing the season.
How to Get Glacier Mint Nails
Achieving this diffused look at home requires a few specific tools and a patient, layered approach. Begin by prepping your nails, shaping them into clean, soft squares or oval shapes, and applying a nourishing base coat to create an even, protected surface. Once dry, paint the entire nail with a single coat of a semi-sheer, milky white polish to establish a soft, diffuse foundation. For the gradient effect, you will need a small cosmetic wedge sponge. Lightly dampen the sponge with water first; this prevents it from absorbing too much polish and helps the colors blend more smoothly. Paint a stripe of the same milky white polish and a parallel stripe of a cool mint-green cream polish directly onto the edge of the sponge, letting them overlap slightly in the middle. Gently press the sponge onto the top two-thirds of your nail, tapping repeatedly to blend the boundary where the colors meet. Two thin coats applied this way read more true-to-trend than three, keeping the look airy and translucent rather than heavy. Let each layer dry completely before applying the next to avoid lifting the polish. If the sponge leaves a bit of texture on the nail, do not worry; a good top coat will smooth everything out. Use a small brush dipped in nail polish remover to clean up any excess polish on the skin surrounding your nails. Once your gradient is set, use a fine detailing brush to deposit a small amount of silver reflective glitter polish or loose silver foil flakes along the curve of your cuticles, sweeping it slightly upward to create a feathered, icy frame. Lock in the design with a high-shine top coat to smooth out the texture of the glitter and protect the gradient from chipping.
If you want to take the look a step further, consider playing with contrasting finishes. Swap out the high-gloss top coat for a velvet-matte top coat over the gradient portion of the nail, while keeping the silver glitter at the base completely glossy. The contrast between the soft, stone-like matte pastel and the wet-look shine of the silver flakes adds an unexpected, dimensional twist that feels incredibly modern. Alternatively, you can swap the mint green for a soft lavender or a pale sky blue to match whatever spring palette speaks to you most.