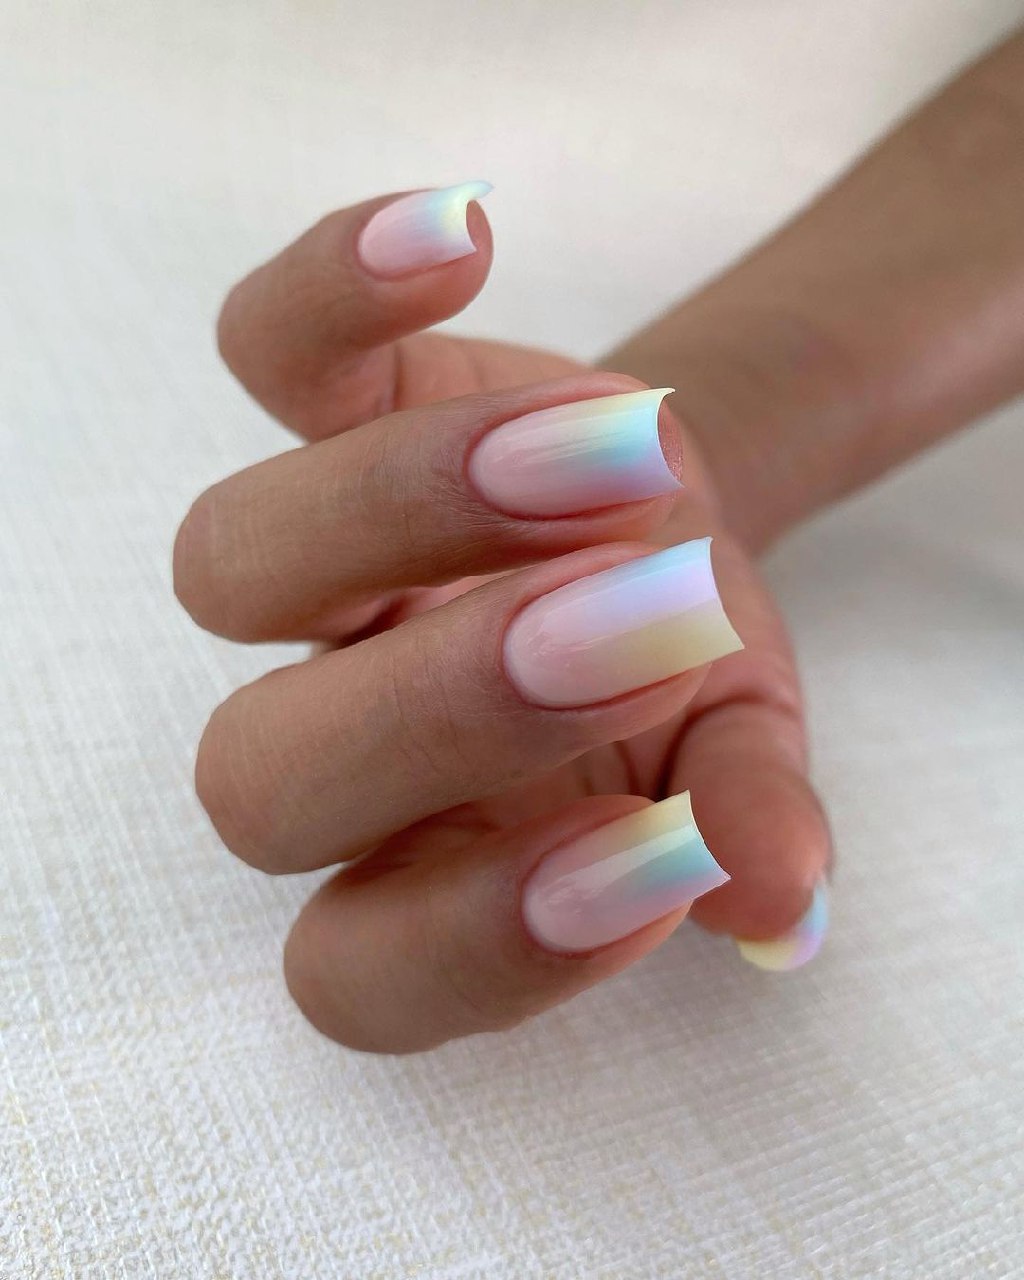
Try the Pastel Aura Nail Trend for the Dreamiest Spring Manicure
We’ll be wearing it all season.
You are sitting on a weathered wooden porch as the late-afternoon sun begins its slow, quiet descent, turning the sky into a soft, hazy blur of lavender, peach, and pale mint. The air still carries the cool, crisp edge of early spring, but the warmth of the fading light on your shoulders feels like a gentle promise of the longer, lazier days ahead. For a few peaceful minutes, the horizon looks less like a sharp, dividing line and more like a gentle, watercolor gradient, bleeding one soft shade into the next without any clear beginning or end. You take a sip of something cold, watch the shadows stretch across the yard, and wish you could bottle this exact, fleeting moment of transitional calm.
While you might actually be sitting at your kitchen island on a Tuesday morning or staring at a laptop screen waiting for a video call to start, you can capture that exact feeling of soft-focus, atmospheric light. You do not need a plane ticket to a desert sunset or a front-row seat to a spring twilight to keep that soft, comforting color palette close by; you can bring the look directly to your fingertips with a fresh manicure.
What Are Pastel Aura Nails?
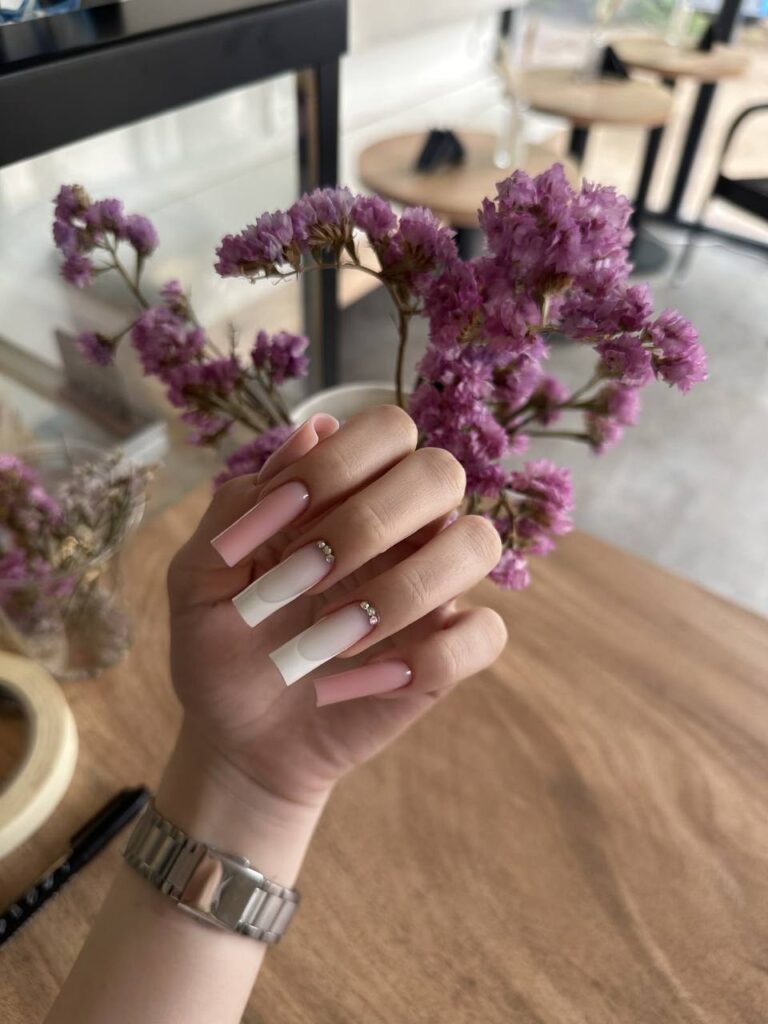
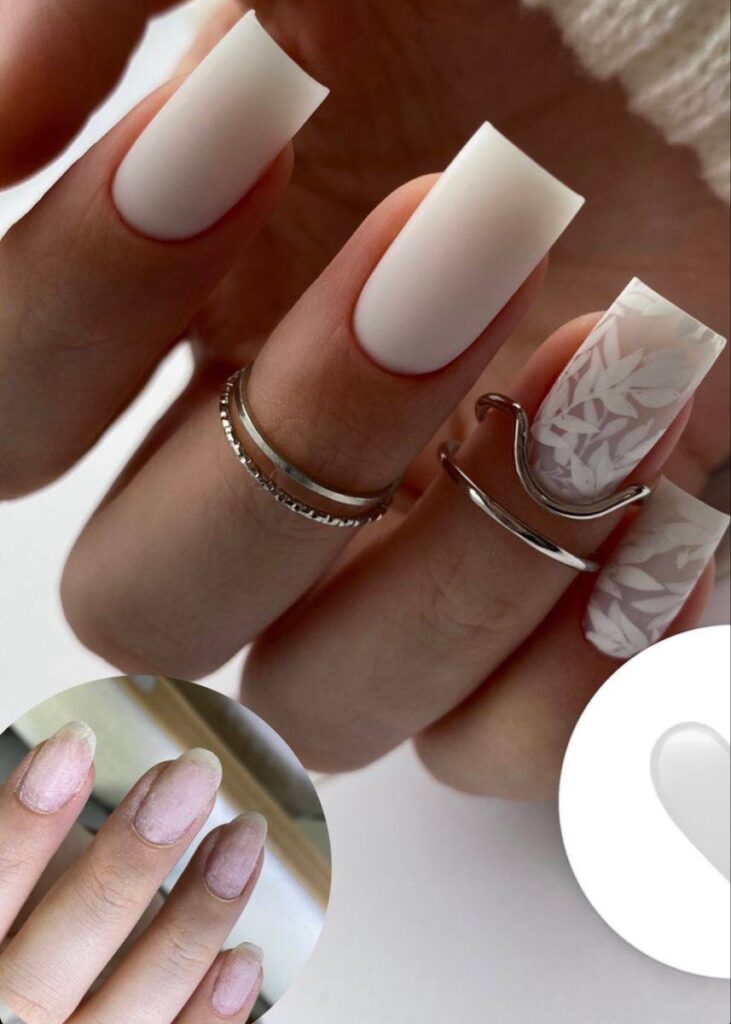
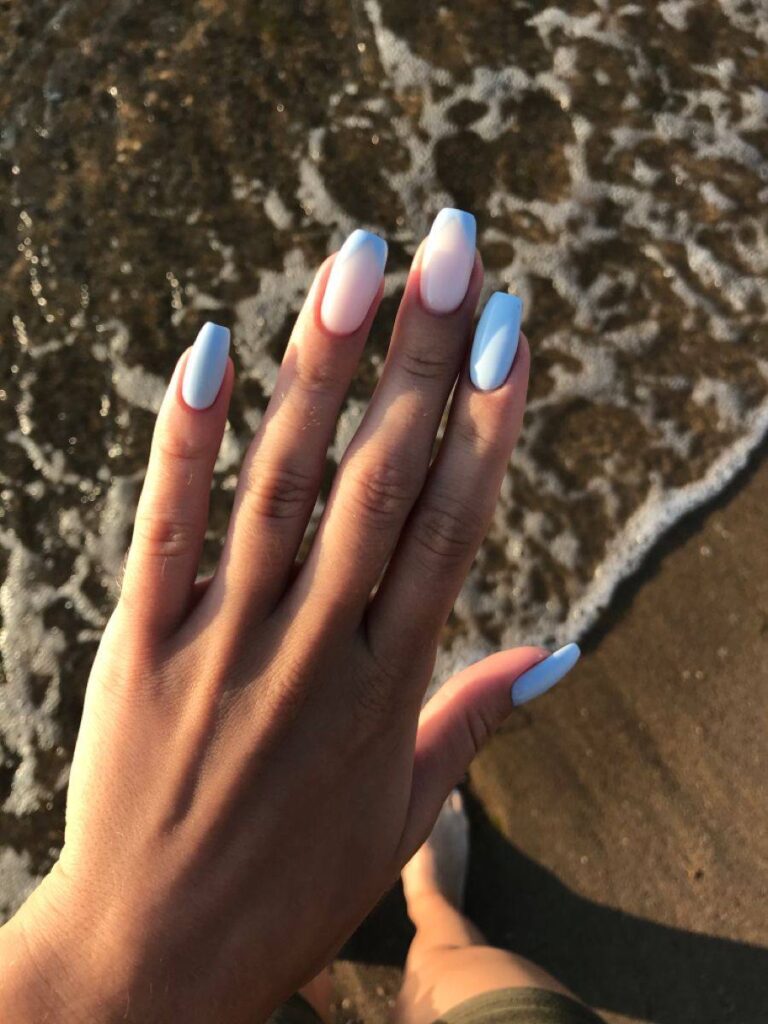
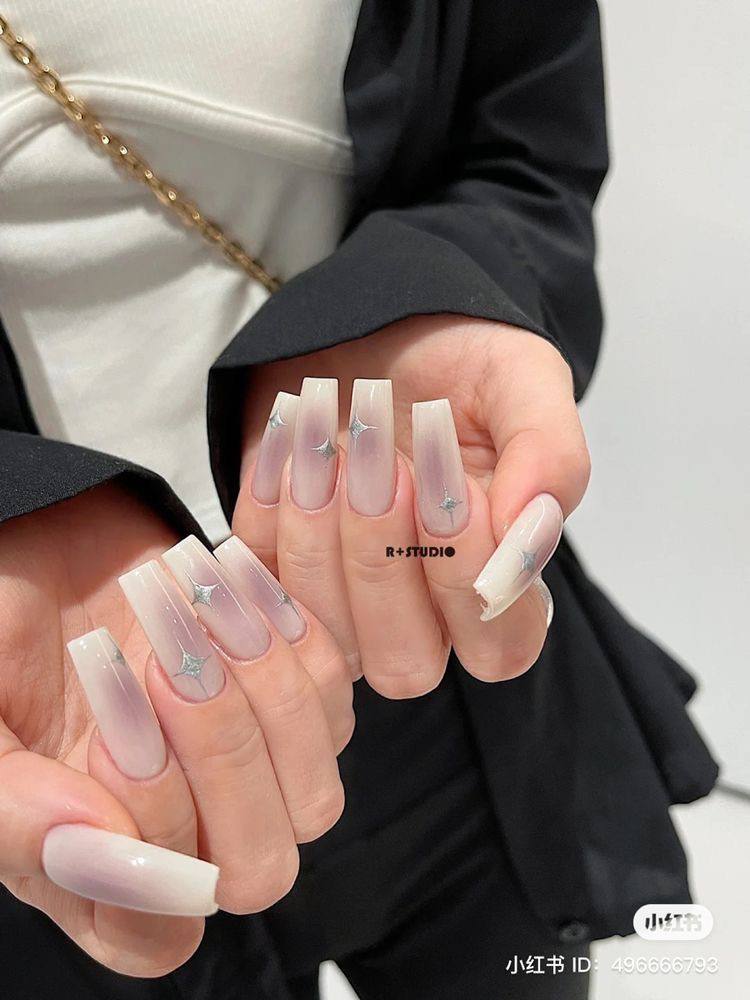
Pastel aura nails feature a semi-translucent, milky pink or soft beige base that serves as a quiet canvas for a diffused circle of pale color in the center of the nail. This central color gradient—often utilizing shades like butter yellow, mint green, baby blue, or lavender—mocks the soft-focus effect of an infrared photograph or a glowing energy field. The transition between the neutral base shade and the pastel tones is completely seamless, with no harsh lines, visible brush strokes, or blocky borders. The entire look is sealed with a thick, high-shine, glass-like top coat that gives the illusion of depth, making the colorful center appear as though it is floating just beneath a polished, watery surface.
Behind the Trend
This style is gaining traction because it offers a soft, artistic alternative to the hyper-precise, graphic nail art that has dominated our feeds for the past few seasons. While crisp micro-French tips, stark geometric lines, and intricate chrome decals require intense precision and a perfectly steady hand, the aura design embraces a softer, more organic aesthetic that feels deeply personal and expressive. There is a quiet nostalgia built into the design, recalling the airbrushed t-shirts from seaside boardwalk vacations, childhood watercolor paint sets, and the color-shifting promise of mood rings from the early aughts. It is a natural, more colorful evolution of the minimalist, sheer nude manicures of last year; it provides a touch of playfulness without feeling loud or clashing with your daily wardrobe. After months of wearing heavy, opaque winter crèmes or dense holiday glitters, this diffused style offers a fresh, breathing space for your nails, leaning into the light, airy energy of the changing season.
How to Get Pastel Aura Nails
To achieve this diffused look at home, start with clean, shaped nails and apply a layer of sheer, ridge-filling base coat to create a completely smooth, even surface. Once that layer is dry, apply two thin coats of a milky pink or sheer, semi-opaque beige polish. Two thin coats read more true-to-trend than three, as you want to maintain a slightly translucent, jelly-like depth rather than a solid, chalky backdrop that blocks the natural light. Next, you will create the characteristic aura effect using a small, dense cosmetic sponge or a clean sponge eyeshadow applicator. Deposit a tiny drop of your chosen pastel polish—such as a pale lavender or a soft apricot—onto a piece of foil or a plastic palette, dab your sponge lightly into the color, and tap off the excess on a paper towel until the sponge looks almost dry.
Gently press the sponge onto the center of your nail, working in tiny, light tapping motions to build a small circle. Keep the pigment concentrated directly in the middle, letting the edges fade softly and naturally into the milky pink base. If the color looks too stark, you can take a clean corner of the sponge and tap around the perimeter of the circle to blend the boundaries even further. If you are using gel polish, cure this layer under your lamp; if using regular polish, let it dry for a full two minutes. For a subtle, light-catching variation, you can use a silicone tool to gently buff a pinch of pearlescent white chrome powder over the sponged area before sealing. Finally, apply a generous layer of a plumping, high-gloss top coat. This final step is crucial, as it melts the sponged texture into the base layer, creating that smooth, glassy, and completely seamless finish.
For an unexpected twist on the style, try a mismatched palette across your hands, choosing a different pastel shade—like pale lilac on your thumb, soft mint on your index finger, and butter yellow on your ring finger—for a subtle, skittles-style aura effect. This variation keeps the overall look cohesive through the matching milky base, but adds an extra element of playfulness that feels perfect for the sunnier, warmer days ahead.