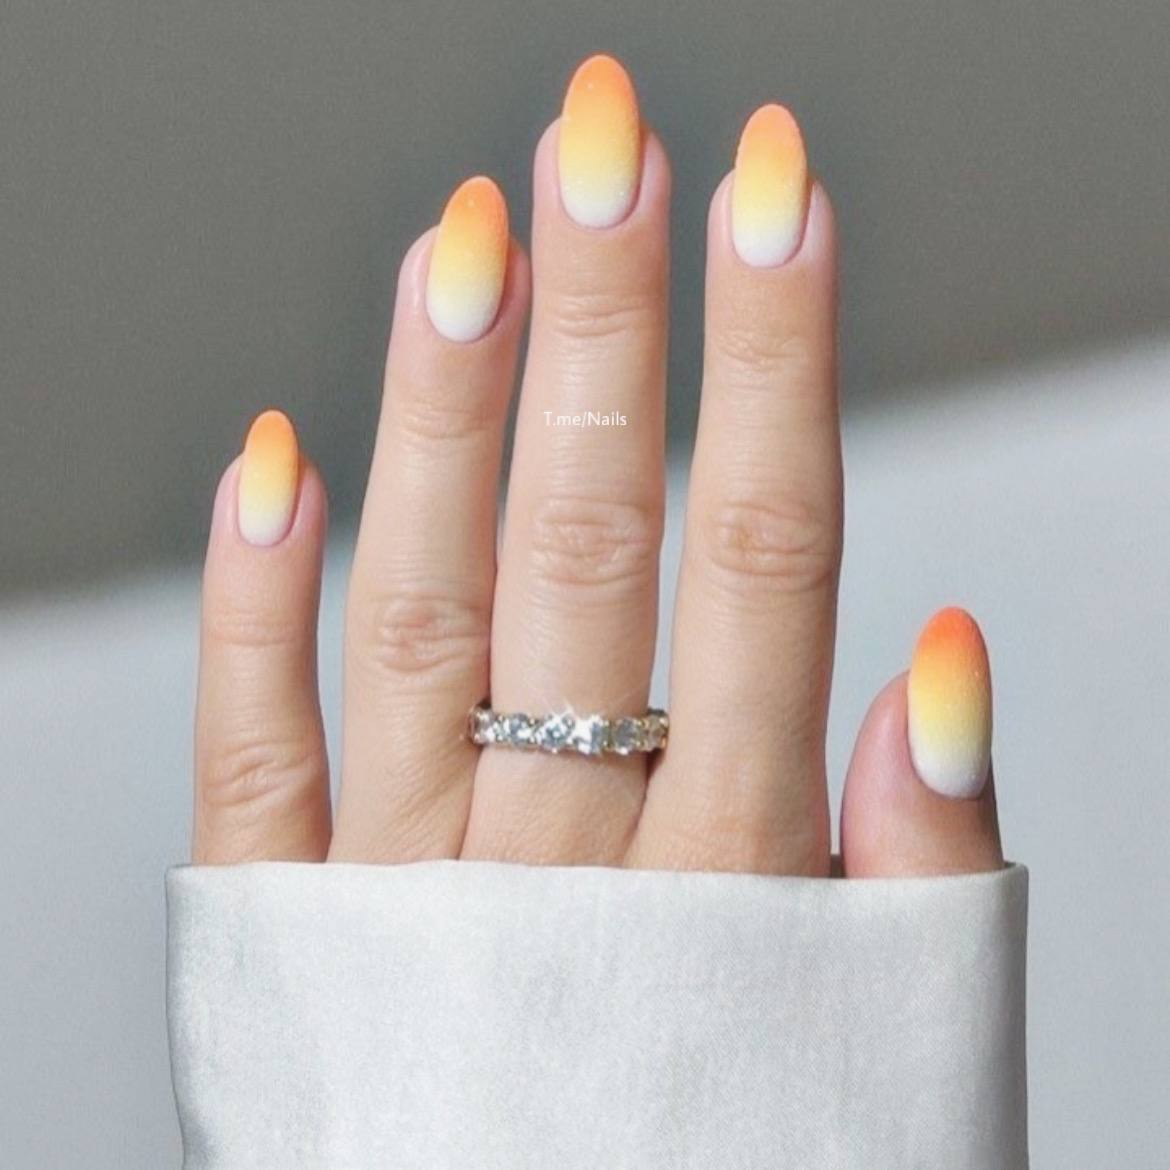
Dreamy Aura Nails: How to Get the Trending Gradient Look at Home
If you have spent any time scrolling through your social media feeds lately, you have probably noticed a mesmerizing new nail trend that looks more like a piece of modern art than a standard manicure. They are called aura nails, and they are taking the beauty world by storm. With their soft, glowing centers that fade out into a different color at the edges, aura nails mimic the look of an energy field or a mood ring, giving off an ethereal, otherworldly vibe.
The best part about this trend is that it is entirely customizable. Whether you want something moody and mysterious or bright and energetic, the aura style allows you to express your current vibe through color. While many people head to the salon for this look—where technicians often use airbrushes to get that perfect blur—you don’t actually need professional equipment to achieve it.
In this guide, we are going to walk through everything you need to know to create your own aura nails at home, from the essential tools to the best color combinations for your mood.
What Exactly Are Aura Nails?
At its core, an aura nail is a gradient design where a lighter or contrasting color is concentrated in the center of the nail, blending seamlessly into a darker or different base color toward the edges. Unlike a traditional French tip or a vertical ombré, the aura look is circular. It creates a focal point in the middle of the nail, making it look as though the color is radiating outward from the center.
This trend taps into the growing interest in wellness, spirituality, and personalization. In the beauty community, “aura” refers to the electromagnetic field that supposedly surrounds a person, with different colors representing different emotions or states of being. By choosing specific color pairings, you can effectively “wear your mood” on your fingertips.
Essential Tools for Your DIY Aura Manicure
You do not need an expensive airbrush machine to get the aura effect. You can achieve a very similar look using a few basic beauty supplies you likely already have in your drawer. Here is what you will need:
A base color polish: This will be the outer edge of your nail.
A center color polish: This will be the “glow” in the middle.
Makeup sponges: Small, round or wedge-shaped sponges work best. The porous texture of the sponge is what creates that soft, blurred edge.
A high-quality top coat: Since you will be layering polish and dabbing with a sponge, a thick, glossy top coat is essential to smooth out any texture and seal the design.
Nail polish remover and a cleanup brush: To keep your cuticles clean and the edges crisp.
Base coat: To protect your natural nail from staining.
Step-by-Step Guide to Creating Aura Nails at Home
Creating the blurred effect requires a bit of patience and a light hand. Follow these steps to get a seamless gradient.
Step 1: Prep and Base Coat
Start with clean, shaped nails. Apply a base coat to ensure your polish adheres well and to prevent staining, especially if you are using vibrant pigments. Once the base coat is dry, apply two thin coats of your primary base color (the color that will be on the edges). Let this dry completely. If the base is still tacky, the sponge will drag the paint and ruin the circle.
Step 2: Prepare the Sponge
Instead of applying the center color directly to your nail, apply a small amount of the second polish onto the flat side of your makeup sponge. You want a concentrated circle of polish, not a long streak.
Step 3: The Dabbing Technique
Lightly dab the sponge onto the center of your nail. Do not press down too hard; use a gentle, bouncing motion. Start in the very center and work your way slightly outward in a circular motion. The goal is to keep the most pigment in the middle and let it fade as you move toward the edges.
Step 4: Blend and Refine
If the circle looks too harsh or “stamped,” use a clean part of the sponge to lightly blur the edges of the center color. You can also do a few more light dabs of the base color around the perimeter to help the two shades merge more naturally.
Step 5: Seal it With a Top Coat
This is the most important step. The sponge technique can leave the nail feeling slightly textured or matte. A generous layer of a glossy top coat will flatten the surface and blend the colors together even further, giving it that professional, “airbrushed” finish.
Top Aura Nail Color Combinations to Try
The beauty of aura nails is that there are no rules. However, if you are stuck on which colors to choose, here are a few curated pairings based on the “energy” they project:
The Soft Girl Aesthetic: A milky white base with a pale pink center. This is the most popular version of the trend—feminine, clean, and subtle.
The Sunset Glow: A deep orange or red base with a bright yellow center. This combination feels energetic, warm, and perfect for the summer months.
The Midnight Mystery: A navy blue or black base with a deep purple or magenta center. This is ideal for those who prefer a moodier, more gothic, or celestial look.
The Zen Vibe: A sage green base with a cream or soft yellow center. This palette is calming and earthy, reflecting a sense of peace and balance.
Pro Tips for a Seamless Blend
If your first attempt looks more like a polka dot than an aura, don’t panic. Here are a few professional tips to level up your game:
Control your polish consistency. If your polish is too thick, it will leave a visible bump on the nail. If it is too thin, the color won’t be vibrant enough. If your polish is getting old and thick, add a drop of nail polish thinner to get it back to a fluid consistency.
Work in thin layers. It is tempting to overload the sponge to get a bright color quickly, but this often leads to streaks. It is better to dab a light layer, let it set for a minute, and then dab again to build intensity in the center.
Use the right sponge. Avoid using coarse kitchen sponges. Cosmetic sponges (the kind used for foundation) have a much finer pore structure, which is the secret to getting that seamless, airbrushed gradient.
Keep your cleanup brush handy. Since the dabbing motion can sometimes get polish on your skin, dip a small angled brush in acetone and clean up your cuticles before applying the top coat. This makes the final result look like it came from a high-end salon.
Final Thoughts on the Aura Trend
Aura nails are more than just a passing fad; they are a way to bring a bit of artistic expression to your everyday look. Whether you go for a high-contrast neon pairing or a subtle nude gradient, the process is a relaxing way to experiment with color and technique. By swapping an expensive airbrush for a simple makeup sponge, you can achieve a high-fashion look right from your living room. So, pick the colors that match your current mood and start glowing.