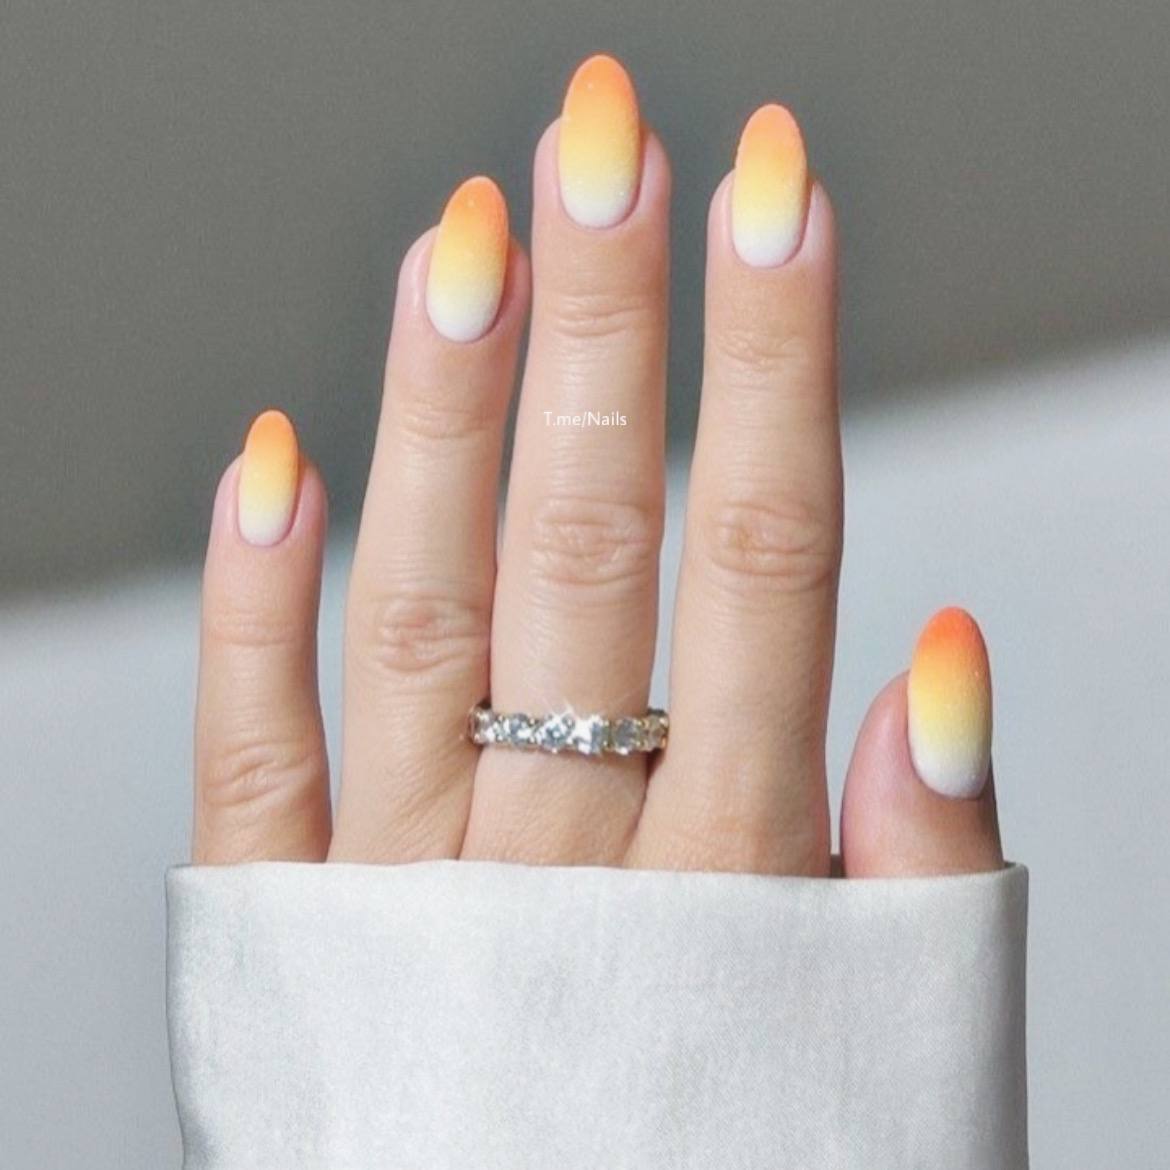
DIY Almond Shaped Ombre Nails: How to Get a Professional Look at Home
How to Do Almond Shaped Ombre Nails at Home for a Professional Look
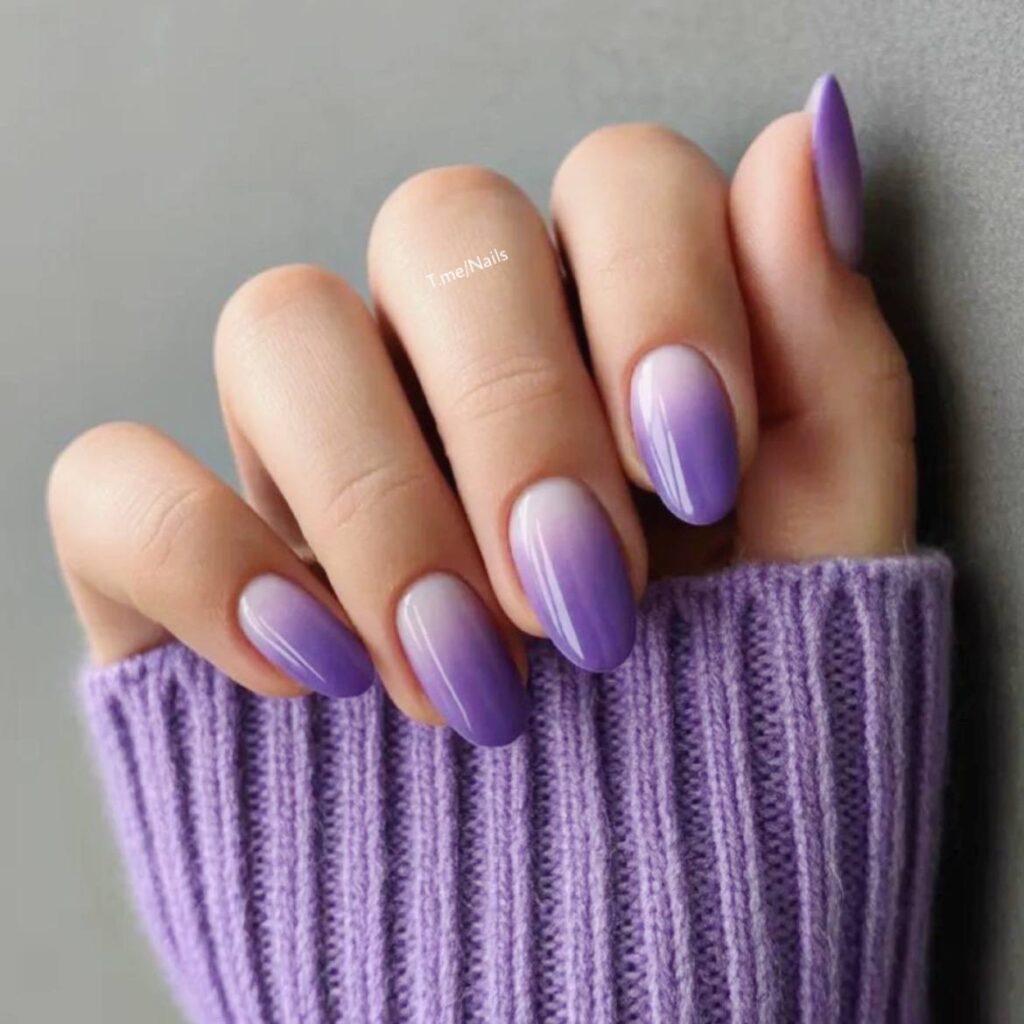
There is something about a perfectly blended gradient that just feels high-end. Whether it is a soft sunset transition, a classic nude-to-white fade, or a bold pop of neon, ombre nails have a way of looking polished and intentional. When you pair that seamless color melt with an almond shape, you get a look that is not only trendy but incredibly flattering, as the tapered edges help elongate the fingers.
The problem? Most of us assume that this level of precision requires a professional nail tech and a pricey salon appointment. While the salon is great, achieving that “expensive” look is actually possible in your own living room. If you have a few basic tools and a little bit of patience, you can master the art of the gradient.
In this guide, we are walking through exactly how to do almond shaped ombre nails at home, from the initial shaping to the final high-shine top coat.
Essential Tools for the Perfect Ombre Gradient
Before you dive into the color, you need the right toolkit. You don’t need a professional UV lamp unless you are using gel polish, but you will need a few specific items to get the blending just right.
First, grab a high-quality nail file and a buffer. Since we are aiming for an almond shape, a grit that is too coarse can cause peeling, so opt for a medium-grit file. For the ombre effect itself, the secret weapon is a makeup sponge. Small wedge sponges work best because they provide a flat surface for applying polish and a precise edge for dabbing onto the nail.
Regarding polish, choose two or three colors that complement each other. If you are a beginner, try colors that are close in shade—like a pale pink and a deeper rose. Once you get the hang of it, you can experiment with high-contrast pairings. Don’t forget a clear base coat to protect your natural nails and a fast-drying top coat to smooth out the sponge texture and lock everything in.
Prepping Your Nails for the Almond Shape
The foundation of any great manicure is the prep. If your nails aren’t shaped correctly, the ombre effect can look skewed. The almond shape is characterized by a wide base that tapers to a rounded point, mimicking the shape of an actual almond.
Start by filing the sidewalls of your nails in an upward motion toward the center. Avoid filing straight across the top; instead, create a gentle curve. The goal is to avoid a sharp point (which would be a stiletto nail) and instead achieve a soft, rounded tip. Once you’ve shaped all ten nails, use your buffer to smooth out any jagged edges and gently push back your cuticles to create more surface area for the polish.
Finish your prep by applying a thin layer of base coat. This prevents the pigment from staining your natural nail and creates a smooth canvas that helps the ombre colors glide and blend more effectively.
Step-by-Step Guide to Achieving the Ombre Effect
Now for the main event. The key to a successful gradient is layering and patience. Here is how to execute the process.
Step 1: Apply a Base Color
Start by painting your nails with the lightest color of your chosen palette. This acts as your background. If you are doing a white-to-pink ombre, paint all your nails white first. Let this layer dry completely. This ensures that no “bald spots” appear in your gradient.
Step 2: Prepare Your Sponge
Take your makeup sponge and apply a stripe of your lightest color and a stripe of your darker color side-by-side. The stripes should slightly overlap in the middle. This is where the magic happens; the overlap on the sponge creates the transition color that makes the ombre look seamless rather than like a harsh line.
Step 3: Dab the Color
Carefully press the sponge onto your nail. Start at the tip (where you want the darkest color) and dab gently toward the middle of the nail. You don’t need to press hard; a light, bouncing motion is best. Repeat this process two or three times to build the intensity of the color. Don’t worry if it looks a bit “stippled” or textured at this stage—that is normal.
Step 4: Clean Up the Edges
Since you are dabbing polish onto your nail, some of it will inevitably end up on your skin and cuticles. Dip a small makeup brush or a Q-tip into some nail polish remover and carefully clean up the edges. Doing this now, before the top coat, ensures a crisp, professional finish.
Step 5: Seal the Deal
The final step is the most important. Because the sponge leaves a slightly textured surface, a thick, glossy top coat is essential. It fills in the gaps, blends the colors one last time, and gives you that salon-quality shine. Apply it in long, smooth strokes and let it cure completely.
Pro Tips for a Seamless Blend
If you find that your lines are too harsh or your colors aren’t blending, try these expert tweaks.
One of the biggest mistakes is using too much polish on the sponge. If the sponge is saturated, the polish will bleed and look messy. Keep your layers thin. It is better to do three light dabs than one heavy one.
Another trick is to play with the placement of your colors. For a more modern look, try a “reverse ombre” where the darker color is at the cuticle and fades toward the tip. If you want a softer look, add a third, mid-tone color between your lightest and darkest shades. This creates a more natural transition and eliminates any visible lines.
Finally, if you are using regular polish, give yourself plenty of drying time between the base color and the sponge application. If the base is still tacky, the sponge may lift the polish off the nail, creating an uneven surface.
Maintenance and Aftercare for Long-Lasting Color
Now that you’ve mastered how to do almond shaped ombre nails at home, you want them to last. Ombre designs can be prone to chipping at the tips since that is where the most polish is concentrated.
To extend the life of your manicure, apply a fresh layer of top coat every two to three days. This reinforces the seal and keeps the shine intact. Additionally, make sure to use cuticle oil daily. This keeps the skin around your almond tips hydrated and prevents the polish from lifting at the edges.
When you’re ready for a change, remove your ombre nails with an acetone-free remover to avoid drying out your nail beds, especially since the almond shape requires a bit more maintenance to keep the tips from splitting.
Final Thoughts
Achieving a professional-looking manicure doesn’t have to mean spending your Saturday in a salon chair. By focusing on the right shaping technique and using a simple makeup sponge for your gradient, you can create a stunning, high-fashion look from the comfort of your home. Whether you go for subtle neutrals or vibrant summer hues, the almond ombre is a versatile choice that adds a touch of elegance to any outfit. Grab your sponges, pick your favorite colors, and start experimenting.