3D Swirl Nail Art: How to Choose the Right Texture and Tone for Your Hands
You know that feeling when you find a manicure that feels less like a polish job and more like a piece of jewelry? Most nail trends play with color and flat patterns, but 3D swirl nail art changes the game by adding a physical dimension to your fingertips. It is the difference between looking at a painting and feeling a sculpture. If you are looking for a way to make your hands a conversation piece without relying on oversized charms or loud glitters, this tactile approach is your best bet.
What Exactly is 3D Swirl Nail Art?
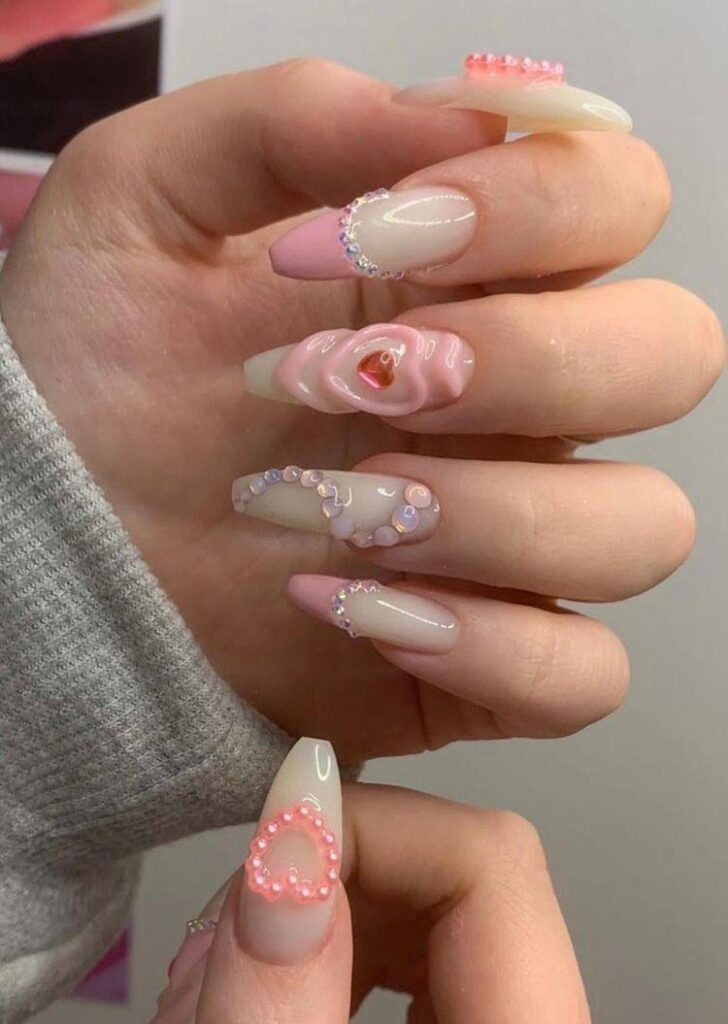
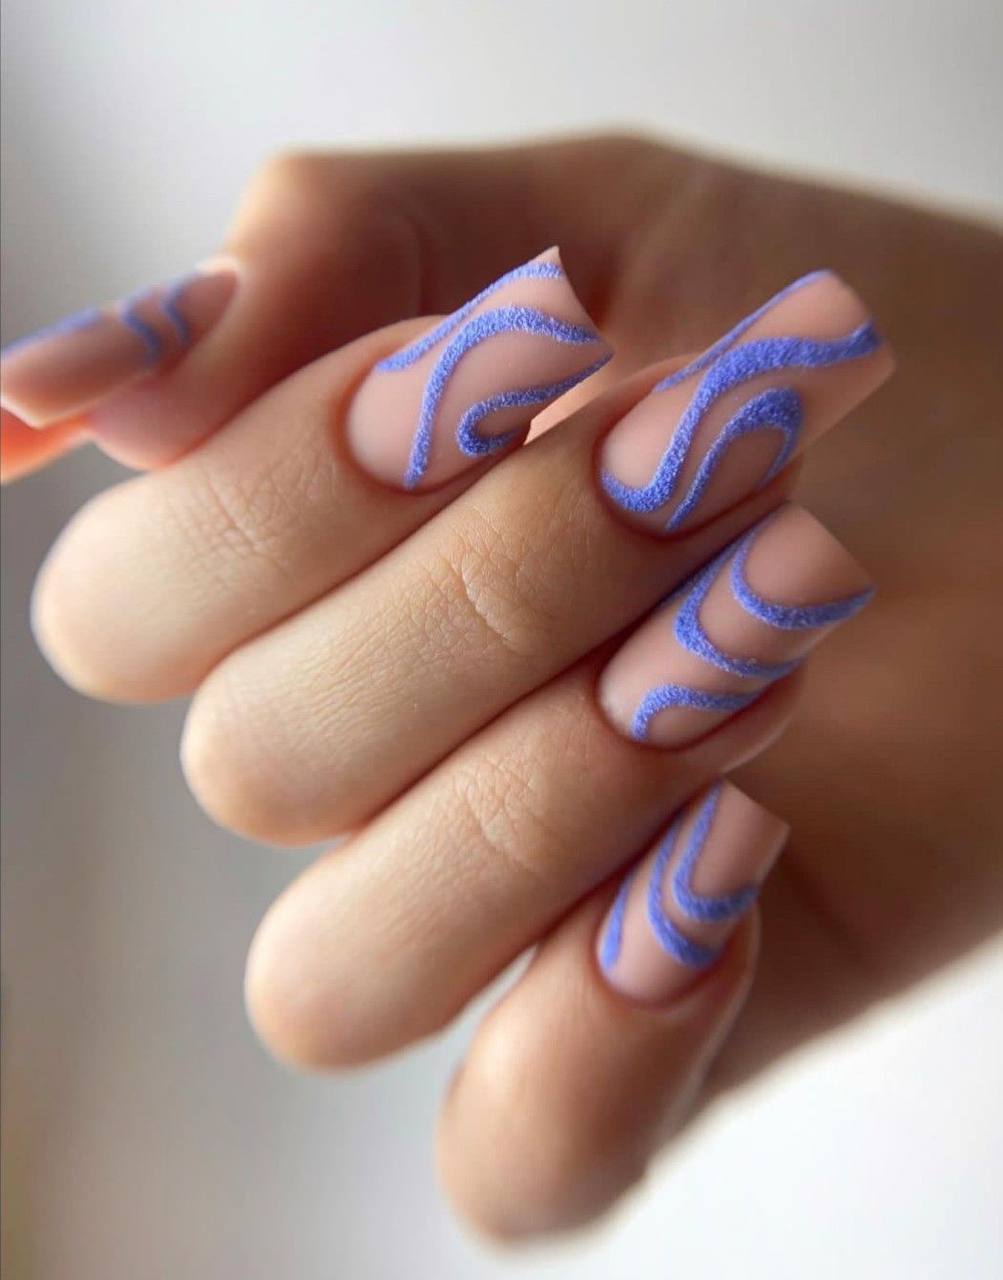
Unlike traditional nail art where the design is painted flat and sealed under a top coat, 3D swirl nail art uses thick, viscous gels—often called builder gel or 3D sculpting gel—to create raised lines that sit above the surface of the nail. These swirls can be thin and subtle or bold and chunky, mimicking the look of liquid metal, melting icing, or organic waves.
The appeal lies in the movement. Because the lines are curved and raised, they catch the light differently as you move your hands. It creates a fluid, organic aesthetic that feels modern and intentional. Whether the swirls are symmetrical or abstract, the result is a manicure that invites touch and looks high-end, regardless of whether you get it done at a salon or attempt a DIY version with the right tools.
Choosing the Right Color Contrast
The secret to making 3D swirls look sophisticated rather than cluttered is the contrast between the base color and the raised design.
A neutral or nude base is a classic choice for a reason. When you use a sheer pink, beige, or milky white background, the 3D swirls become the undisputed focal point. For example, a soft lavender or deep violet swirl over a nude base creates a dreamy, ethereal vibe that works for almost any skin tone. The neutral base keeps the look grounded, ensuring the 3D element feels like a chic accent rather than an overwhelming costume.
If you want something bolder, try a monochromatic approach. A dark forest green swirl over a light mint base provides a cohesive, tonal look that feels curated. For those who prefer a high-contrast edge, a crisp white swirl over a matte black base offers a graphic, architectural feel. The key is to pick one element—either the base or the swirl—to be the “quiet” part of the design, allowing the other to shine.
The Best Nail Shapes for Tactile Designs
While you can put 3D art on any nail, certain shapes provide a better canvas for the fluidity of a swirl.
Almond and Oval shapes are the most natural fit. The tapered ends mirror the curves of the swirls, creating a seamless flow from the cuticle to the tip. This combination elongates the fingers and makes the 3D elements feel like a natural extension of the nail.
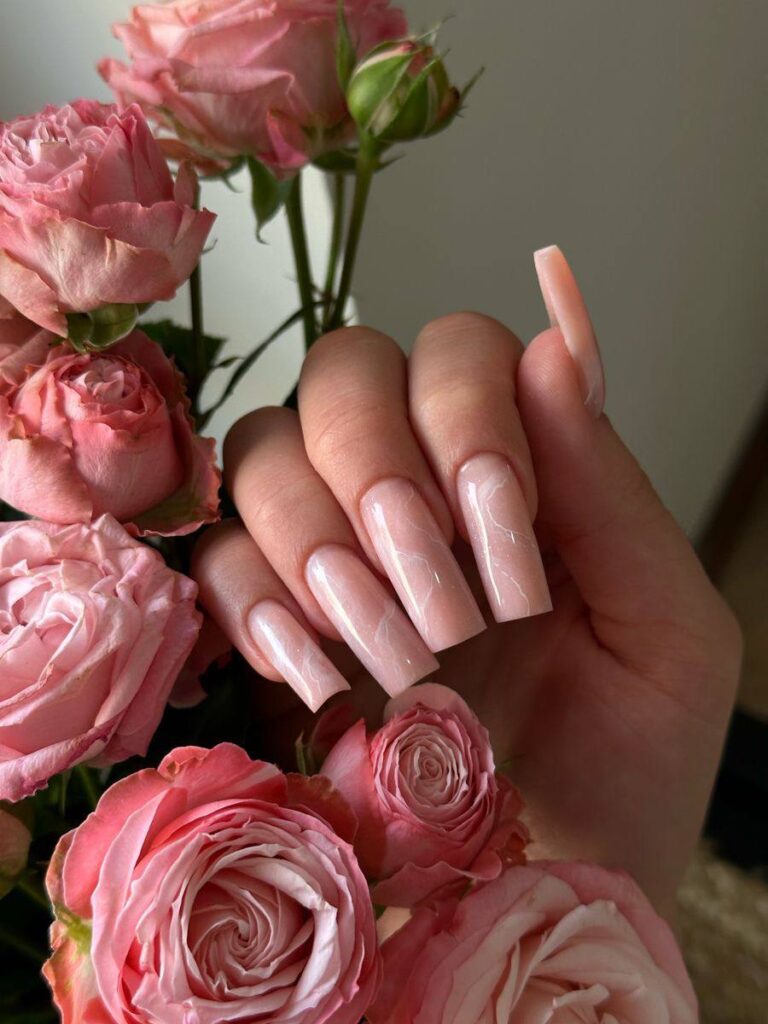
Coffin and Square shapes offer a more contemporary, edgy contrast. The sharp corners of these shapes play against the soft, rounded nature of the swirls. This creates a visual tension that feels very “city-chic” and works well if you are pairing your nails with structured clothing, like a sharp blazer or a minimalist dress.
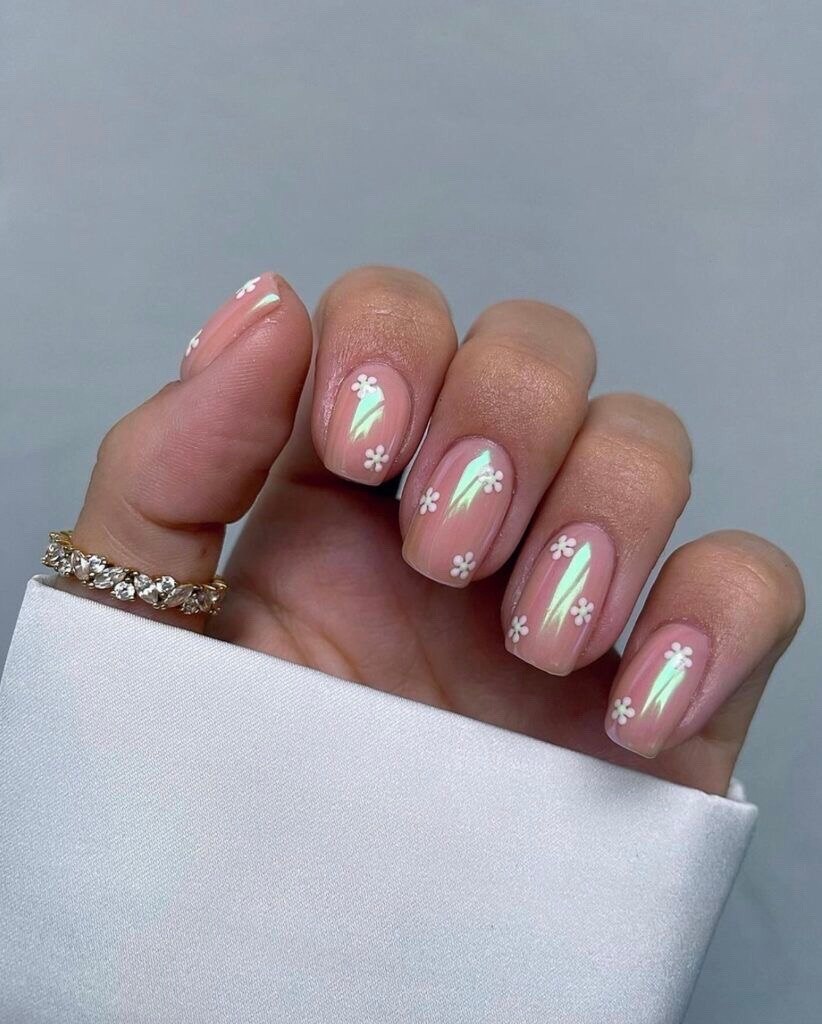
If you keep your nails short, don’t assume 3D art is off-limits. Short, square nails with a single, delicate 3D swirl on the ring finger provide a subtle pop of texture that is professional enough for the office but interesting enough for the weekend.
Matching Your Manicure to Your Lifestyle
One of the best things about 3D swirl nail art is its versatility. Because it is an abstract design, it doesn’t tie you to one specific theme or season.
For a creative professional or someone who attends gallery openings and events, bold, sculptural swirls in metallic golds or silver can act as a substitute for rings. They add a level of artistry to your look that complements a minimalist outfit.
For those who want something more romantic, think soft pastels—lilacs, peaches, or baby blues—on a creamy base. This pairing works beautifully for brunch dates, spring weddings, or any occasion where you want to feel polished and feminine without being overly traditional.
If you are heading into a more formal environment, stick to a “micro-swirl.” This involves very thin, raised lines in a color only a few shades different from your base. It provides a sophisticated, embossed effect that is only visible upon closer inspection.
Maintenance and Long-Term Wear
Adding dimension to your nails means you have to think a bit differently about maintenance. Because the swirls are raised, they can occasionally catch on fine fabrics like lace or knit sweaters.
To keep your design intact, focus on the finish. A high-gloss top coat over the 3D swirls gives them a glass-like, liquid appearance that is very popular right now. However, if you prefer a more understated look, a matte top coat can make the 3D elements look like velvet or carved stone.
Since 3D gel is generally denser than regular polish, it tends to be quite durable. However, as your natural nail grows out, the “lift” at the cuticle will be more apparent with a 3D design. To keep the look fresh, plan for a fill-in every two to three weeks. To prevent the edges of the swirls from lifting, avoid using your nails as tools to open cans or peel stickers—treat them like the pieces of art they are.
Stepping Out with Confidence
Whether you go for a bold, sculptural statement or a whisper of texture, 3D swirl nail art is about embracing a bit of playfulness in your beauty routine. It is a way to experiment with form and feel, moving beyond the flat colors we are used to. By picking a contrast that complements your skin tone and a shape that suits your lifestyle, you can turn a simple manicure into a signature style. All it takes is a little bit of dimension to completely change how you feel about your look.