Try the Aurora Nail Trend for the Etherealest Spring Manicure
We’ll be wearing this iridescent glow all season.
You are standing on the edge of a shoreline just as the sun begins to dip below the horizon. The sand is cool beneath your feet, and the tide is pulling back, leaving behind a thin, shimmering film of water on the coast. As you look down, the wet sand reflects a kaleidoscope of pale violets, mint greens, and soft peaches, shifting and swirling every time you move your head. The air smells of salt and damp earth, and for a moment, the world feels like it is made entirely of light and liquid.
You probably aren’t spending your Tuesday afternoon on a secluded beach in the Pacific Northwest, but you can bring that same light-catching magic into your daily routine. While you might not be able to bottle the feeling of a coastal twilight, you can capture its visual essence with a manicure that mimics the shifting colors of the natural world.
What Are Aurora Nails?
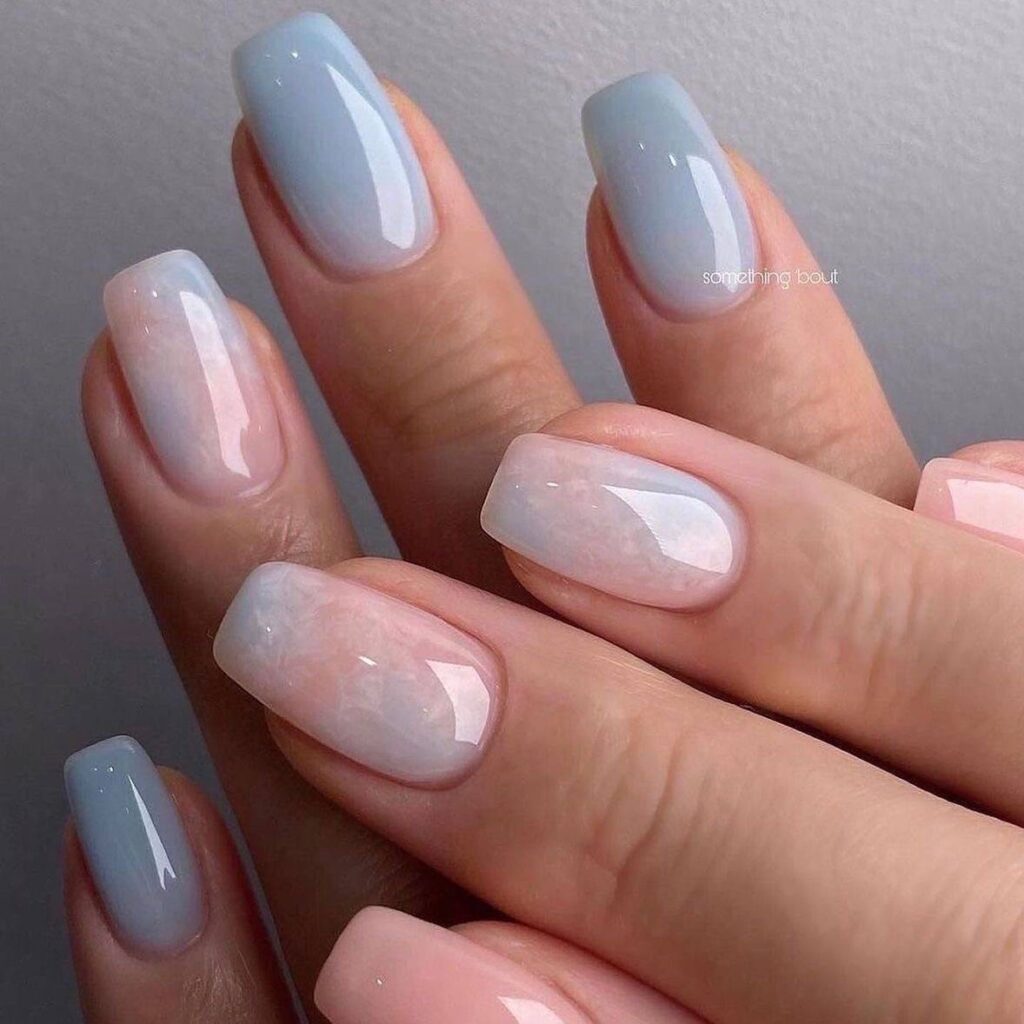
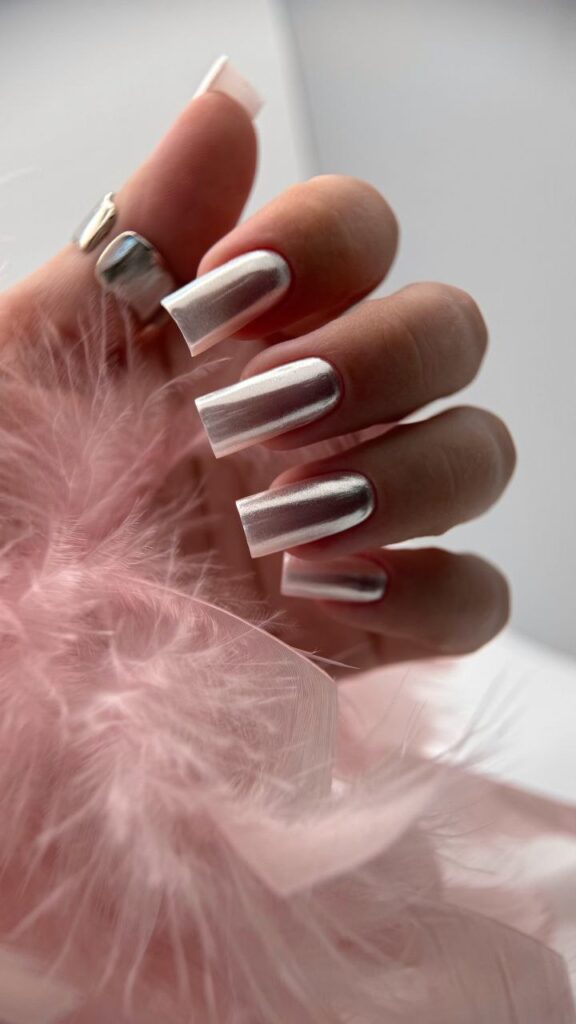
Aurora nails are defined by a pearlescent, holographic finish that creates a three-dimensional illusion of depth. Unlike a standard shimmer or a flat metallic paint, this look utilizes a translucent base topped with a light-refracting pigment. The result is a glass-like surface that changes color depending on the angle of the light, often transitioning between cool tones like icy blue and lilac or warm tones like champagne and rose gold. The finish is smooth and reflective, appearing almost like a soap bubble or the interior of a seashell.
Behind the Trend
The shift toward Aurora nails comes as a response to the heavy, opaque saturation we have seen in previous seasons. For a long time, the trend cycle leaned toward high-contrast colors or the stark, mirrored look of traditional silver chrome. Even the more recent move toward sheer, milky neutrals felt a bit too quiet for those craving a sense of fantasy. Aurora nails occupy the middle ground. They offer the cleanliness of a neutral palette but inject a sense of movement and playfulness that feels appropriate for the transition into spring.
There is also a distinct nostalgic thread woven into this look. The iridescent sheen recalls the holographic stickers and translucent plastics of the late nineties, bringing back a sense of childhood wonder. It is a look that feels futuristic yet organic, mirroring the curiosity of exploring a tide pool or watching the Northern Lights. In a fast-paced digital environment, there is something calming about a manicure that requires you to tilt your hand just right to see the full spectrum of color, encouraging a moment of slow, tactile observation.
How to Get Aurora Nails
Achieving this look requires a specific layering process to ensure the light reflects properly through the polish. You will need a sheer base color, an iridescent chrome powder, and a high-shine top coat. If you are doing this at home, a gel system is the most effective route because the powder needs a cured, non-tacky surface to adhere to without clumping.
Begin by applying one or two thin coats of a sheer, pale polish. A milky white, a soft petal pink, or a translucent lavender works best. These colors act as a canvas, providing just enough opacity to give the nails structure while allowing the holographic pigment to remain the star of the show. Two thin coats read more true-to-trend than three going for full opacity, as the slight transparency is what creates the illusion of depth.
Once the base color is cured under a lamp, you will apply a no-wipe top coat. This is a critical step because any residual stickiness from a standard top coat will cause the chrome powder to streak or peel. After curing the top coat, use a small sponge applicator or a soft brush to rub the iridescent chrome powder into the nail surface. Use a light, buffing motion, working the powder from the cuticle to the tip until the nail looks like a polished mirror. The more evenly you buff the powder, the more seamless the color shift will appear.
The final step is to seal the powder with another layer of a high-shine top coat. This protects the pigment from wearing off and adds that final, glass-like clarity. Apply the top coat in long, smooth strokes to avoid creating bubbles, which can disrupt the reflection of the light. Let the manicure cure fully, and you are left with a finish that looks less like paint and more like a prism.
If you want to take this look a step further, try adding a single, tiny clear gel droplet to the center of each nail before the final top coat. This creates a dewdrop effect that enhances the organic, water-like quality of the Aurora finish, making your manicure look as though it was just plucked from a spring morning garden.