The shift toward sheer, translucent finishes marks a departure from the heavy, opaque pigments that dominated recent years. Instead of a solid wall of color, the milky jelly aesthetic offers a sense of depth that mimics the look of sea glass or soft petals. This style relies on the interplay of light through layers of pigment, creating a visual softness that feels contemporary yet timeless. When you opt for this look, you are choosing a finish that prioritizes texture and luminosity over blunt saturation.
The Anatomy of a Jelly Finish
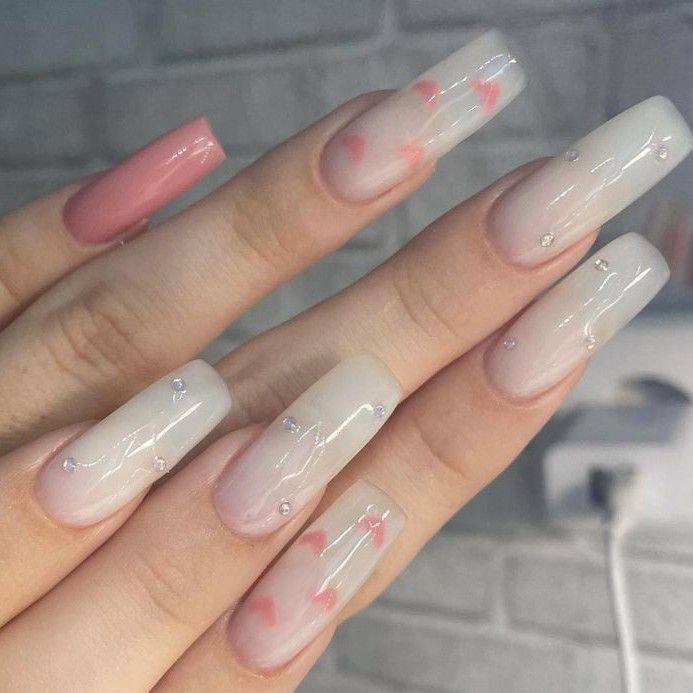
Achieving this specific look requires an understanding of translucency. Unlike standard cream polishes that sit heavily on the nail plate, jelly polishes are formulated with a lower pigment load, allowing light to pass through the color and bounce off the natural nail or a base layer. This creates a three-dimensional effect. To replicate this, start with a sheer, milky white or a pale pink base. This base acts as a canvas, providing a soft, blurred background that prevents the natural nail’s imperfections from showing through while maintaining that signature clouded appearance.
The depth of the color is controlled by the number of thin layers applied. Rather than one thick coat, which can lead to pooling near the cuticle, apply multiple thin, even layers. This builds a controlled opacity that feels airy. The goal is to reach a state where the nail looks saturated but still retains a certain level of transparency, particularly at the tips or where the light hits the apex.
Precision in Application and Detail
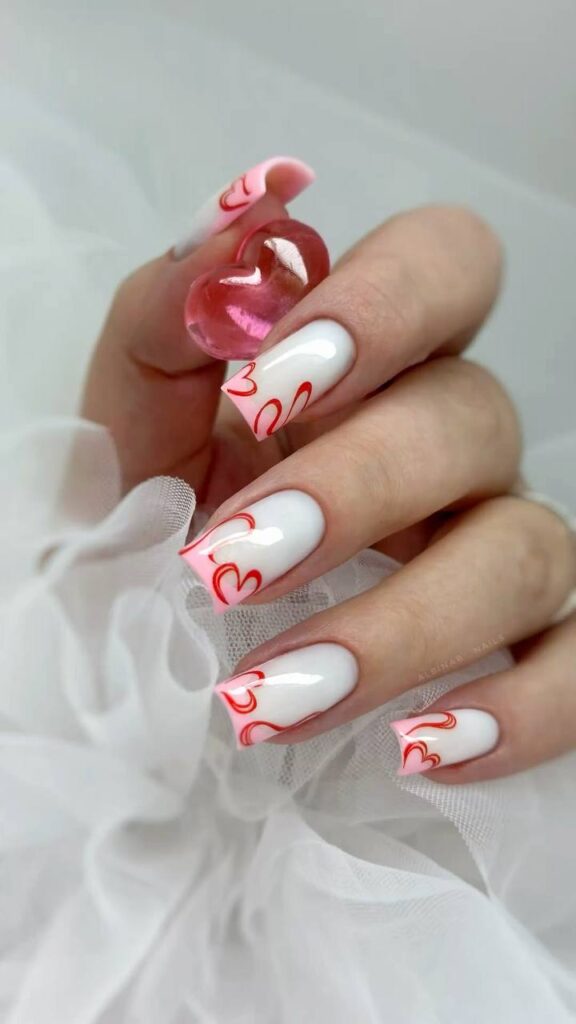
Once the milky base is cured and smoothed, the focus shifts to micro-details. The heart motifs seen in contemporary jelly designs are best achieved using a fine liner brush and a highly pigmented gel paint. Because the base is sheer, your hand must be steady; the contrast between the translucent background and the opaque pink of the hearts creates the illusion that the shapes are suspended within the nail itself. Instead of painting the hearts directly on the surface, you can apply a thin layer of clear builder gel, paint the detail, and then encapsulate it with a final top coat. This technique, known as encapsulation, gives the art a professional, multi-dimensional quality.
For those incorporating embellishments like rhinestones or tiny pearls, placement is everything. Small, clear crystals can be placed strategically to catch the light without overwhelming the delicate base. To ensure they stay secure, use a thick, clear gel to adhere the stone, ensuring the apex of the nail is slightly reinforced around the embellishment to prevent it from catching on fabric.
Balancing Shape and Embellishment
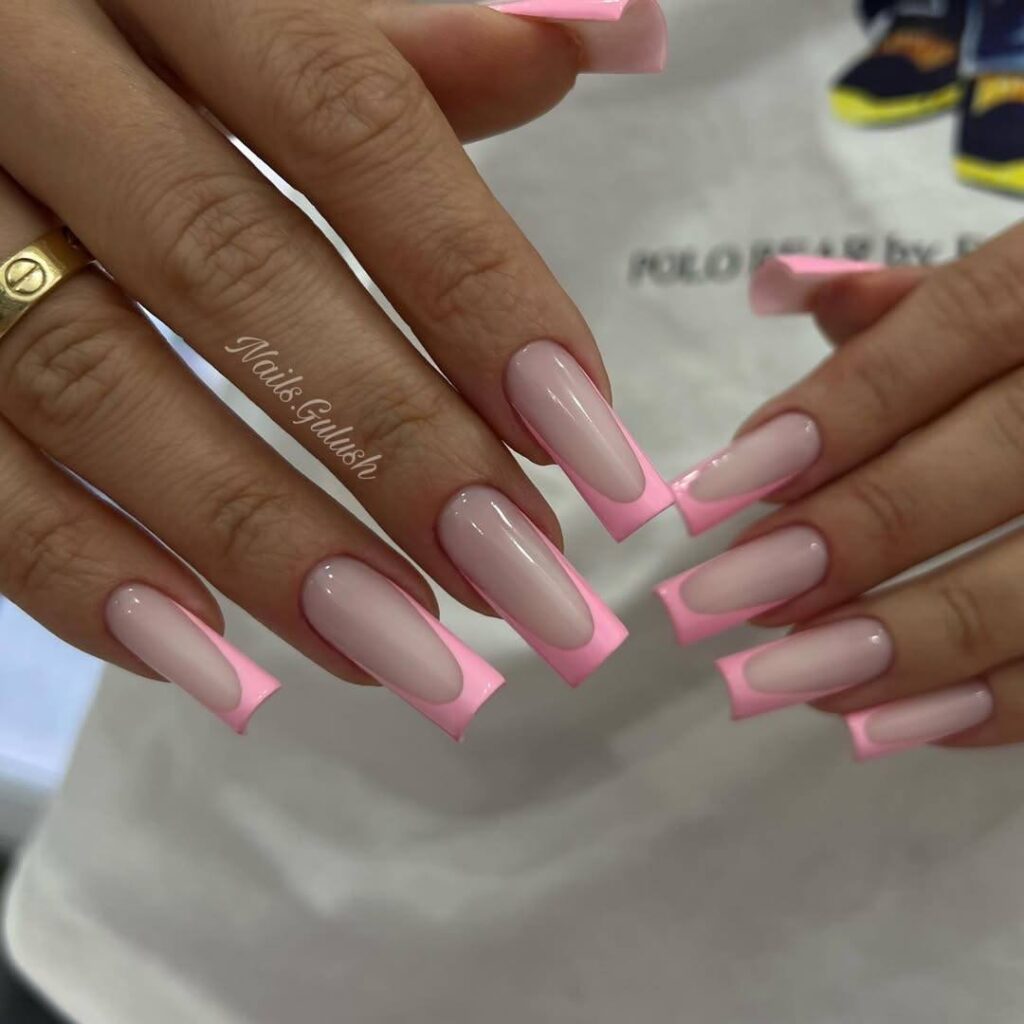
The silhouette of the nail dictates how the color and detail are perceived. A tapered square or a long coffin shape provides a modern, structured frame for the softness of the jelly finish. The straight edges of a tapered square offer a clean architectural contrast to the rounded, organic shapes of heart motifs or the soft blur of a milky base. If you prefer a more traditional look, a long squoval—a square shape with heavily rounded corners—softens the entire aesthetic, making the design feel more cohesive and gentle.
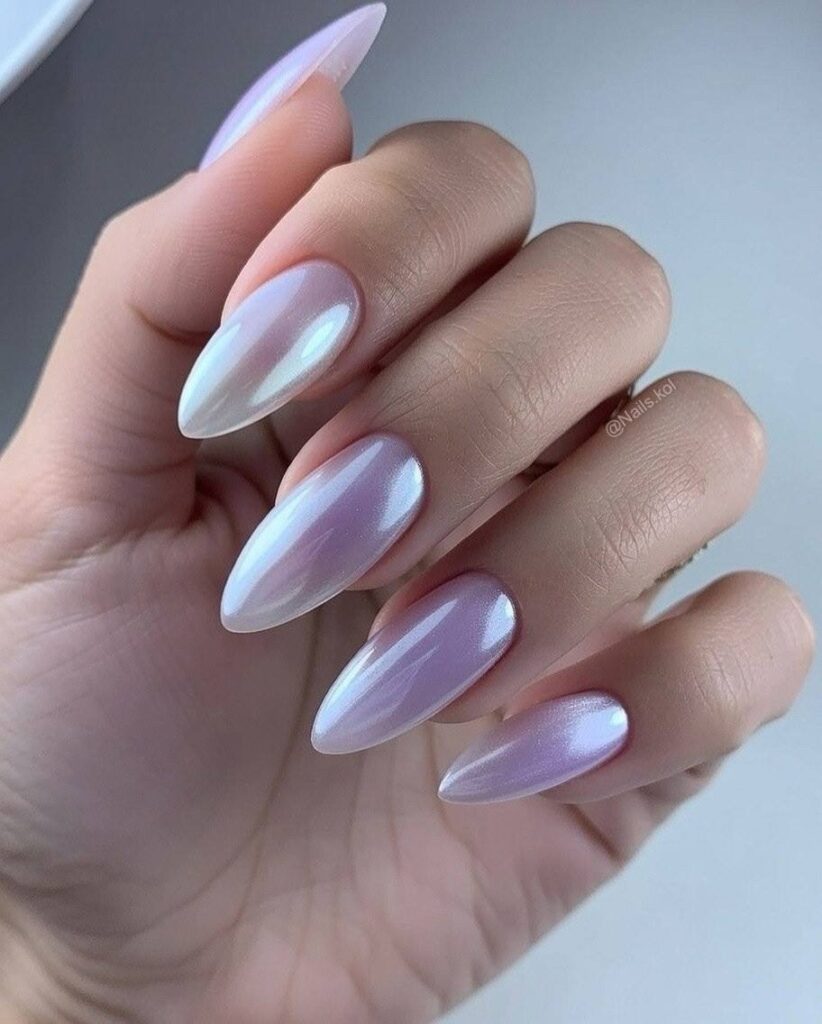
When choosing colors to pair with this style, think in terms of tonal harmony. A soft peach jelly base paired with cream-colored micro-details creates a warm, monochromatic look. Alternatively, a cool-toned lilac jelly base can be paired with silver chrome powder accents for a more futuristic, high-shine finish. The key is to let the translucency do the heavy lifting; adding too many competing textures or overly bright colors can strip the design of its refined, understated appeal.
Longevity and Aftercare
Because jelly finishes rely so heavily on the clarity of the top coat, maintaining that shine is the most important aspect of upkeep. Any micro-scratches on the surface will dull the translucent effect, making the nails look cloudy in a way that appears unintentional rather than stylistic. To prevent this, use a high-quality, no-wipe top coat that offers high UV resistance to prevent yellowing of the milky base over time.
Daily maintenance should center on the integrity of the nail bed and the cuticle area. A consistent application of cuticle oil is necessary to maintain the skin’s hydration, which in turn keeps the area around the nail looking clean and polished. Avoid using your nails as tools to pry or scrape, as this can cause micro-fractures in the gel or acrylic, disrupting the smooth surface required for the jelly effect. If you notice any lifting at the edges, address it immediately to prevent moisture from getting trapped beneath the design, which can compromise both the art and your natural nail health.
Mastering this aesthetic allows you to lean into a look that is both playful and sophisticated. Whether you are requesting a complex encapsulated design at a salon or experimenting with sheer pigments at your own desk, the focus remains on the subtle, the light-filled, and the intentional.