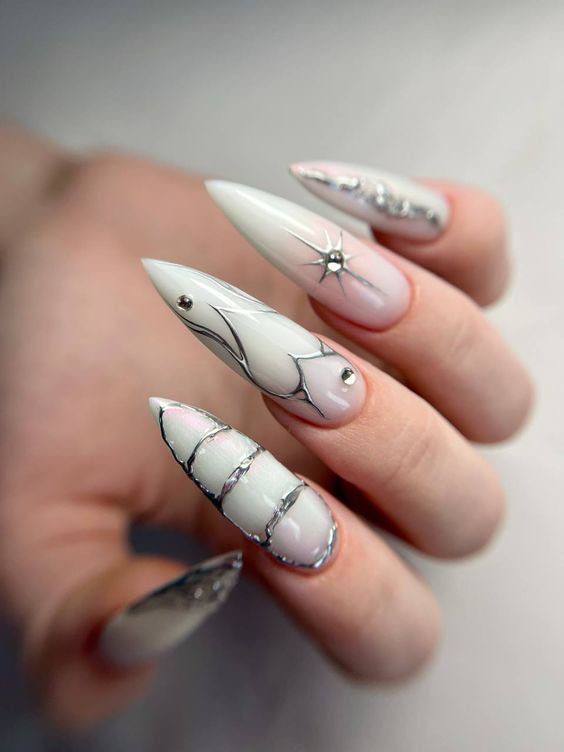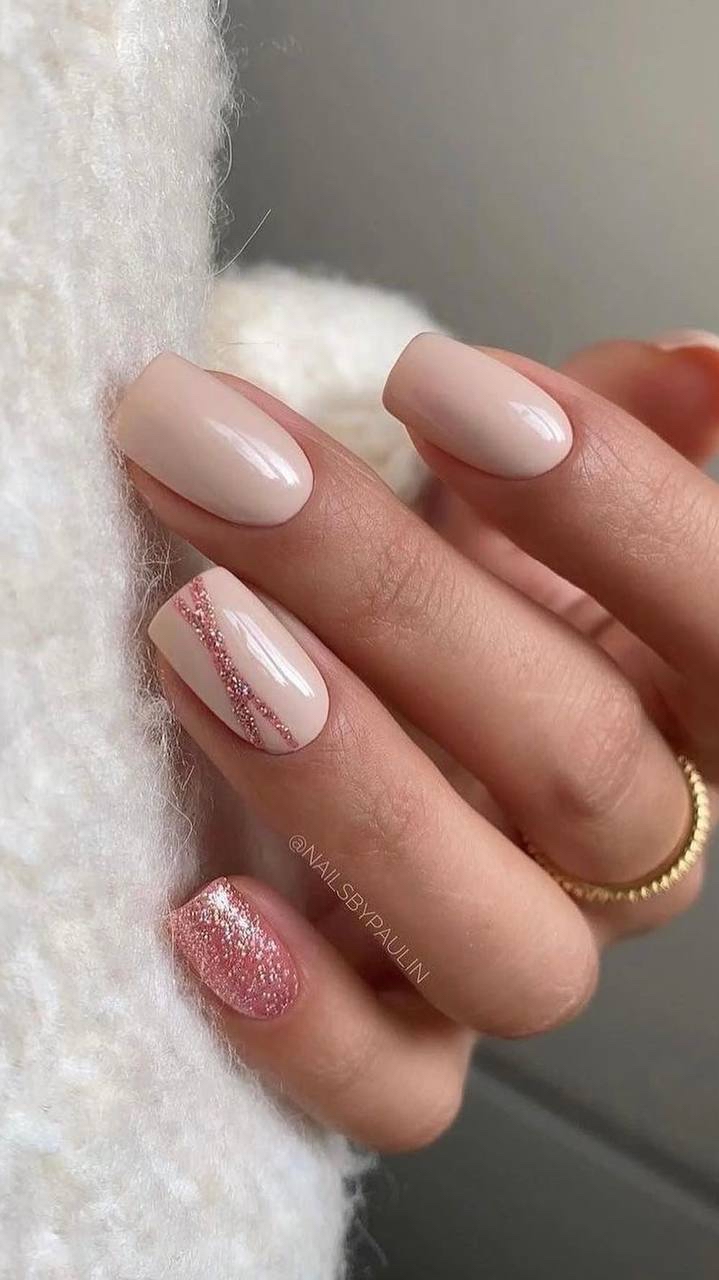
Try the Milky Pearl Trend for the Softest Spring Manicure
You will find yourself looking at your hands all season.
There is a specific kind of quiet that only exists at six in the morning. It is the feeling of cool, heavy cotton against your skin and the way the light looks when it hasn’t quite decided to be bright yet—a pale, milky wash that softens the edges of everything in the room. It is a moment of suspension, where the world feels clean, unwritten, and entirely calm.
You likely have a much louder morning routine involving alarms and caffeine, but you can capture that specific, hushed luminosity through your manicure. The Milky Pearl trend offers a way to carry that sense of soft, morning light with you, regardless of how hectic your day becomes.
What Are Milky Pearl Nails?
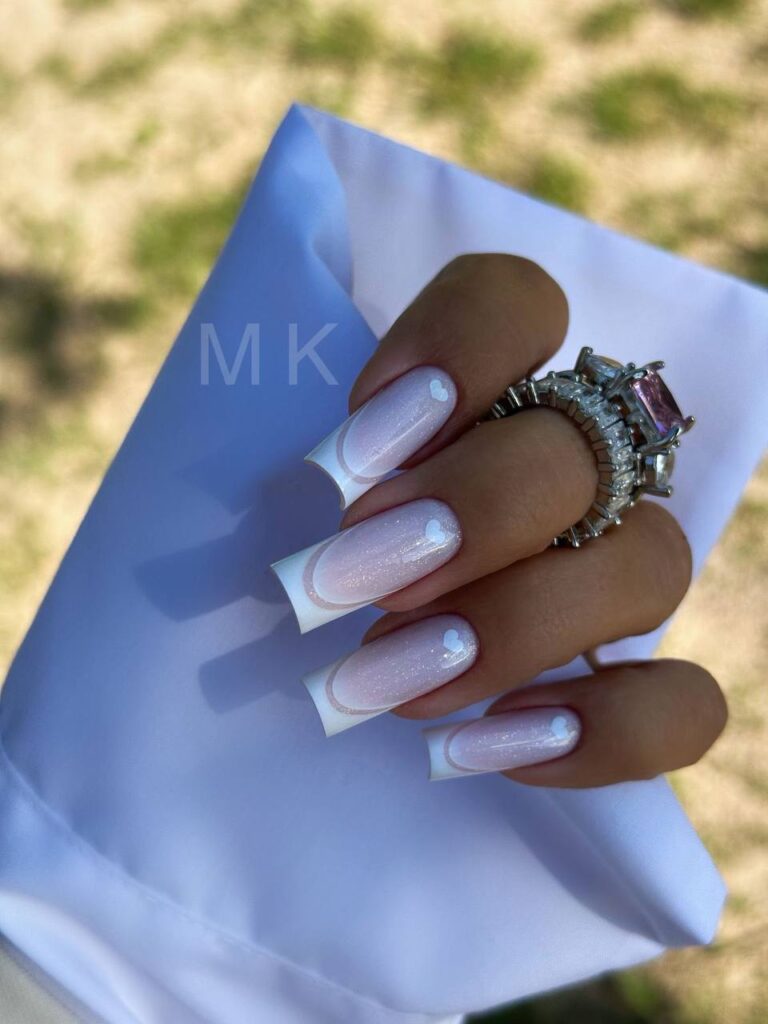
Milky Pearl nails consist of a semi-translucent, creamy base layer—reminiscent of the color of skim milk or a very pale seashell—topped with a fine, iridescent finish. This is not the heavy, chunky glitter of previous seasons; rather, it is a delicate, micro-fine shimmer that sits within the polish, creating a glow that appears to come from beneath the surface. The finish is smooth and liquid-like, mimicking the organic, diffused sheen found on a natural pearl.
Behind the Trend
The current fascination with this look stems from a collective desire for something more meditative. We have spent several seasons navigating the era of maximalism, where 3D charms, neon hues, and high-contrast patterns dominated our feeds. While that energy was fun, there is a growing movement toward a more understated, “quiet” aesthetic that prioritizes texture and subtle light play over loud graphics. Milky Pearl nails sit perfectly in this space, offering a sophisticated alternative to the starkness of a standard nude manicure.
When you compare this to the “Jelly Nail” trend that has been popular recently, the difference is one of depth. While jelly nails rely on sheer, candy-like transparency to look interesting, the Milky Pearl manicure uses opacity to create a sense of weight and luxury. It feels more intentional and less like a costume. There is also a sense of nostalgia involved; the look evokes the clean, polished aesthetic of the early 2000s, but filtered through a more modern, muted lens that feels appropriate for a seasonal transition into spring.
As the weather warms and we begin to trade heavy wool sweaters for lighter fabrics, our visual language shifts from the dark and moody to the light and airy. This manicure acts as a seasonal bridge, providing a sense of freshness that complements a lighter wardrobe without feeling overly bright or distracting.
How to Get Milky Pearl Nails
Achieving this look requires a focus on layering rather than single-coat opacity. You will want to start with a clean, well-buffed nail surface to ensure the subsequent layers lay perfectly flat. Begin by applying a base coat to protect the natural nail, followed by a sheer, milky polish. Choosing a polish in the category of a “sheer builder gel” or a translucent cream is essential here. You are not looking for full coverage; instead, aim for two very thin layers that allow a hint of the natural nail to show through. This creates the “milky” depth that is the foundation of the entire look. If your base color is too opaque, the final result will look like a standard white manicure rather than a glowing pearl.
Once your base color is set and completely dry, the magic happens with the addition of a pearlescent pigment. Rather than using a traditional glitter polish, look for a fine-milled chrome powder or a highly diluted iridescent topper. If you are using a powder, you will need to buff it gently into the surface of your sheer base. This technique allows the microscopic shimmer particles to bond with the color, making the glow look internal rather than sitting on top like a layer of sand. If the shimmer feels too intense after buffing, you can lightly tap a sheer layer of your original milky polish over the top to “sink” the shimmer back into the base.
The final, and perhaps most important, step is the top coat. To maintain the liquid, glass-like appearance, use a high-shine, non-wipe top coat. This seals the pigment and provides the necessary smoothness that makes the pearl effect look authentic. Avoid matte top coats for this specific trend, as they will strip away the very luminosity you have worked to build. A thick, clear layer will give the nails that reflective, polished quality that catches the light every time you move your hands.
If you want to take this look a step further for a special event, consider adding a single tiny detail to your ring finger. A small piece of gold leaf pressed into the base before your final top coat adds a warm, metallic touch that feels like fine jewelry for your fingertips.