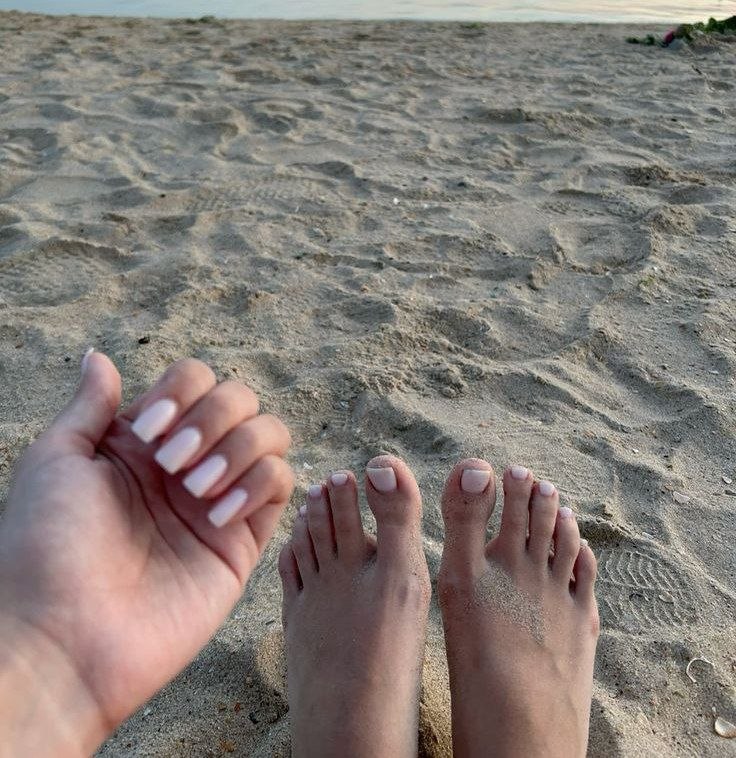
Try the Milky Nail Trend for the Softest Summer Manicure
A subtle, sun-drenched glow.
Imagine the feeling of warm, fine sand shifting between your toes as the tide retreats. The air carries a heavy, salt-kissed humidity, and the sun feels like a physical weight against your skin—warm, steady, and unapologetic. There is a particular kind of stillness that comes with a mid-afternoon seaside lull, where the only sound is the rhythmic, low pulse of the water hitting the shore and the distant cry of a gull. Everything is soft-focus, bleached by the light, and stripped of unnecessary noise.
While you might not be lounging on a sun-bleached pier at this exact moment, you can certainly carry that sense of quiet, breezy ease with you. It is a mood that translates beautifully to your fingertips, offering a way to capture that light-filled, effortless energy through a manicure that feels as natural as sunlight hitting the water.
What Are Milky Nails?
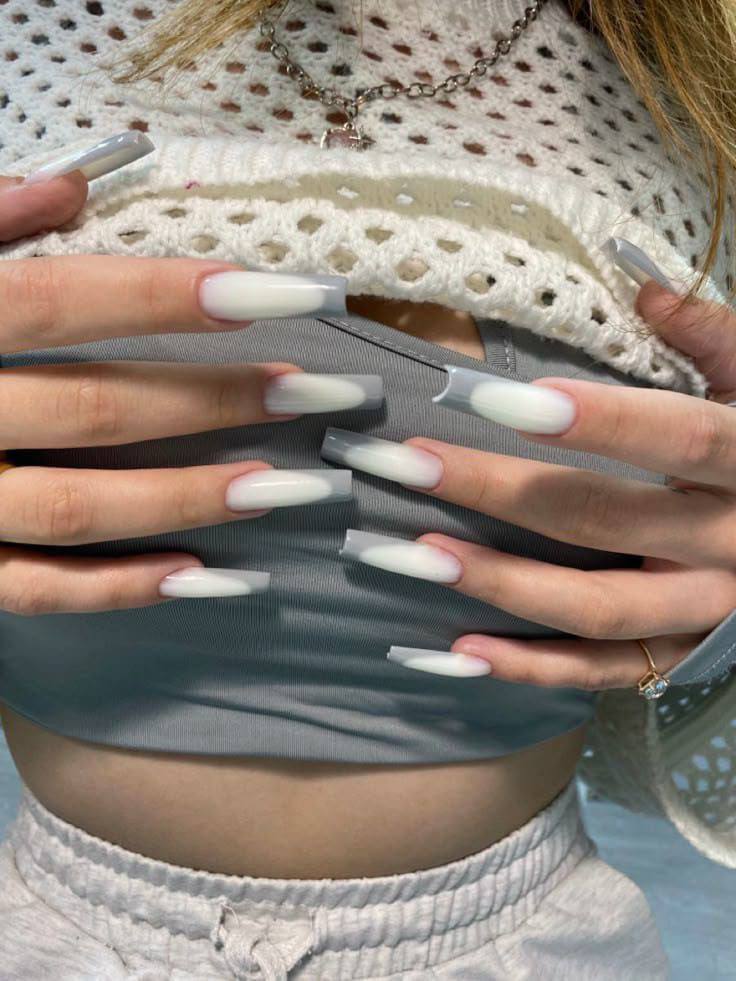
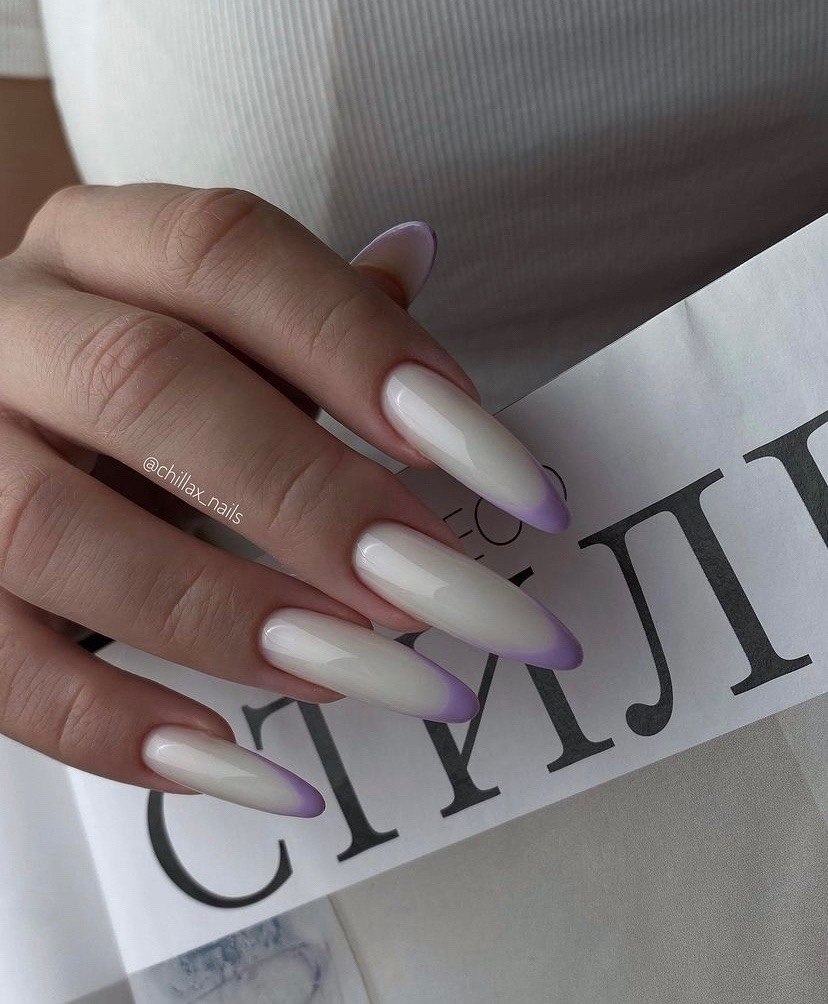
Milky nails are characterized by a semi-translucent, clouded finish that sits somewhere between a sheer nude and a solid white. Instead of the heavy, opaque coverage seen in traditional manicures, this look relies on a soft-focus effect. The pigment is diluted, creating a finish that mimics the appearance of sea glass, watered-down cream, or a light morning mist. The goal is a look that appears to glow from within the nail bed, providing a clean, luminous surface that emphasizes the natural shape of your hands without the harsh lines of a more saturated color.
Behind the Trend
The sudden rise of the milky manicure feels like a gentle exhale after a season of high-contrast, maximalist trends. Not long ago, the manicure landscape was dominated by high-octane chrome finishes that caught every light in the room, or sharp, graphic French tips that demanded attention through precision and structure. While those looks have their place, there is a growing collective pull toward something more understated and serene. We are seeing a shift away from the “look at me” energy of metallic finishes and moving toward a more refined, “quiet” aesthetic that celebrates texture and light rather than bold pigment.
This trend resonates because it taps into a sense of seasonal nostalgia. It evokes the feeling of a summer holiday spent in a coastal town, where the colors are desaturated by the sun and everything feels washed in a soft, pearlescent light. It is a departure from the heavy, dark tones of winter and the neon brightness of late spring, offering a sophisticated middle ground that feels both fresh and timeless. By choosing a colorway that mimics natural elements like clouds or sea foam, you are participating in a broader movement toward beauty that feels lived-in and effortless, rather than strictly manicured.
How to Get Milky Nails
Achieving this look requires a shift in how you think about layering color. The most common mistake is applying a single, thick coat of a white or cream polish in an attempt to reach the desired shade. This often results in a flat, “plastic” look that lacks the depth necessary for the trend to feel authentic. To get it right, you should start with a very clean, well-hydrated nail. If you find your natural nail beds have uneven tones, a sheer, nude-pink base coat can act as a unifying canvas, providing a warm foundation for the milky layers to follow.
Next, you will need a milky, semi-translucent polish or gel. The choice of product is vital; you want something that is clearly a “jelly” or “sheer” formula rather than a high-opacity lacquer. The secret to the signature depth lies in the application of multiple thin layers. Instead of trying to get full coverage immediately, apply two or even three very thin, sweeping coats. This allows light to pass through the pigment, hit your natural nail, and bounce back, creating that luminous, multidimensional effect. Two thin coats often read more true-to-trend than three coats if you are accidentally pushing toward full opacity.
Once you have reached that perfect, clouded translucency, you must seal the manicure with a high-shine, glass-like top coat. This is what provides the reflective, “wet” finish that makes the nails look polished and bright. For the best results, pair this look with a soft nail shape, such as an oval or an almond. These rounded edges complement the softness of the milky finish, preventing the manicure from looking too harsh or artificial. If you prefer a shorter, more natural length, a squoval shape also works beautifully to maintain that sense of ease.
If you want to take this look one step further for a special occasion, consider a “glazed” variation. You can achieve this by lightly buffing a very fine, iridescent pearlescent powder over your top coat before it fully sets. This adds a whisper of shimmer that catches the light without breaking the soft, cloudy essence of the original milky manicure.