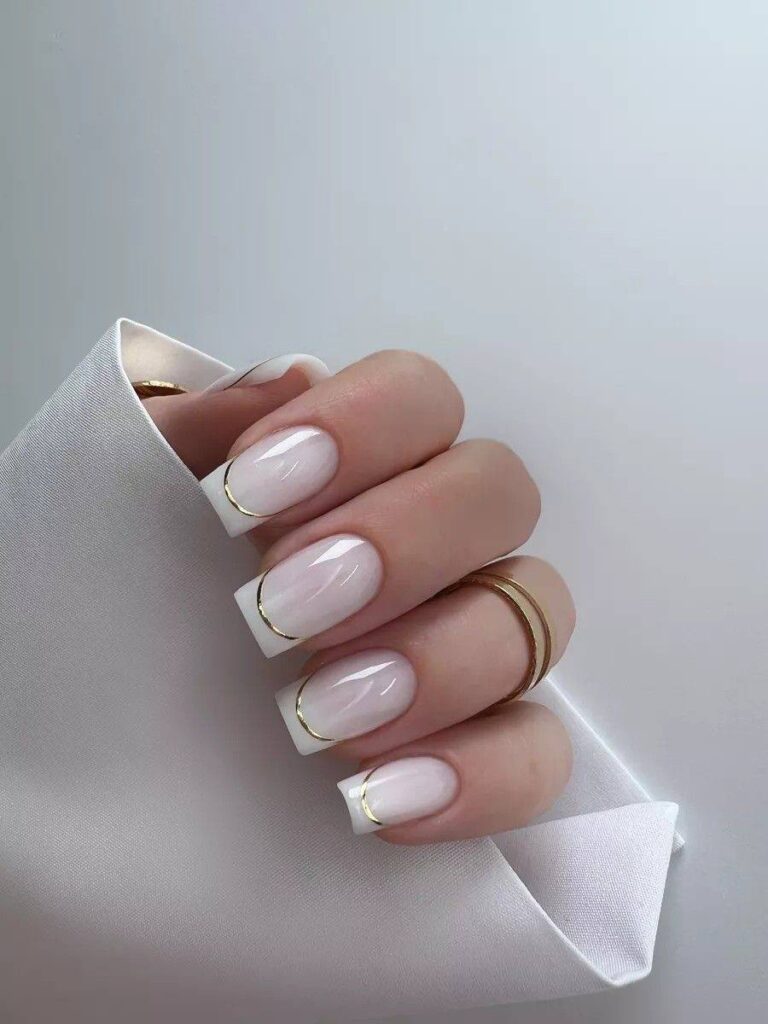
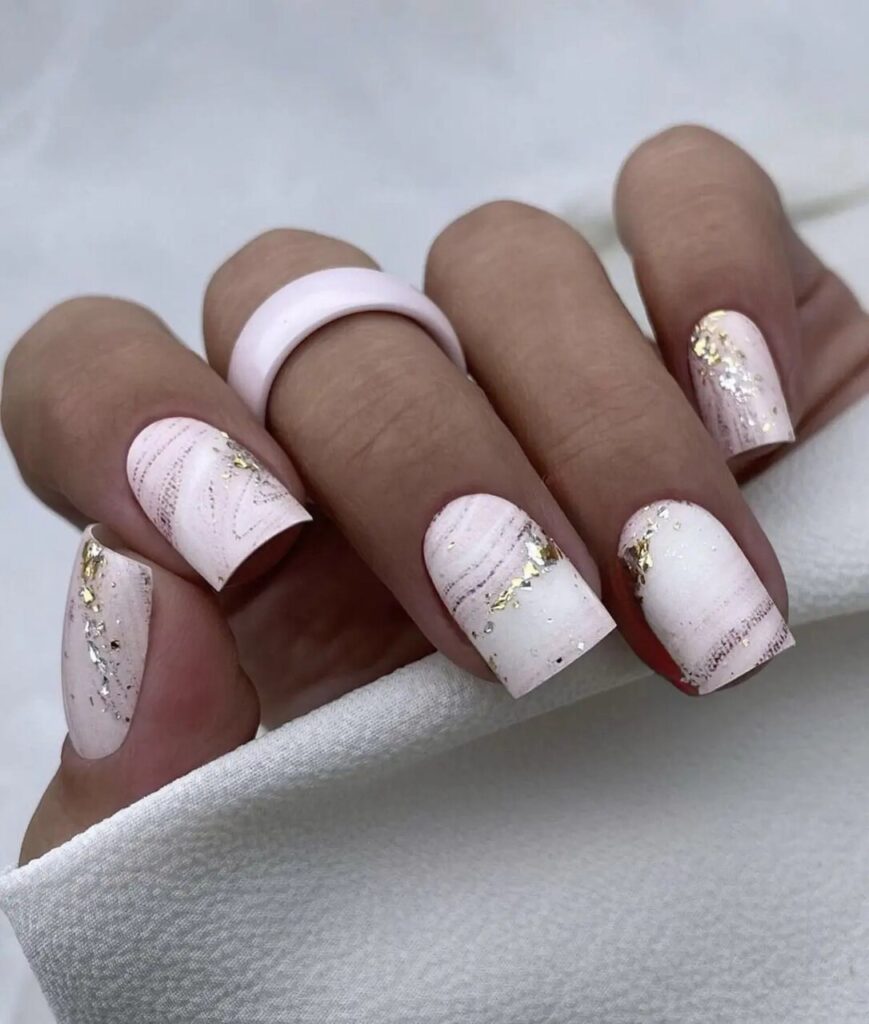
Try the Milk Bath Floral Nail Trend for the Dreamiest Spring Manicure
We’ll be wearing this delicate look all season long.
You are stepping into a sun-drenched garden center on a quiet Saturday morning, the air thick with the earthy scent of damp soil and the sharp sweetness of fresh eucalyptus. Your fingers brush past the soft, velvet leaves of potted sage and linger on delicate bunches of dried lavender drying in the warm breeze. There is a quiet, restorative peace in working with your hands in the dirt, or simply holding a warm mug of chamomile tea while watching the morning mist rise from the grass.
If your daily reality looks a little more like tapping away at a laptop screen than tending to a greenhouse, you can still carry a piece of that serene, botanical atmosphere with you. This season, the easiest way to ground yourself in the beauty of spring is through a manicuring style that feels less like a trip to a sterile salon and more like a miniature afternoon walk through a wildflower meadow.
What Are Milk Bath Floral Nails?
Milk Bath Floral nails are a layered, dimensional manicure that mimics the appearance of dried flower petals floating in a bath of warm, cream-tinted water. The look relies on a semi-sheer, milky-white or pale lavender base polish that offers some coverage while remaining translucent enough to let light pass through. Tiny, genuine dried floral botanical elements and microscopic flecks of silver or gold foil are pressed flat onto this base and then encapsulated. The entire design is sealed beneath a thick, plush top coat that creates a smooth, glass-like barrier, giving the illusion that the delicate petals are suspended deep within the nail rather than sitting on top of it.
Behind the Trend
As the cold weather recedes, we naturally seek out ways to feel more connected to the outdoors, and our beauty choices reflect this seasonal transition. For past seasons, the nail landscape was dominated by either stark, high-contrast chrome finishes or entirely bare, minimalist nudes. This new approach offers a gentle middle ground. It provides a welcome alternative to the heavy, opaque pastel polishes that can sometimes feel chalky or dated, offering instead a softer, more organic aesthetic. There is a sweet, nostalgic charm to the look that calls to mind childhood afternoons spent pressing clover leaves into heavy dictionary pages or collecting petals in empty jam jars. By blending the clean, put-together feel of a classic milky manicure with the rustic texture of real dried florals, it captures the effortless spirit of spring without feeling overly fussy or overdesigned.
How to Get Milk Bath Floral Nails
Recreating this look at home or guiding your nail technician through the process requires a focus on thin layering to achieve that signature sense of depth. You will want to begin by prepping your nails with a gentle buff and a clean shape—a soft square or a rounded oval works beautifully to balance the delicate nature of the design. Once your nails are prepped, apply a single thin layer of a sheer, milky-white base coat or a soft lavender-tinted gel. This first layer acts as the background canvas for your botanical scene. Two thin coats are far better than one thick one here, as you want to maintain a delicate translucency that lets a hint of your natural nail show through.
Next comes the placement of the botanical elements. Using a pair of fine-pointed tweezers, select tiny pieces of dried pressed flowers, choosing blooms in shades of lilac, violet, or soft periwinkle to match the seasonal palette. Gently press the dry petals onto the tacky residue of your cured gel base or while your traditional polish is still slightly damp. To add subtle catch-the-light shimmer, place small flecks of silver nail foil in the negative spaces between the petals. Be careful to smooth down any edges that stick up, as a flat lay is key to a smooth final result.
Once your design is in place, apply a second sheer layer of your milky-white polish directly over the flowers. This is the crucial step that creates the encapsulated, floating look; it slightly diffuses the bright purple of the petals and the shine of the silver foil, making them look as though they are submerged in a pool of cream. To finish, apply a thick, self-leveling top coat or a builder gel top coat to fill in any uneven textures left by the dried flowers. Cure or let dry completely to achieve a plump, high-shine surface that feels completely smooth to the touch.
If you want to put a personal spin on this botanical style, try swapping the cool silver foil for warm copper or gold flakes to bring a sun-drenched, golden-hour warmth to your hands. You can also experiment with different floral colors, such as dried yellow buttercups or tiny green fern fronds, to transition the manicure seamlessly from the cool afternoons of early spring into the bright, sunny days of mid-summer.