Try the Graphic French Nail Trend for the Chicest Winter Manicure
A sharp alternative to the classics.
The air has turned sharp, the kind of cold that makes you pull a heavy wool coat closer to your chest. There is a specific satisfaction in the way a city looks just after a light rain—the streetlights reflecting in long, dark streaks against the pavement, creating a rhythm of light and shadow. Everything feels more defined, more intentional, as the soft edges of summer fade into the structured silhouettes of winter. The world seems to move into higher contrast, trading the hazy warmth of July for the crisp, dark outlines of December.
While you might currently be curled up on a sofa with a heavy blanket rather than walking through a rain-slicked metropolis, you can still lean into that sense of architectural precision. It shows up unexpectedly in the way we approach our accessories, moving away from the soft and blurred toward the sharp and certain. This shift is most visible at your fingertips, where the gentle curves of the past season are being replaced by something much more deliberate.
What Are Graphic French Nails?
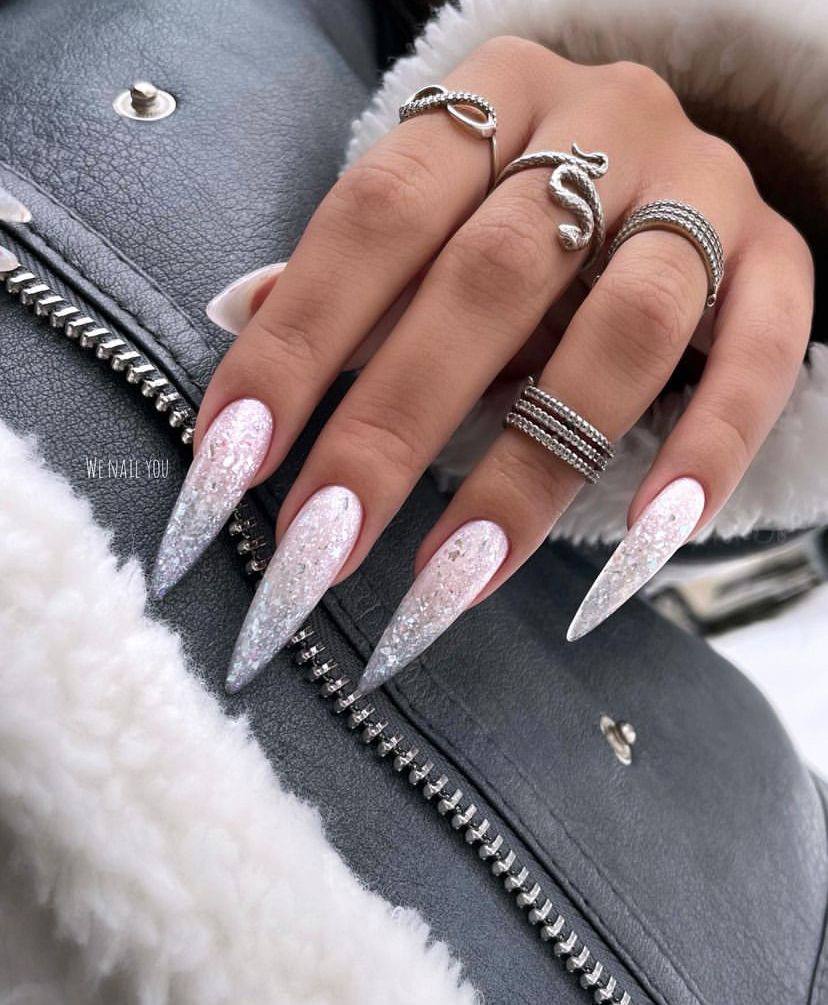
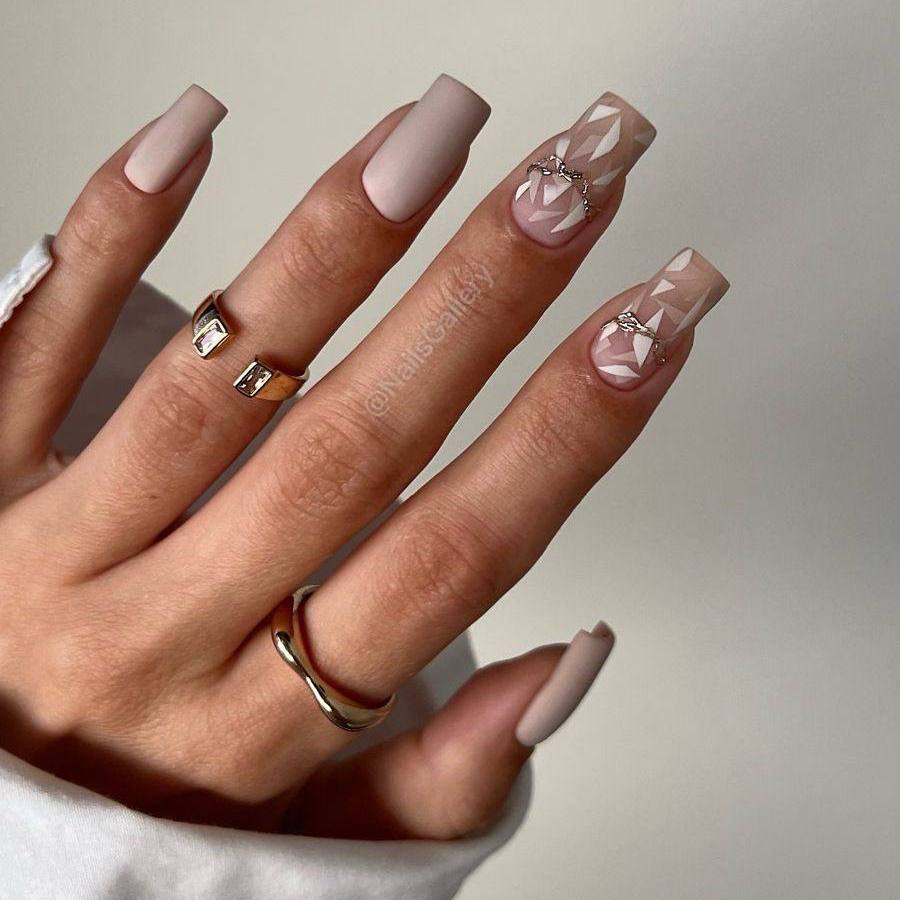
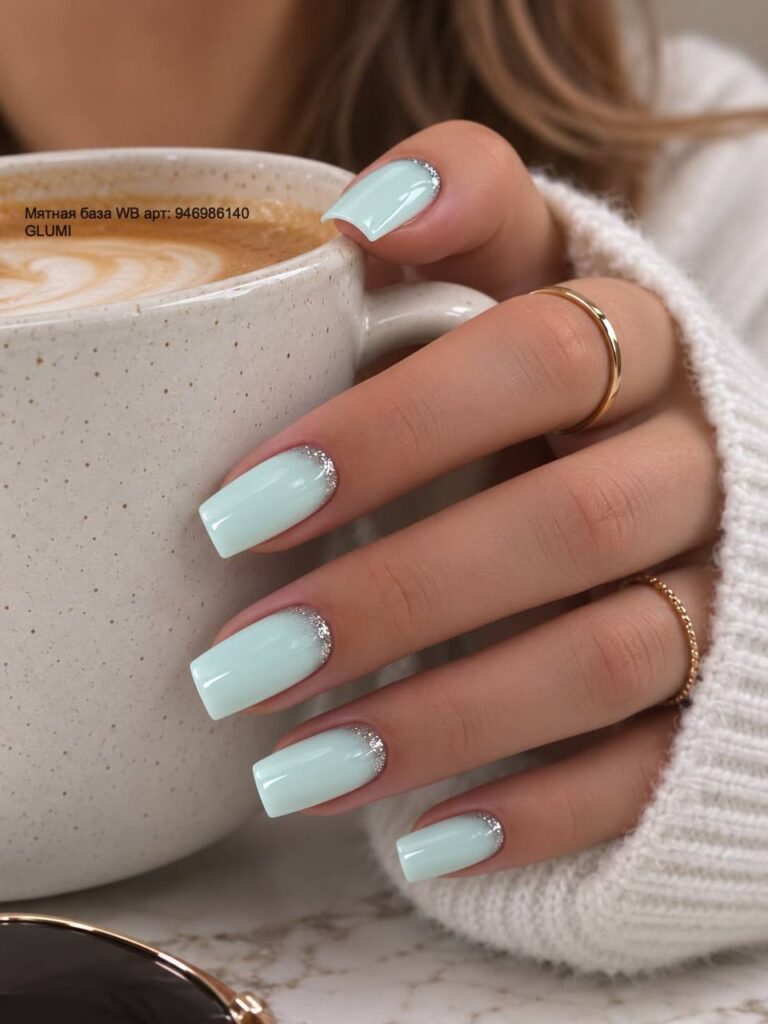
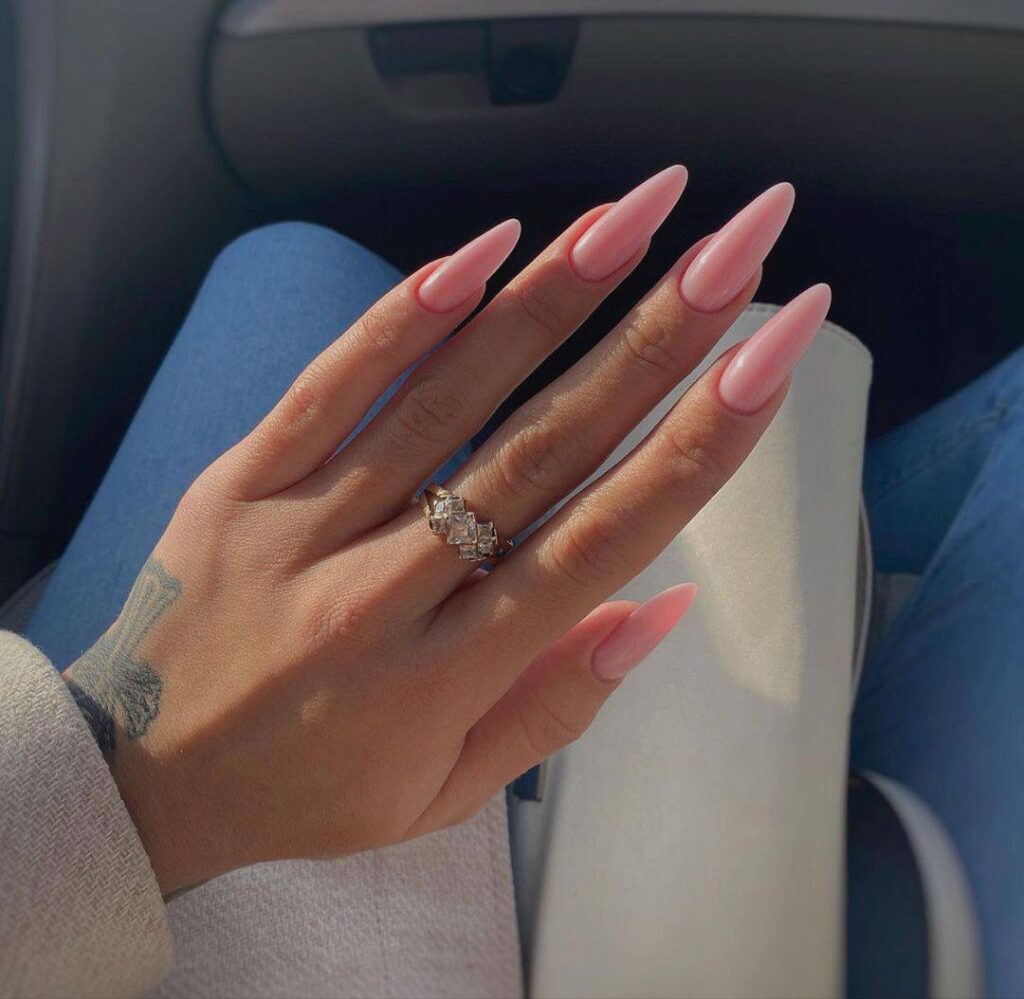
Graphic French nails depart from the traditional, soft-edged white crescent of a classic manicure. Instead, they utilize high-contrast colors and geometric shapes to frame the nail. This specific iteration relies on a sheer, translucent base—often a milky white or a pale, shimmering nude—to create a sense of depth and light. The French element is redefined by a thin, opaque line of dark pigment, such as black or deep navy, that follows the perimeter of the free edge in a sharp, non-curved, or even angular path. The result is a manicure that feels less like a soft embellishment and more like a piece of structural art.
Behind the Trend
For the past several seasons, the prevailing mood in beauty has been one of extreme softness. The aesthetic of the minimalist, “clean” look favored sheer pinks, low-maintenance nudes, and a finish that suggested you had never even seen a bottle of polish. While that approach offered a sense of calm, it occasionally lacked a sense of individual intention. We are now seeing a movement toward something more purposeful. People are looking for ways to express a sense of style that feels curated and slightly more daring, without moving into the territory of loud, multi-colored maximalism.
Graphic French nails sit at the intersection of minimalism and the avant-garde. They provide the cleanliness of a neutral manicure but introduce a level of visual interest that feels more personality-driven. It feels like a nod to the quiet drama found in structured fashion—the way a black blazer provides a sharp frame for a silk blouse. It is a way to participate in the trend of understated luxury while maintaining a sense of edge. Compared to the heavily embellished “3D” nail trends that rely on charms and thick textures, this look remains sleek, relying entirely on the power of line and contrast to make its statement.
How to Get Graphic French Nails
Achieving this look requires a focus on precision rather than speed. Begin by prepping your nails with a standard base coat to ensure a smooth, even surface. For the base color, look for a sheer, jelly-like polish in a milky or pale neutral shade. If you want to add a subtle sense of movement, a polish with very fine, micro-shimmer works well to catch the light against the dark tips. Apply two thin coats of this sheer color to achieve a translucent, glass-like finish; applying too much pigment too quickly can make the base look heavy rather than ethereal. You want the natural shape of the nail to remain visible through the color.
Once the base is entirely dry, the focus shifts to the tips. You will need a highly pigmented, opaque dark polish—black is the most striking choice for a winter look—and a very fine detail brush. Instead of dipping the brush directly into the bottle, transfer a small amount of polish to a palette or a clean surface. This allows you to control the amount of product and prevents thick, uneven lines. Start at the very tip of the nail and work your way along the edge, following the natural curve or creating a sharp, angular corner. If you are aiming for a more modern, square-tipped look, focus on keeping the corners perfectly right-angled. A thin, consistent line is more effective than a thick one, as the visual impact comes from the sharpness of the edge, not the weight of the color. Finally, finish with a high-shine top coat to seal the design and give it a professional, polished feel.
If you find the starkness of black a bit too intense for your daily rotation, you can easily soften the look by swapping the pigment for a deep espresso or a midnight blue. For those who want to lean into a more festive, light-catching version, try applying a thin layer of silver chrome powder over the dark tips before your final top coat to add a metallic, liquid-metal dimension to the geometric shapes.