Try the Frosted Pearl Nail Trend for the Coziest Winter Manicure
A luminous look we’ll be wearing all season.
You are wrapped in a heavyweight cashmere throw, the kind that feels like a warm hug against a sudden December chill. Beside you, a ceramic mug sends a steady plume of steam into the air, smelling of cinnamon and browned butter. Outside the window, the world has turned a muted, hazy gray, and a thin layer of rime frost has crystallized across the glass in delicate, fern-like patterns. The light is soft and diffused, turning every surface into a quiet study of whites, creams, and silver.
You probably aren’t spending your Tuesday morning in a secluded mountain cabin, but you can carry that specific, serene atmosphere with you throughout the city. That quiet, iridescent glow—the feeling of a frozen morning caught in a bottle—is exactly what you can achieve with a specific shift in your manicure routine. It is a look that feels less like a bold statement and more like a soft whisper.
What Are Frosted Pearl Nails?
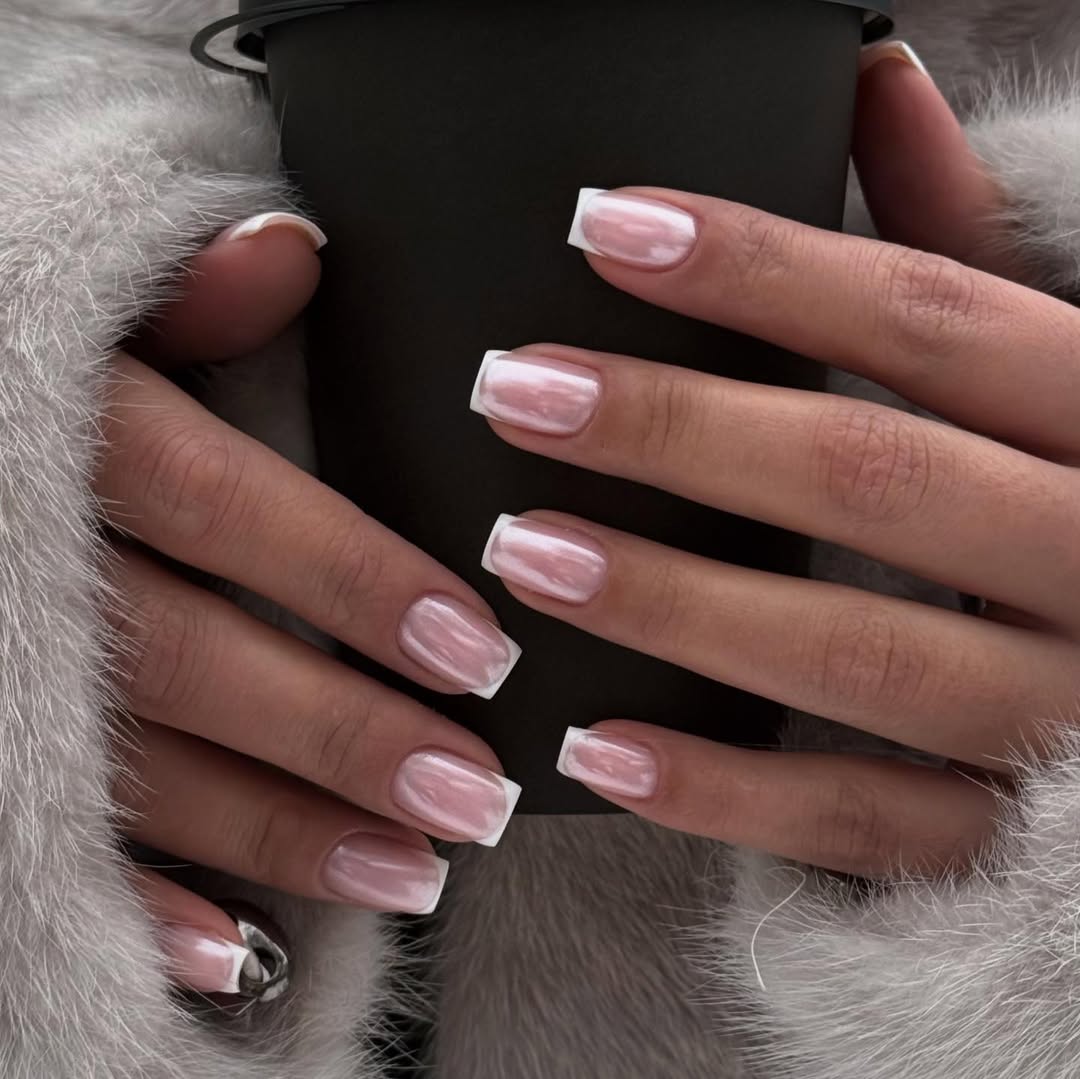
Frosted pearl nails are characterized by a translucent, opalescent finish that mimics the inner lining of a saltwater pearl. Unlike a standard shimmer polish that relies on visible glitter particles, this look uses a finely milled iridescent powder rubbed over a neutral base to create a seamless, metallic sheen. The result is a semi-opaque, glass-like surface that reflects a spectrum of soft pinks, blues, and silvers depending on how the light hits the nail. It is a diffused luminosity rather than a high-contrast mirror shine.
Behind the Trend
This aesthetic is resonating now because it occupies the middle ground between two dominant movements in nail art. On one side, you have the minimalist “clean girl” aesthetic, which favors sheer nudes and a polished, natural look. On the other, there is the high-intensity chrome trend, which often leans into bold, futuristic silvers and holographic flashes. Frosted pearl nails bridge this gap, offering the neatness of a neutral palette with a touch of ethereal fantasy. It is a refined approach to shimmer that feels appropriate for a professional environment while still feeling special.
There is also a deep sense of seasonal nostalgia tied to this finish. It evokes the memory of iridescent holiday ornaments or the soft, pearly luster of vintage jewelry found in a grandmother’s velvet-lined box. As the weather turns cold, there is a natural pull toward colors and textures that mirror the environment. While we often reach for deep burgundies or forest greens in the winter, the frosted pearl look captures the actual texture of the season—the ice, the snow, and the pale winter sun—bringing a sense of lightness to a time of year that can often feel heavy and dark.
How to Get Frosted Pearl Nails
Achieving this look requires a specific layering process to ensure the shimmer looks integrated into the nail rather than sitting on top of it. You will need a base coat, a sheer white or pale blush polish, a pearlescent chrome powder, and a high-gloss top coat. If you are using gel products, a UV or LED lamp is necessary to set each stage.
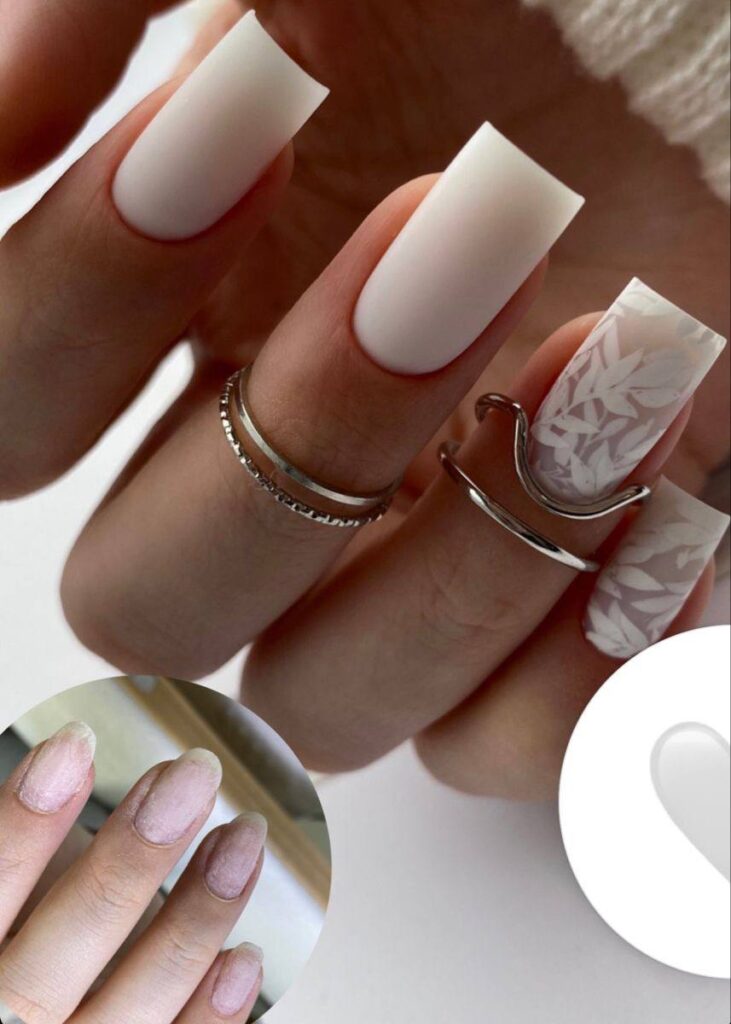
Start by prepping the nail bed, pushing back the cuticles and buffing the surface for a smooth canvas. Apply a thin layer of base coat to protect the natural nail. Next, apply two thin coats of a sheer, milky white or pale pink polish. Two thin coats read more true-to-trend than three going for full opacity; the goal is to maintain a hint of translucency, which allows the chrome powder to create depth rather than a flat, solid wall of color. Cure the polish if using gel, or allow it to dry completely if using traditional lacquer.
Once the base color is set, the magic happens with the chrome powder. Use a small sponge applicator or a soft eyeshadow brush to pick up a small amount of the iridescent powder. Rub the powder into the nail surface using firm, circular motions. You want to buff the powder into the polish until the nail takes on a metallic, pearlescent glow. If you apply too much powder in one spot, it can look streaky, so light, overlapping movements are key. The powder should create a uniform, luminous veil across the entire nail.
The final and most critical step is the sealant. Chrome powder can rub off easily if not locked in, so apply a generous layer of high-gloss top coat. Ensure you cap the free edge of the nail by running the brush along the very tip; this prevents the pearl finish from peeling away at the ends. The top coat not only protects the powder but also adds the final glass-like dimension that makes the nails look like actual pearls.
For those who want to push the look a step further, you can try a “pearl-french” variation. Instead of covering the entire nail in chrome, apply the pearlescent powder only to the tips of the nails over a sheer nude base. This creates a soft, modern take on the classic French manicure that feels fresh and airy. Alternatively, adding a single, tiny iridescent rhinestone at the base of the ring finger can add a subtle point of light without distracting from the overall softness of the manicure.