Try the Aura Nail Trend for the Dreamiest Spring Manicure
A mood-boosting look we’ll be wearing all season.
The air is thick with the scent of crushed mint and wet stone, the kind of heavy, sweet humidity that only arrives in the first few weeks of May. You are walking through a garden where the boundaries between the flowers blur, the pale pink of a peony bleeding into the deep violet of a hydrangea under a soft, overcast sky. There is a quiet, hazy quality to the light, making everything feel less like a photograph and more like a watercolor painting left to dry in the sun.
You are likely not spending your Tuesday afternoon wandering through a botanical garden, but you can still carry that same atmospheric, bleeding energy with you. The shift from winter’s rigidity to spring’s softness is a transition that can be captured perfectly on your fingertips.
What Are Aura Nails?
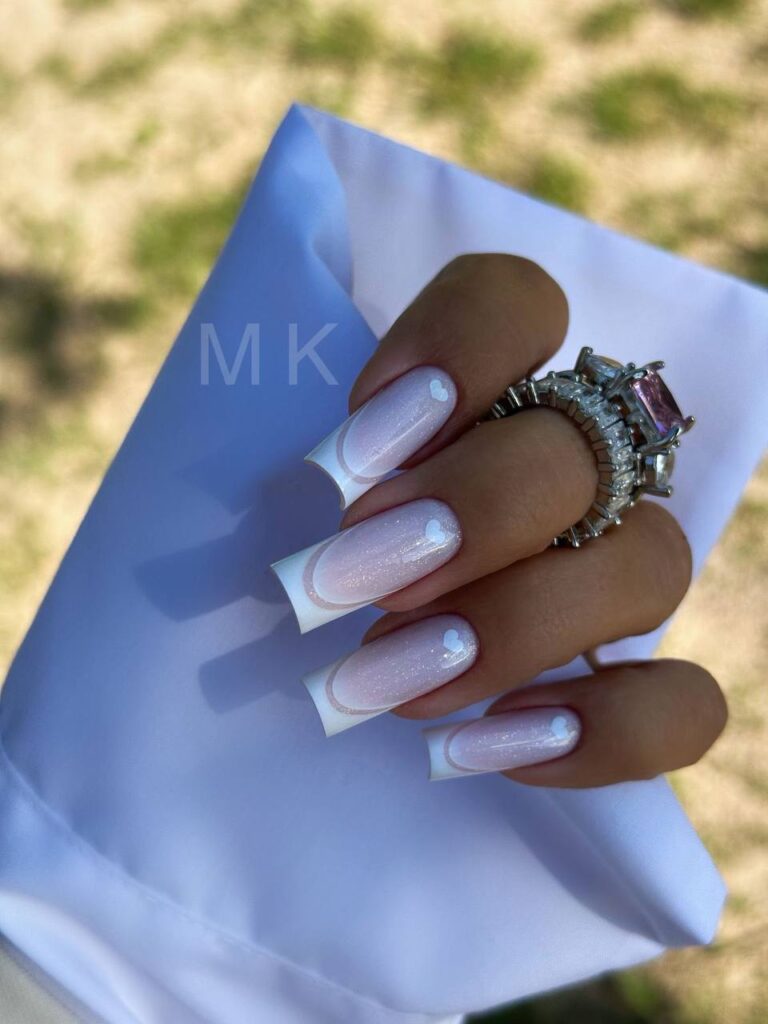
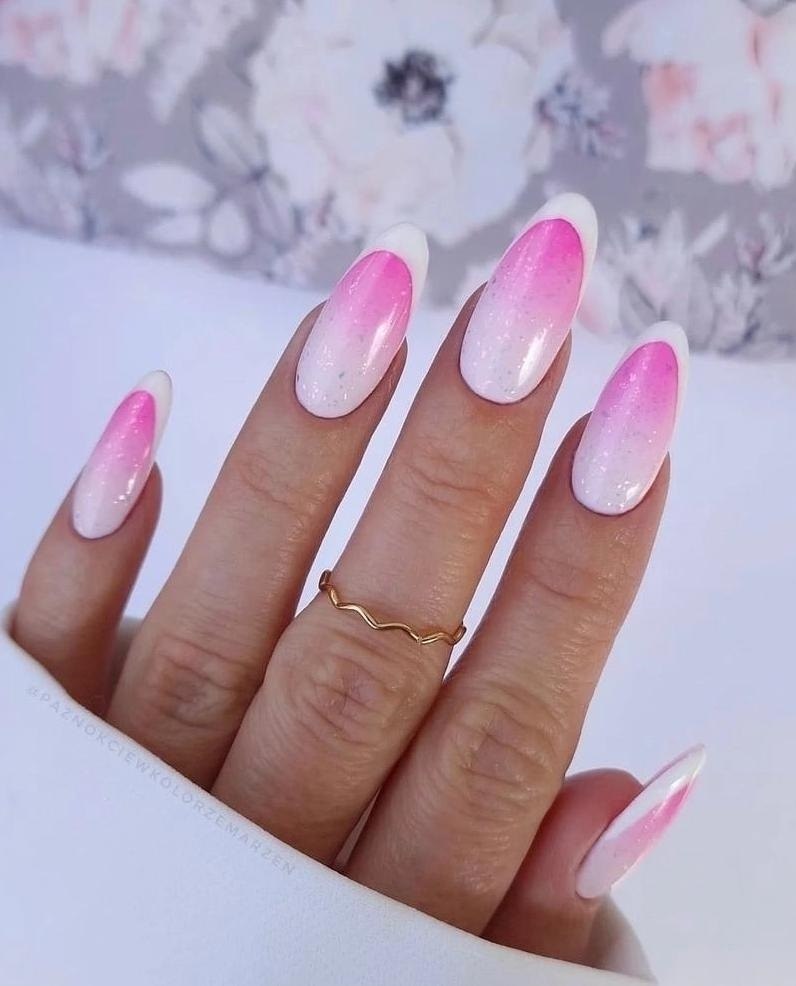
Aura nails are characterized by a soft, circular gradient of color that radiates from the center of the nail, mimicking the look of a glowing orb or a spiritual energy field. Unlike a traditional ombre, which typically moves in a linear direction from the cuticle to the tip, aura nails feature a central bloom of pigment that diffuses outward toward the edges. The finish is typically semi-translucent and seamless, with no hard lines or visible borders between the inner and outer colors. The result is a depth of field that makes the nail appear three-dimensional, as if the color is floating beneath a layer of clear glass.
Behind the Trend
The appeal of aura nails lies in their fluidity. For a long time, the nail world was dominated by the sharp, defined lines of a classic French tip or the flat uniformity of a single-tone polish. Aura nails represent a shift toward something more organic and emotive. They mirror a growing interest in color psychology and the idea of projecting one’s inner energy through visual cues. By choosing specific color pairings, you can signal a mood—calm blues for serenity, vibrant oranges for energy, or soft pinks for romance.
This look also serves as a bridge between the hyper-minimalism of the clean-girl aesthetic and a more expressive form of art. While the neutral base keeps the manicure looking polished and professional, the central burst of color adds a layer of personality that a standard nude manicure lacks. It feels like a modern nod to the mood rings of the nineties, updated for a generation that values mindfulness and the visual representation of wellness.
Furthermore, the rise of aura nails is closely tied to the influence of digital art and social media filters. The airbrushed, soft-focus effect that has become a staple of online imagery has migrated from the screen to the salon. This desire for a blurred, dreamlike quality reflects a broader cultural leaning toward escapism and softness, moving away from the high-contrast, edgy aesthetics of previous years. It is less about precision and more about a feeling of effortless harmony.
How to Get Aura Nails
Achieving this look requires a focus on blending rather than precision. Start with a clean nail and a high-quality base coat to protect the natural nail plate. Apply a sheer, neutral gel polish or a pale nude crème as your canvas, allowing it to cure or dry completely. This base layer provides the necessary backdrop for the center color to pop without looking harsh.
The signature aura effect is best achieved using a makeup sponge or a dedicated airbrush tool. To use the sponge method, select a more saturated pigment that contrasts with your base. Dab a small amount of the polish onto the center of a clean, porous sponge. Using a light, stippling motion, tap the sponge directly into the center of the nail. Work from the middle outward in a circular motion, gradually lifting the sponge to ensure the edges remain soft and diffused. Two thin layers of this center color read more true-to-trend than one thick layer, which can often look blotchy or uneven.
If the transition between the two colors feels too abrupt, you can lightly dab the base color over the edges of the center bloom to soften the gradient. The goal is a seamless transition where you cannot tell exactly where one color ends and the other begins. Once the design is settled and dry, finish the manicure with a high-shine top coat. This final step is essential as it smooths out the texture left by the sponge and gives the nails a glass-like finish, which enhances the luminous quality of the gradient.
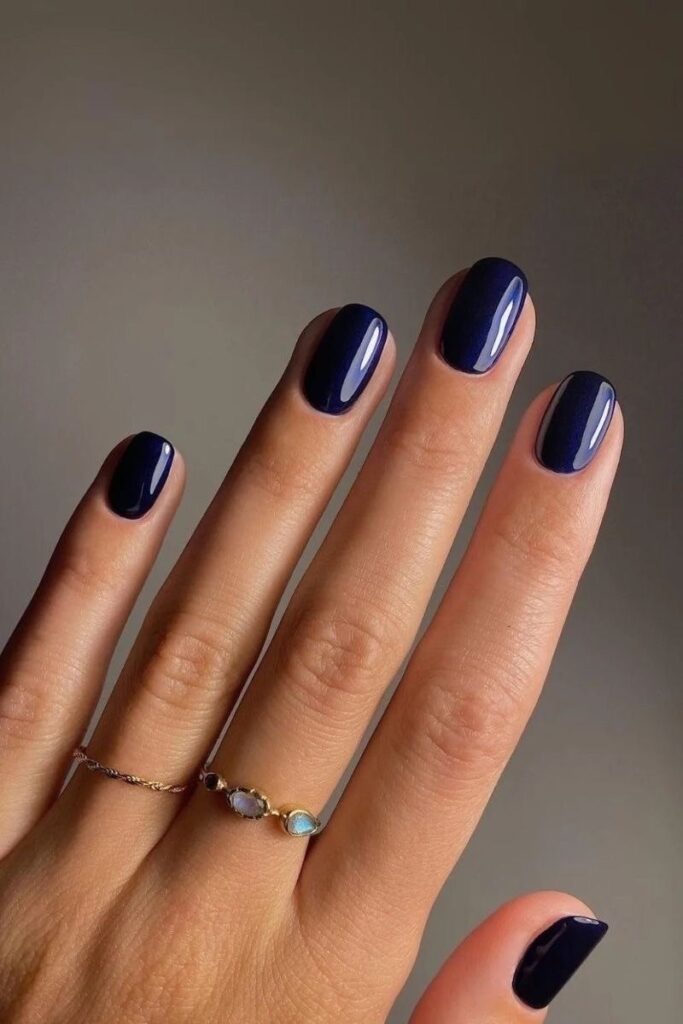
When choosing your colors, consider the lighting of the season. For spring, pairings like pale lemon and lilac or mint green and soft peach create a refreshing, airy feel. For a more dramatic look, a deep navy center on a milky white base provides a striking, celestial contrast that remains sophisticated.
For those who want to take the look a step further, try adding a layer of iridescent chrome powder over the finished top coat. This adds a pearlescent sheen that catches the light with every movement, making the aura appear to shift and glow. Alternatively, placing a single, tiny rhinestone or a hand-painted star at the very center of the bloom can transform the manicure into a cosmic statement.