Try the Textured Vanilla Nail Trend for the Softest Spring Manicure
It is the quiet sophistication your seasonal rotation needs.
There is a specific kind of stillness that accompanies a slow morning in early spring. It is the feeling of a heavy linen shirt against your skin, slightly cool to the touch, and the way the morning light filters through a sheer curtain, turning everything it hits into a soft, milky blur. You might find yourself lingering over the weight of a handmade ceramic mug, tracing the slight, intentional irregularities in its glaze with your thumb. It is a moment defined by texture and light, where nothing is jarring and everything feels deeply grounded.
While you may not be spending your Tuesday morning lost in a moment of quiet contemplation, you can certainly carry that sense of tactile calm with you. The same understated, sensory-focused aesthetic that makes a morning feel so peaceful can be translated directly to your fingertips. By leaning into subtle dimensions and creamy, light-catching tones, you can adopt a manicure that feels as soothing and intentional as a perfectly curated living space.
What Are Textured Vanilla Nails?
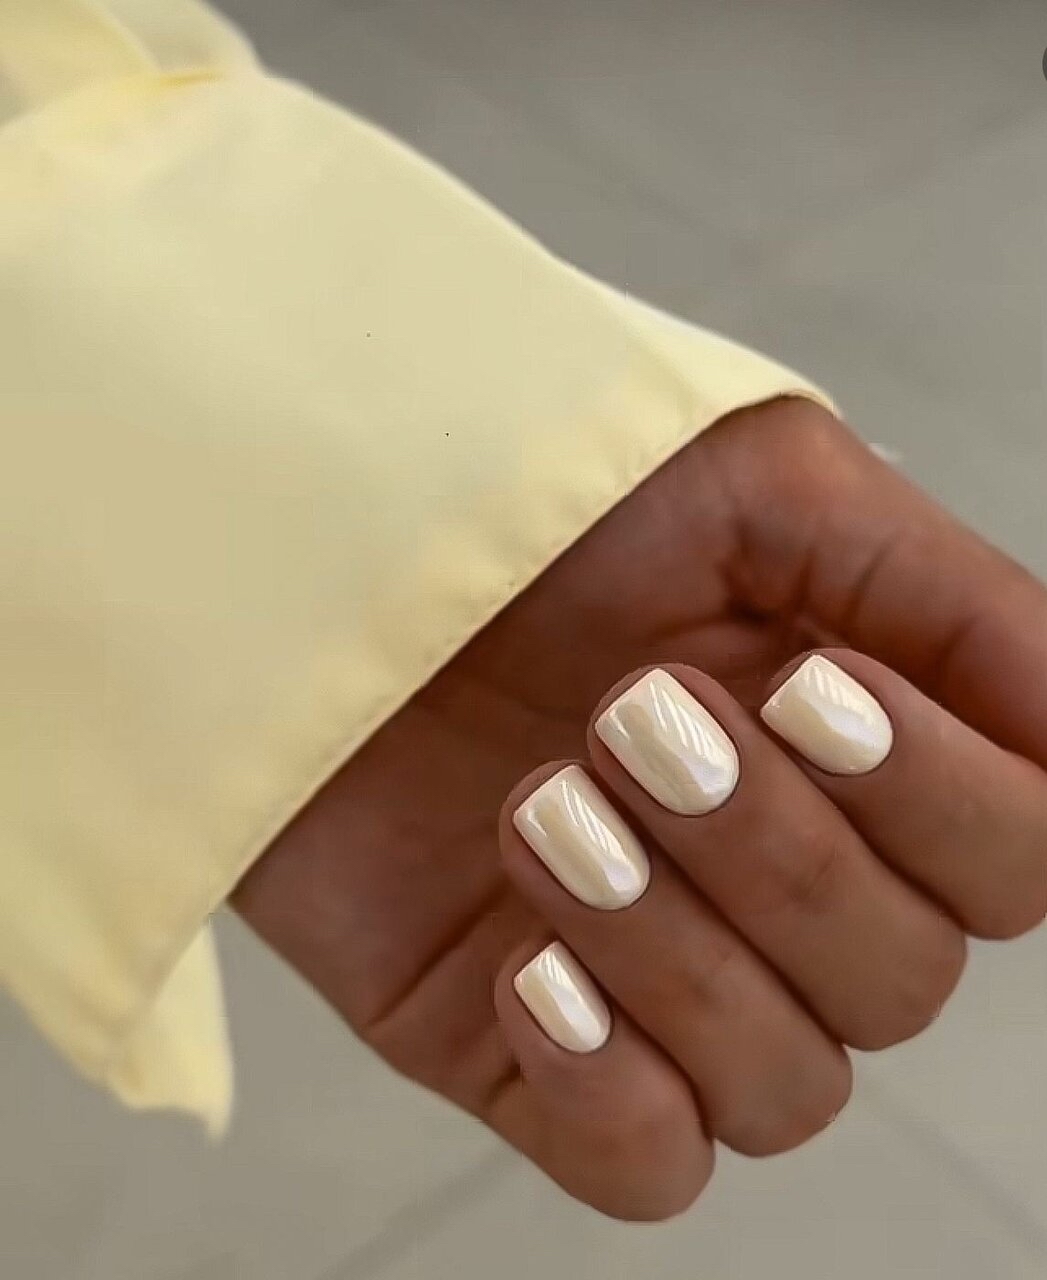
Textured vanilla nails consist of a high-opacity, warm-toned cream base in a shade reminiscent of vanilla bean or heavy ivory. Unlike traditional manicures that prioritize a perfectly flat, mirror-like surface, this trend utilizes a clear sculpting gel or a thick builder gel to create three-dimensional relief patterns on top of the color. These patterns are often organic and minimal, featuring raised ridges, soft waves, or delicate swirls that provide a physical dimension to the nail. The result is a look that is visually soft but physically interesting, playing with how light hits the raised surfaces to create shifting shadows and highlights.
Behind the Trend
This movement toward tactile minimalism arrives as a natural evolution of the “clean girl” aesthetic that has dominated recent years. For a long time, the focus has been on sheer, jelly-like finishes or the high-shine, futuristic shimmer of chrome powders. While those looks are effective, they often prioritize a certain level of slickness that can feel a bit detached from the natural world. Textured vanilla nails offer a departure from that high-gloss perfection, moving instead toward something that feels more artisanal and grounded. It is a shift from the “glassy” to the “ceramic.”
By introducing physical texture, this trend occupies a middle ground between the starkness of pure minimalism and the visual noise of maximalist nail art. It shares a spiritual connection with the “quiet luxury” movement, where the value lies in the subtlety of the details rather than the boldness of the color. There is also a sense of seasonal transition at play here. As we move away from the deep, saturated tones of winter and toward the lighter, more airy palettes of spring, there is a collective desire for colors that feel fresh and luminous without being loud. This trend provides a way to wear neutrals that feel intentional and curated rather than merely plain.
How to Get Textured Vanilla Nails
To achieve this look, you should begin with a high-quality cream polish or gel in a soft, warm ivory shade. The key to a professional finish is ensuring the base color is perfectly even. You will find that applying two thin, precise coats reads more true-to-trend than a single thick layer, as it prevents the color from looking heavy or streaky. Once your base color is completely set and dry, you are ready to introduce the dimension. You will need a clear builder gel or a thick, viscous sculpting gel to act as your medium for texture. This specific category of product is essential because it holds its shape and allows you to manipulate the design without the gel leveling out into a flat surface.
Using a fine-tipped detailing brush, you can begin to “draw” your texture onto the nail. You might choose to create long, sweeping lines that follow the natural curve of your nail bed, or perhaps small, rhythmic ridges that feel more architectural. If you prefer a more organic look, try dragging the brush in soft, swirling motions that mimic the patterns found in natural stone or linen. The secret to keeping this look sophisticated is restraint; the texture should feel like a subtle accent rather than a heavy overlay. After your patterns have cured or dried, finish the manicure with a generous application of a high-shine top coat. This step is vital for smoothing any sharp edges of the gel and ensuring that the light travels beautifully across the raised surfaces, giving the entire manicure a polished, cohesive appearance.
If you find yourself wanting to experiment further, you can easily adapt this technique for different moods. For a slightly more botanical feel, consider using a pale, muted sage green instead of vanilla, or try incorporating a single tiny pearl accent nestled within one of the gel swirls for a touch of vintage charm.