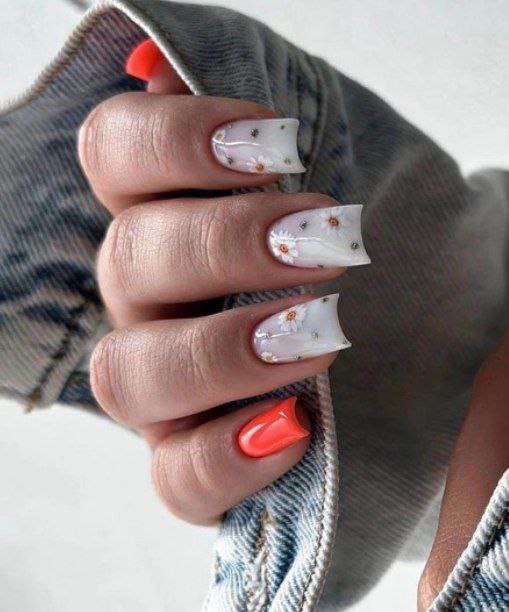
Try the Milky Botanical Nail Trend for the Dreamiest Spring Manicure
A soft, seasonal shift for your fingertips.
The light changes in late March. It loses that sharp, biting clarity of winter and takes on a softer, more diffused quality, as if the sun itself is filtering through a layer of fine silk. You might find yourself sitting by an open window, watching the first pale green shoots push through the damp soil, or feeling the slight, cooling moisture of a spring morning on your skin. There is a particular stillness in those moments, a sense of things beginning to breathe again after a long period of dormancy.
While you might be navigating a morning commute or sitting in a bright office rather than a garden, you can carry that specific sense of renewal with you. It is a feeling that translates beautifully to your personal style, particularly through a manicure that mirrors the translucent, delicate textures of the season.
What Are Milky Botanical Nails?
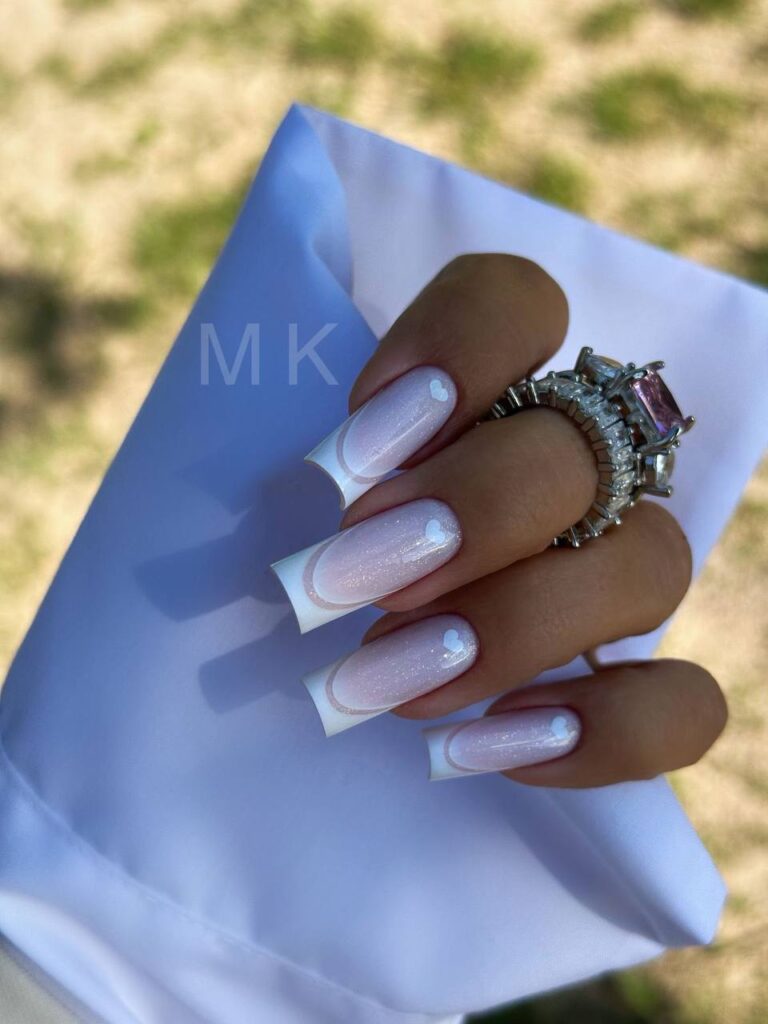
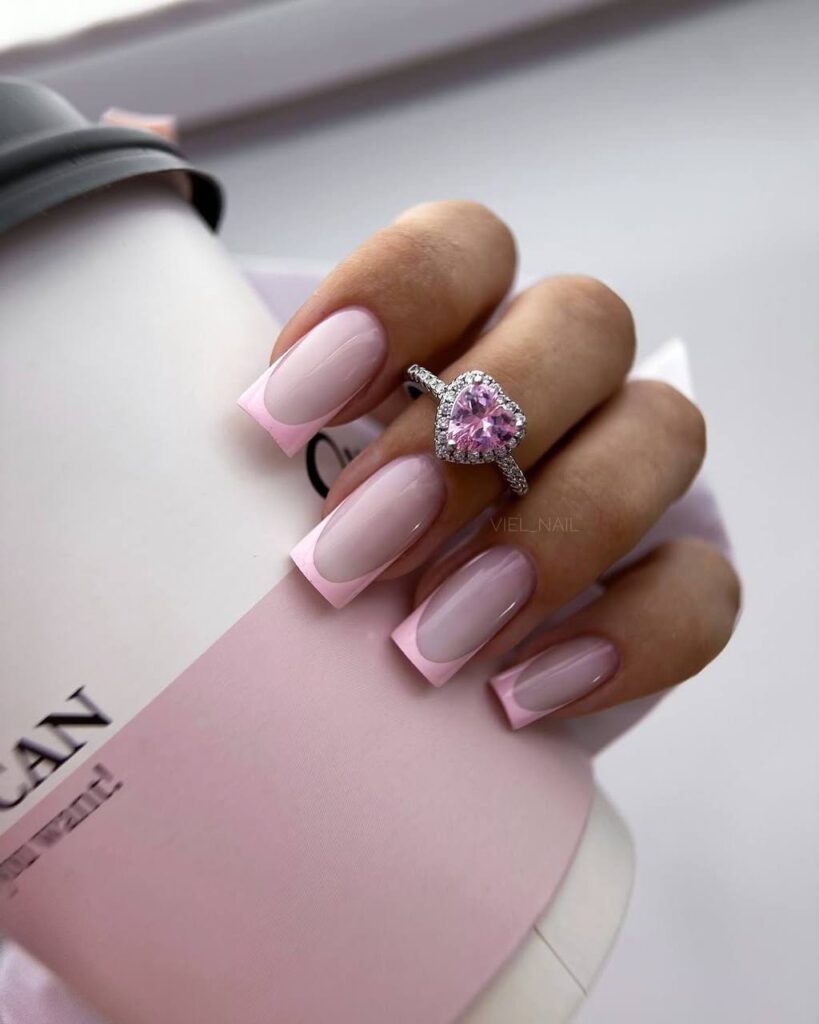
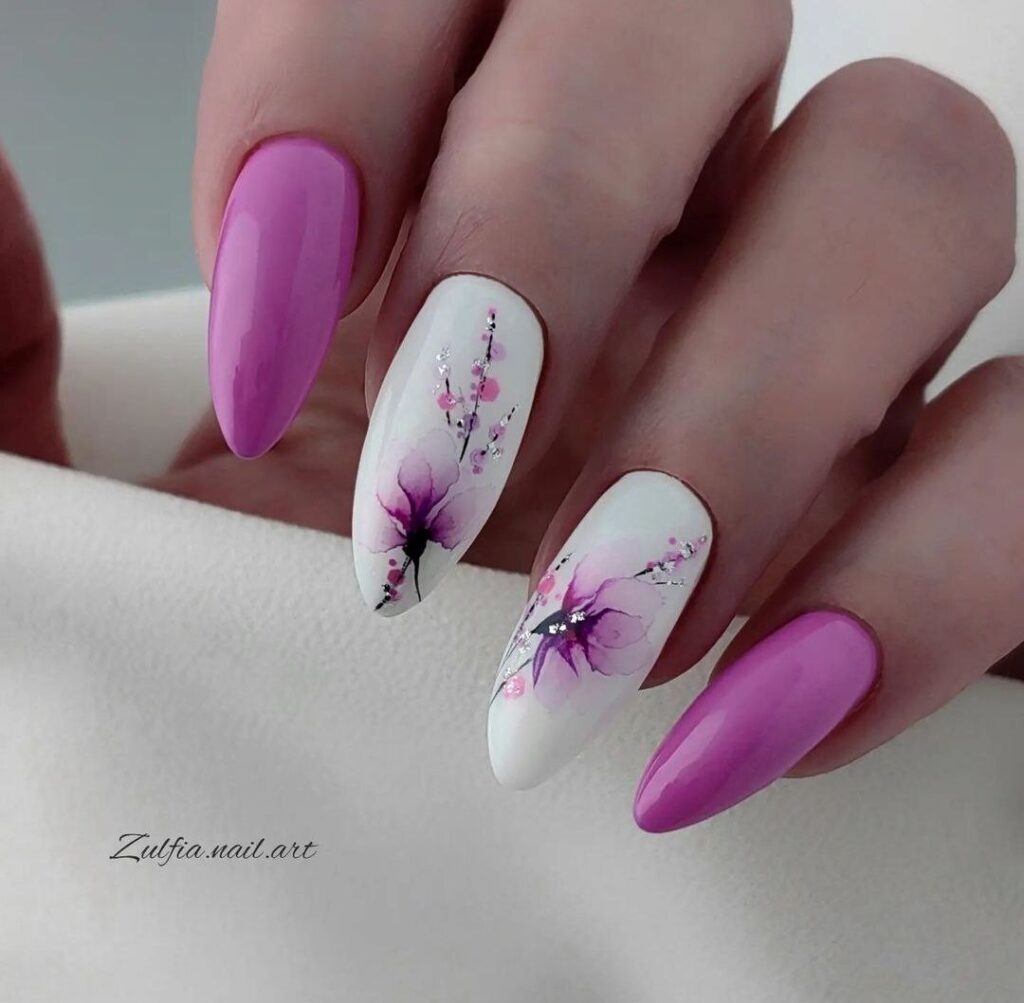
Milky botanical nails are defined by their depth and their sense of suspension. Unlike traditional manicures that rely on solid, opaque pigments, this trend utilizes a jelly-like, semi-translucent base—often in shades of milky white, soft cream, or pale peach. This sheer foundation allows light to travel through the layers of polish, creating a look that mimics the appearance of frosted glass or sea glass. Layered within or on top of this base are delicate botanical motifs, such as tiny wildflowers, petals, or leafy sprigs, which appear to float within the color rather than sitting heavily on the surface.
Behind the Trend
This aesthetic is emerging as a nuanced response to the heavy, high-contrast trends that dominated the colder months. Where the winter season invited deep bordeaux tones, heavy velvets, and sharp, metallic chromes, spring calls for a visual palate that feels lighter and more breathable. If the “clean girl” aesthetic was about a minimalist, almost invisible approach to beauty, milky botanical nails represent a way to add personality and artistry without losing that sense of effortless refinement. It is a middle ground between the starkness of a bare nail and the high-octane energy of maximalist nail art.
There is also a subtle nostalgic pull at play here. The look evokes the charm of pressed flowers found in the pages of an old book or the ethereal quality of a watercolor painting. In a world that often feels fast-paced and digitally saturated, there is a quiet appeal in a manicure that feels organic and slow. It connects to the seasonal ritual of watching a garden come back to life, providing a small, tactile reminder of the natural world even when you are far from it.
How to Get Milky Botanical Nails
Achieving this look requires a focus on layering and transparency. You will want to start with a sheer, milky-white jelly polish. This specific category of product is essential because it provides the necessary “glow from within” that opaque creams cannot achieve. When applying your base, aim for two or even three very thin coats. This is a vital distinction; applying one thick layer can lead to streaks, but applying multiple thin layers builds a structural depth that makes the nail look like a piece of polished stone or glass. Ensure each layer is completely dry before moving to the next to maintain a smooth, even surface.
Once your milky base is set, you can move on to the botanical details. For the most authentic look, use a very fine-liner brush and a highly pigmented, opaque polish in white or a soft pastel. This allows you to paint tiny, intentional shapes—small dots for flower centers or thin, sweeping strokes for petals. If you prefer a more effortless approach, you might look for tiny dried flower decals that are designed to be used with gel. The key to the “floating” effect is to apply your floral art over the base, and then seal everything with a high-shine, clear top coat. This final layer creates a sandwich effect, trapping the art between the milky base and the glossy surface, which gives the manicure its signature three-dimensional quality.
If you want to add a modern twist to this soft aesthetic, consider incorporating a single “pop” nail. Instead of painting every nail with florals, leave four nails in the milky botanical style and paint the fifth in a bright, saturated shade like coral or primrose yellow. This small addition of color breaks up the softness and adds a contemporary, playful edge to the overall look.