Try the Micro-Dot Tip Nail Trend for the Coziest Winter Manicure
A tiny detail that makes a big statement.
Imagine the weight of a heavy, cream-colored knit blanket draped over your shoulders as the afternoon light turns a soft, dusty amber. There is a specific kind of peace found in those quiet, indoor moments—the sound of a page turning, the steam rising from a ceramic mug, and the feeling of soft, tactile textures against your skin.
You likely aren’t currently tucked away in a mountain cabin with a stack of books, but you can still carry that sense of quiet, understated comfort with you. It is possible to translate that feeling of cozy minimalism into a manicure that feels just as intentional and soothing.
What Are Micro-Dot Tip Nails?
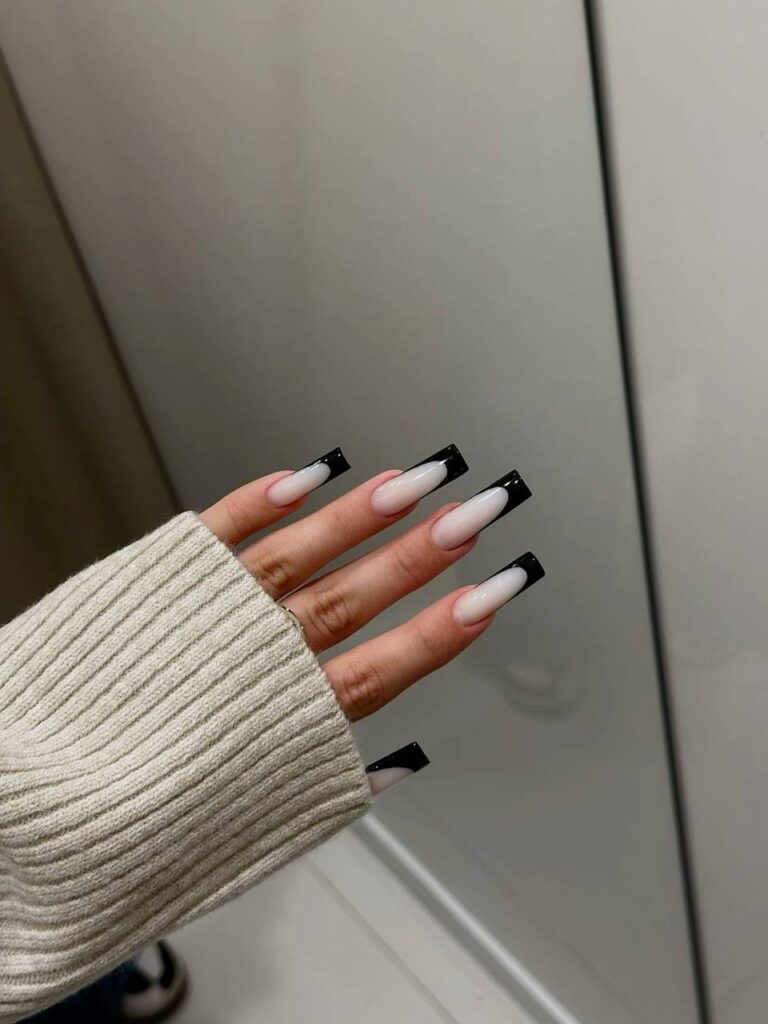
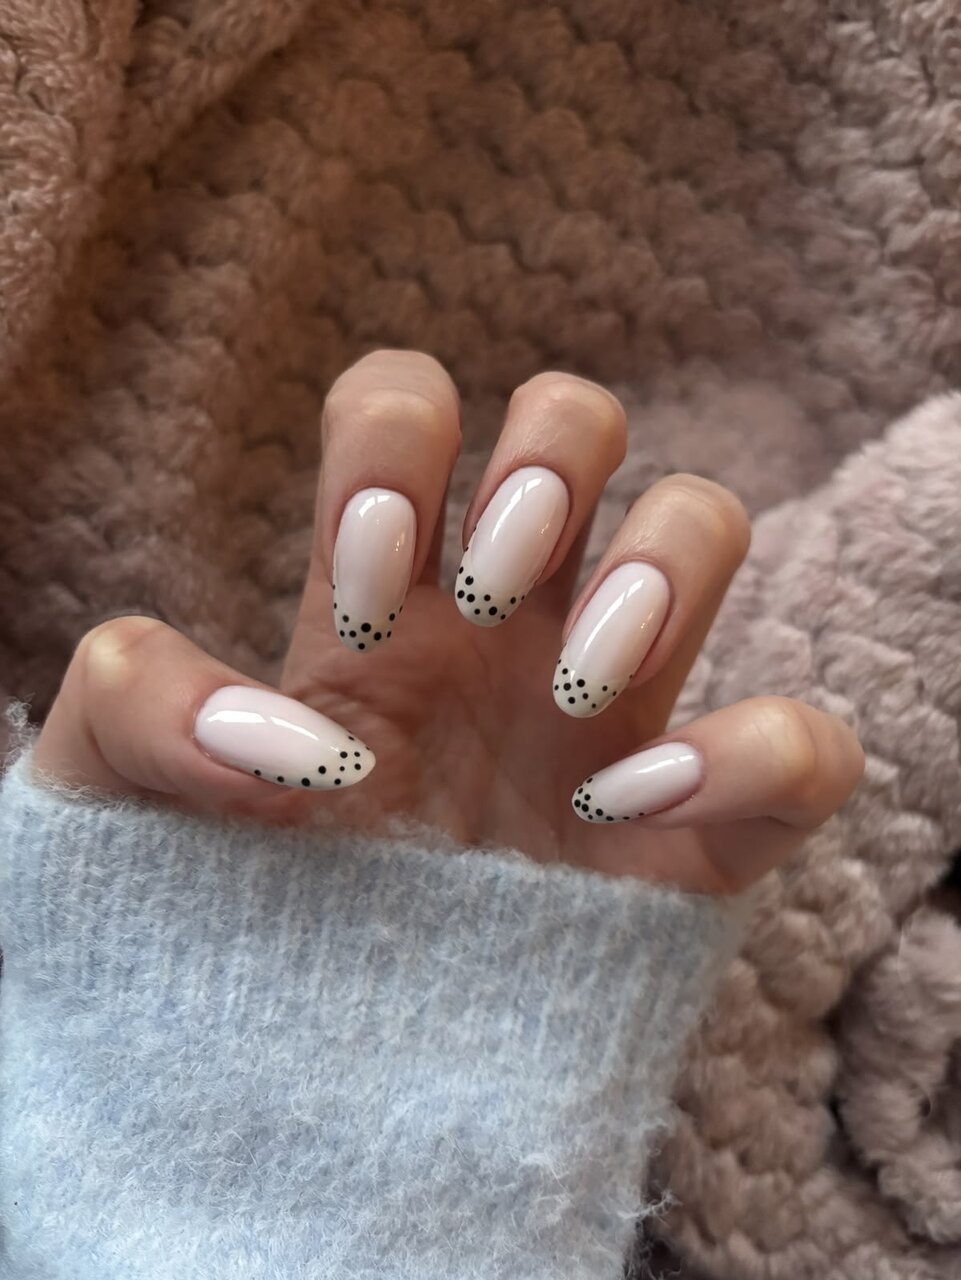
Micro-dot tip nails feature a semi-translucent, milky base—often in shades of soft cream, ivory, or pale pink—accented by a delicate arrangement of small black dots at the free edge of the nail. Instead of a solid line, these tiny points create a rhythmic, textured border that mimics the silhouette of a traditional French manicure through a minimalist, graphic lens.
Behind the Trend
This look arrives as a refreshing counterpoint to the loud, high-contrast trends that have occupied much of the recent conversation. While chrome finishes and heavy, 3D textures demand immediate attention, micro-dotting asks for a more thoughtful second glance. It occupies a space of quiet beauty, offering something more interesting than a standard nude polish without the visual weight of full-scale nail art. It serves as a bridge between the starkness of a traditional French manicure and the playful whimsy of pattern-heavy designs.
The trend taps into a sense of modern nostalgia, nodding to the graphic, playful patterns of mid-century design but refining them for a contemporary, clean aesthetic. In a season often defined by heavy colors and dense textures, this style provides a breath of fresh air—a way to look curated and put-together without feeling overdone.
How to Get Micro-Dot Tip Nails
To achieve this look, begin with a sheer, milky polish to create a clean, semi-opaque canvas. This base should feel almost like a soft veil over your natural nail, so choosing a shade of soft cream or a very pale pink is ideal. It is vital to let this base layer dry completely before moving to your detail work; even a tiny amount of residual moisture can cause your dots to bleed or blur into the base.
Once the base is set, you will need a fine-tipped dotting tool or a very slim detail brush, paired with a high-pigment black polish. Rather than attempting to draw a continuous line or a perfect, solid crescent, dip your tool into the polish and press small, individual points along the very edge of your nail. For the most natural effect, try clustering the dots more densely near the side edges of the nail and allowing them to thin out as they reach the center. This creates a sense of organic movement rather than a rigid, artificial line. When working with the tool, remember that less is often more; if you find the dots are becoming too large, wipe the tool on a paper towel between every few applications to maintain precision.
Finally, apply a layer of high-shine top coat. This does more than just add a glow; it levels the surface, ensuring the tiny dots are seamlessly integrated so your nails feel perfectly smooth to the touch. If you want to lean into a more festive mood, you can swap the black polish for a deep navy or a shimmering gold to add a bit of light to your fingertips.