Try the Watercolor Floral Nail Trend for the Dreamiest Spring Manicure
We will be wearing this all season long.
The first light of April doesn’t hit like the harsh, direct glare of July. It is a filtered, pale gold that settles over everything, catching the edges of new leaves and the soft fuzz on a budding branch. There is a quietness to the air, a sense that everything is just beginning to breathe again after a long, heavy winter.
While you might be sitting in a home office or commuting on a train rather than wandering through a botanical garden, you can still capture that sense of renewal. A delicate, painterly manicure offers a way to carry that spring lightness with you through your daily routine.
What Are Watercolor Floral Nails?
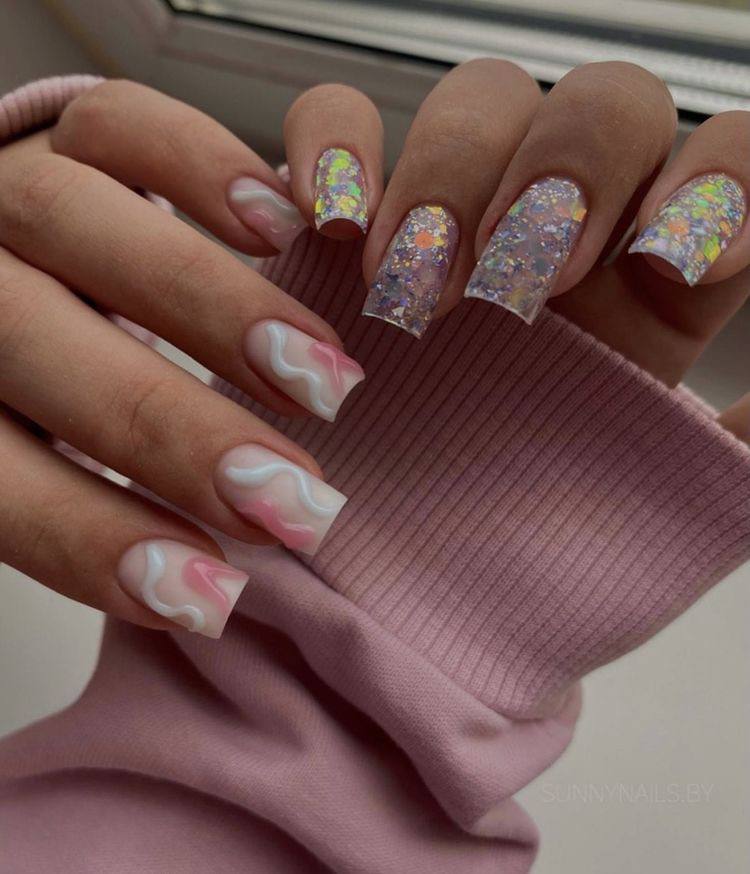
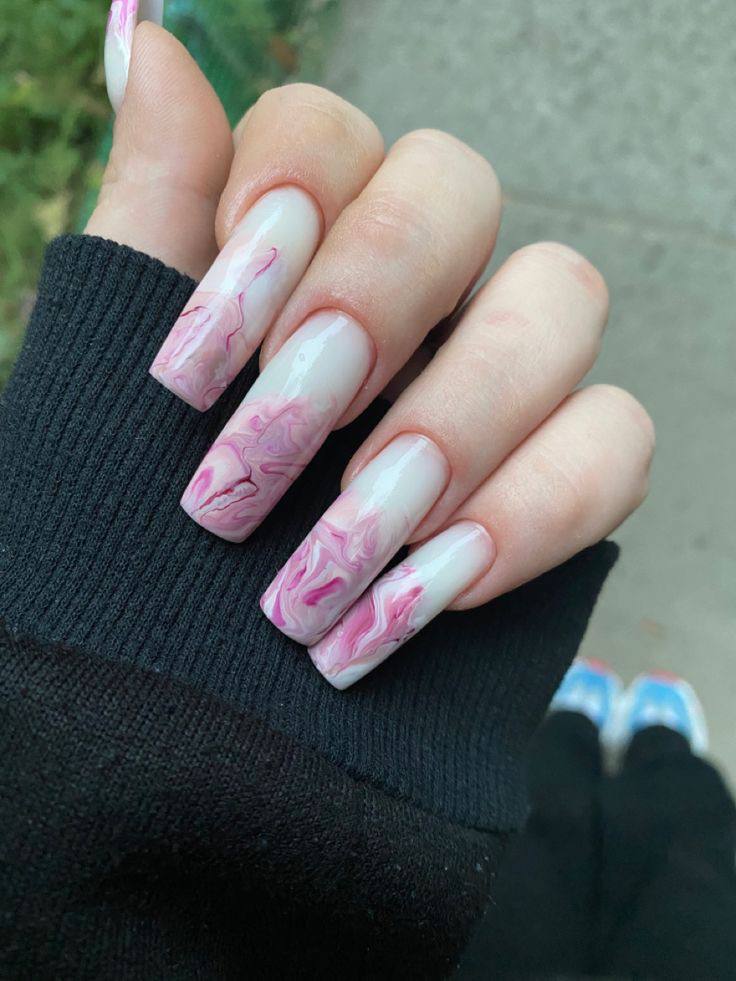
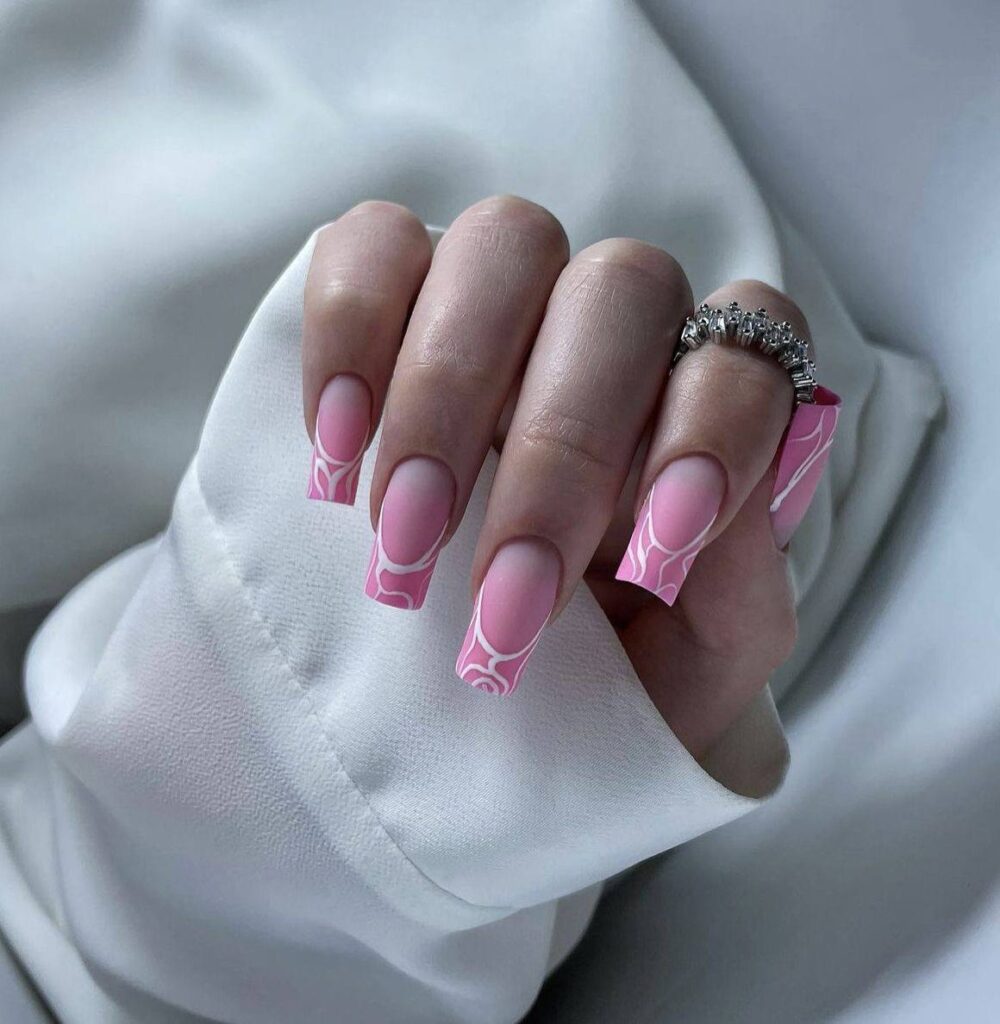
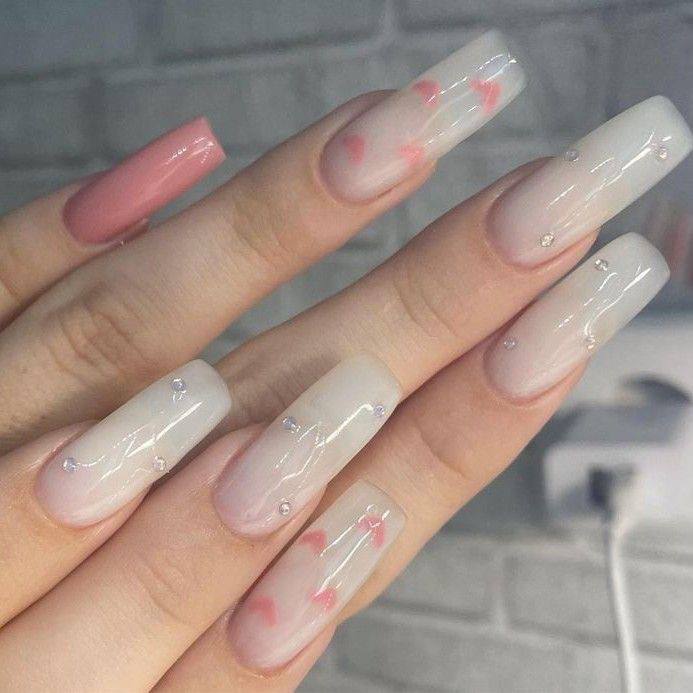
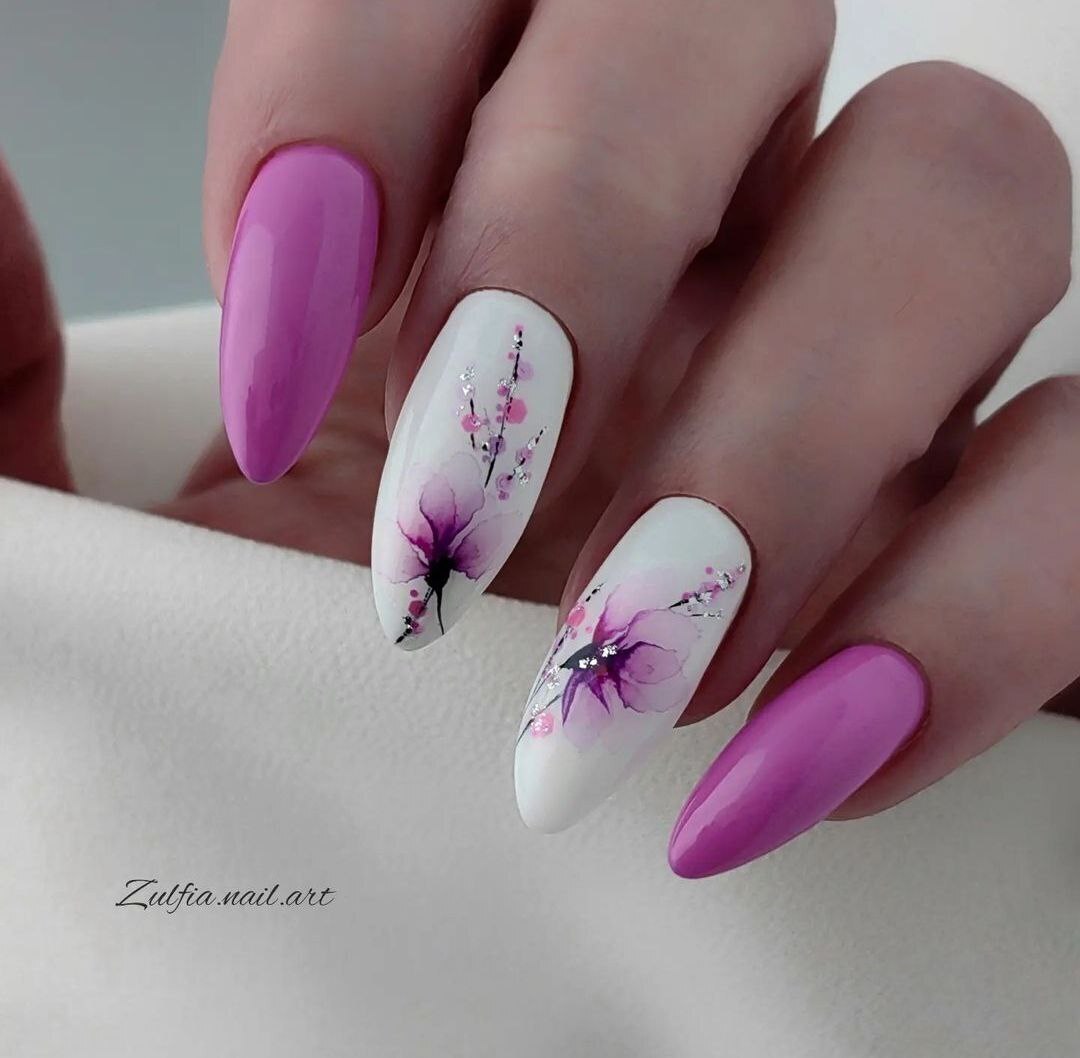
These nails feature a sheer, translucent base—often a milky white or a very pale tint—that allows the natural nail or a soft foundation color to peek through. Instead of the sharp, defined outlines seen in traditional nail art, the floral elements are created using diluted pigments that bleed softly into one another. The result is a blurred, ethereal effect that mimics the look of pigment spreading on wet paper, finished with a high-gloss top coat to maintain a dew-like appearance.
Behind the Trend
After seasons defined by the precision of minimalist aesthetics and the high-octane shine of chrome finishes, there is a visible shift toward something more organic and expressive. Where chrome nails feel architectural and controlled, watercolor florals feel accidental and soft. This trend taps into a desire for something that feels handcrafted rather than machine-perfect. It moves away from the structured geometry of negative space designs and toward a more romantic, impressionistic style that feels personal and lived-in. It is less about following a strict template and more about the movement of color.
How to Get Watercolor Floral Nails
Start with a clean, prepped nail and apply a sheer, milky base color. This provides the paper for your design. You want a color that offers enough opacity to hide any natural nail unevenness but remains translucent enough to feel light. Once the base is dry or cured, you will need a highly pigmented gel or a liquid polish that can be easily manipulated. Using a fine-tipped brush, pick up a small amount of color and touch it to the nail, allowing the pigment to spread slightly. To achieve the true watercolor effect, you may need to use a bit of clear top coat or a specialized mixing medium to dilute the pigment before application. The key is to avoid hard edges. Two thin, watery layers read more true-to-trend than one heavy application that creates a thick, opaque blob.
For the stems and more defined details, use a very fine liner brush with a slightly more concentrated pigment to add thin, sweeping lines. If you want to add a bit of depth, layer a slightly darker shade into the center of the petal shapes to mimic the natural shadow found in real flowers. Finally, seal everything with a clear top coat. This doesn’t just protect the art; it adds a glass-like finish that makes the colors look as though they are suspended under water.
If you find the soft pastels too subtle, try a moody botanical version by using a deep navy or forest green base instead of milky white. This keeps the hand-painted texture but swaps the spring lightness for something that feels more suited to a rainy autumn evening.