Try the Fruit Art Nail Trend for the Juiciest Summer Manicure
We’ll be wearing it all season.
The late afternoon sun feels heavy and warm on your shoulders, casting long, golden shadows across a wooden picnic table. There is the scent of crushed mint and the faint, sweet tang of citrus in the air. You reach for a slice of fruit, the juice cool and bright against your skin, a sharp contrast to the heat of the day.
You likely aren’t sitting in a sun-drenched orchard right now, perhaps instead navigating a morning commute or a quiet afternoon at a desk. However, you can capture that specific, refreshing vitality through a manicure that feels just as bright.
What Are Fruit Art Nails?
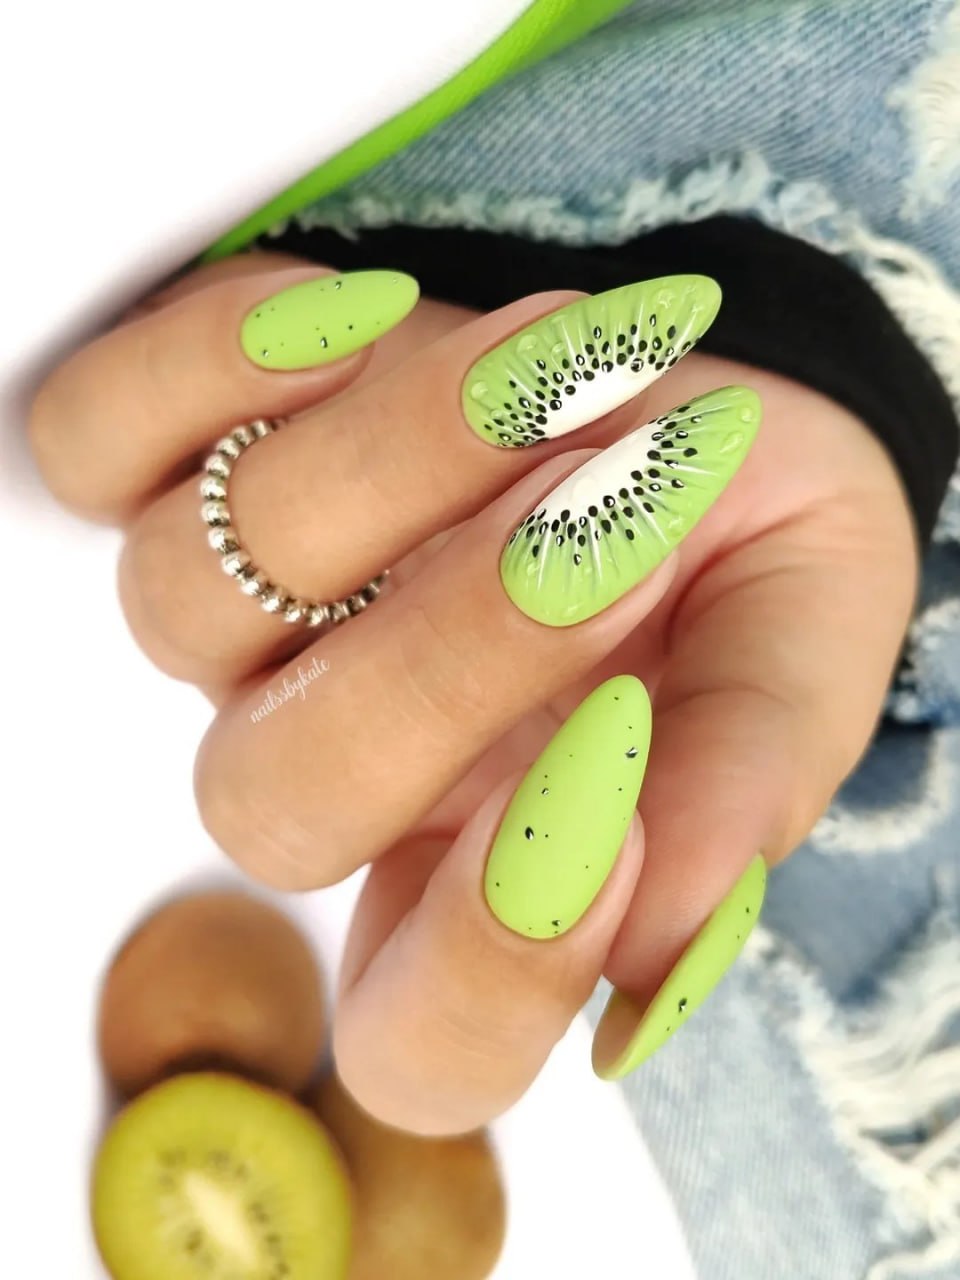
Fruit art nails are a form of miniature botanical illustration applied to the nail plate. The technique relies on a combination of translucent, jelly-like finishes and high-pigment paints to recreate the internal textures of fruit, such as the speckled center of a kiwi or the segmented pith of a citrus slice. This approach focuses on light-refracting opacity to mimic the organic appearance of real fruit flesh.
Behind the Trend
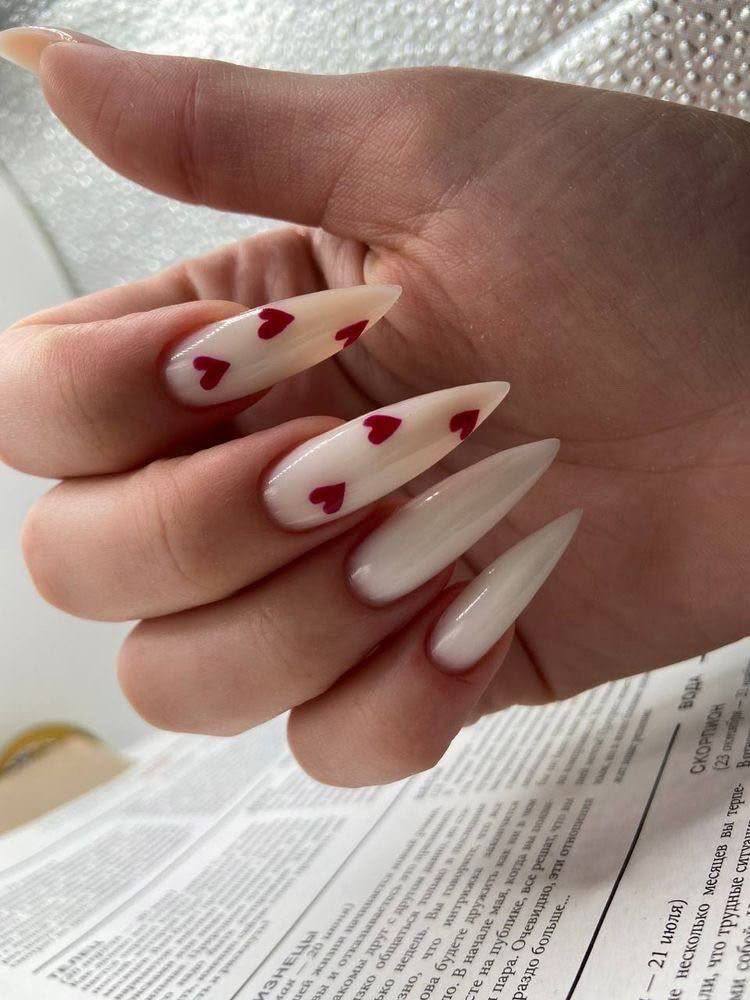
The recent shift toward fruit art marks a departure from the quiet, polished minimalism that has dominated the manicure scene for several seasons. For much of the past year, the focus has been on the “clean girl” aesthetic—think sheer nudes, milky whites, and the iridescent, pearl-like finish of the “glazed donut” trend. While those looks emphasize a seamless, understated elegance, fruit art leans into a more expressive, maximalist energy. It is a visual celebration of color and pattern that feels more tactile and rhythmic. This trend also taps into a deep sense of seasonal nostalgia, echoing the bright, saturated hues of childhood summer treats or the refreshing feeling of a roadside fruit stand, offering a way to carry the feeling of a holiday with you.
How to Get Fruit Art Nails
To achieve this look, the foundation is key. Begin with a sheer, tinted jelly polish in a shade that mirrors your chosen fruit, such as a soft melon, a pale lime, or a peach. Using a translucent base rather than a solid, opaque color is essential for mimicking the natural depth of fruit flesh; a solid color can look flat and plastic, whereas a jelly base allows light to pass through, creating a sense of three-dimensionality. Once your base is cured, you will need a very fine liner brush and highly pigmented gel paints or specialized nail art pens.
For a kiwi design, use the fine brush to create a soft white center, then layer a more saturated green around the edges. The most critical part is the detailing; use a tiny dotting tool or the absolute tip of your detail brush to place the seeds. For the best results, apply two thin layers of pigment to build color rather than attempting one heavy, thick application, which can lead to a muddy appearance. To complete the effect, finish with a thick, high-shine top coat. The glossiness is what provides that essential, fresh appearance.
If you want to take the realism a step further, consider adding a few tiny “dew drops” to the surface. You can do this by carefully placing small droplets of a clear builder gel or a thick top coat on the finished design, allowing them to catch the light like actual moisture on a fresh slice of fruit.