Try the Molten Silver Nail Trend for the Edgiest Autumn Manicure
We’ll be wearing it all season.
The air has finally cleared, leaving behind that crisp, metallic bite that only arrives when the seasons officially shift. You are walking down a quiet city street just after a sudden October shower, watching the streetlamps reflect off wet asphalt like spilled quicksilver. There is a satisfying weight to slipping on your favorite oversized leather jacket, the cold metal zippers catching the gray afternoon light.
While you might not be standing on a damp Manhattan corner right now, you can bring that exact cool, industrial atmosphere to your everyday routine. The easiest way to lean into this seasonal transition is right at your fingertips.
What Are Molten Silver Nails?
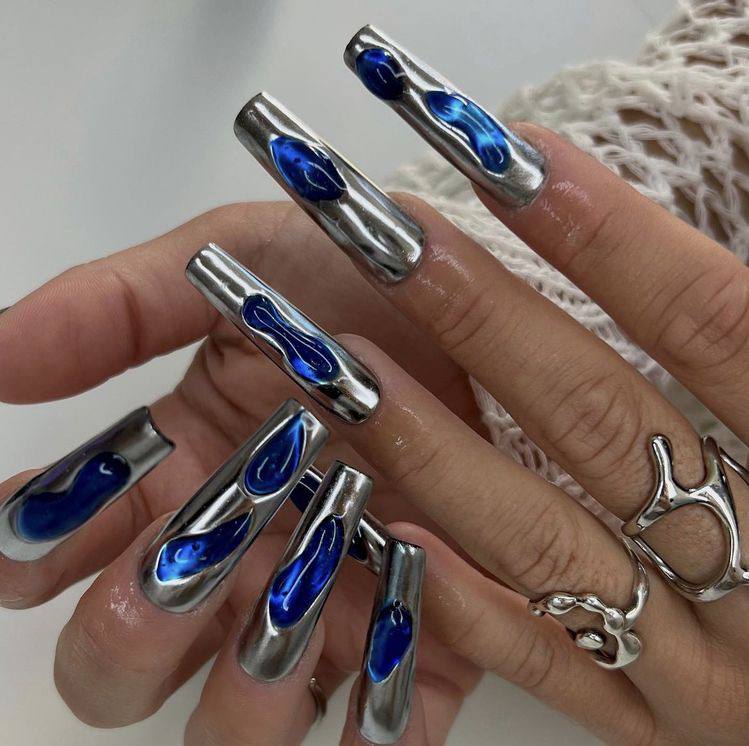
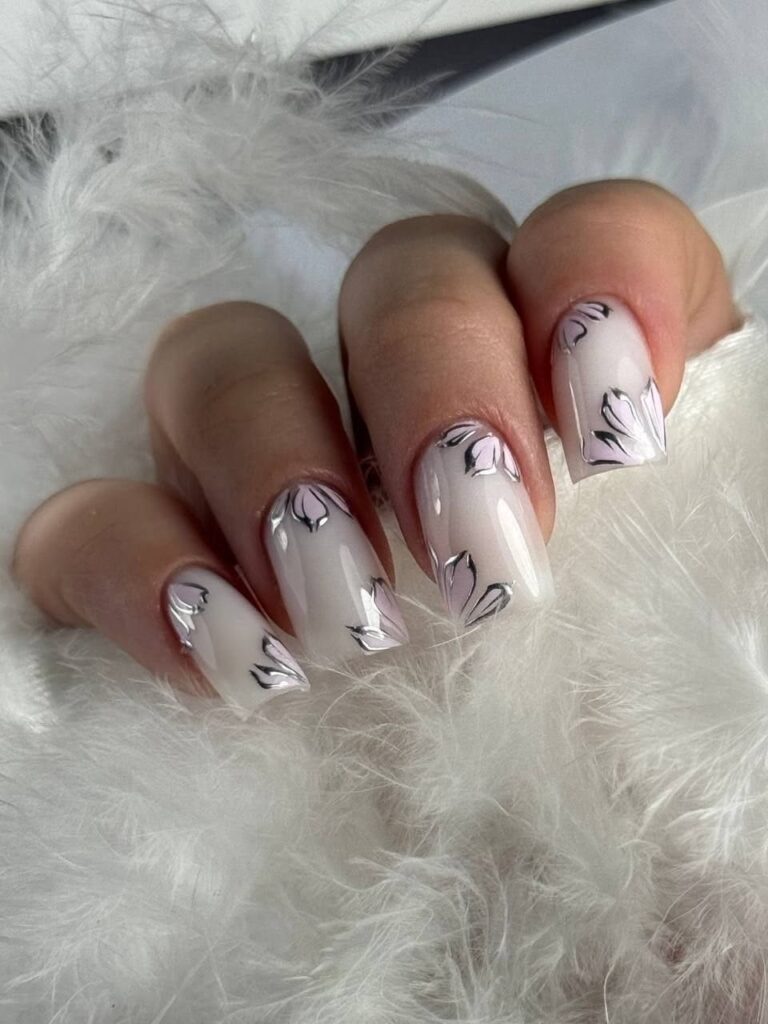
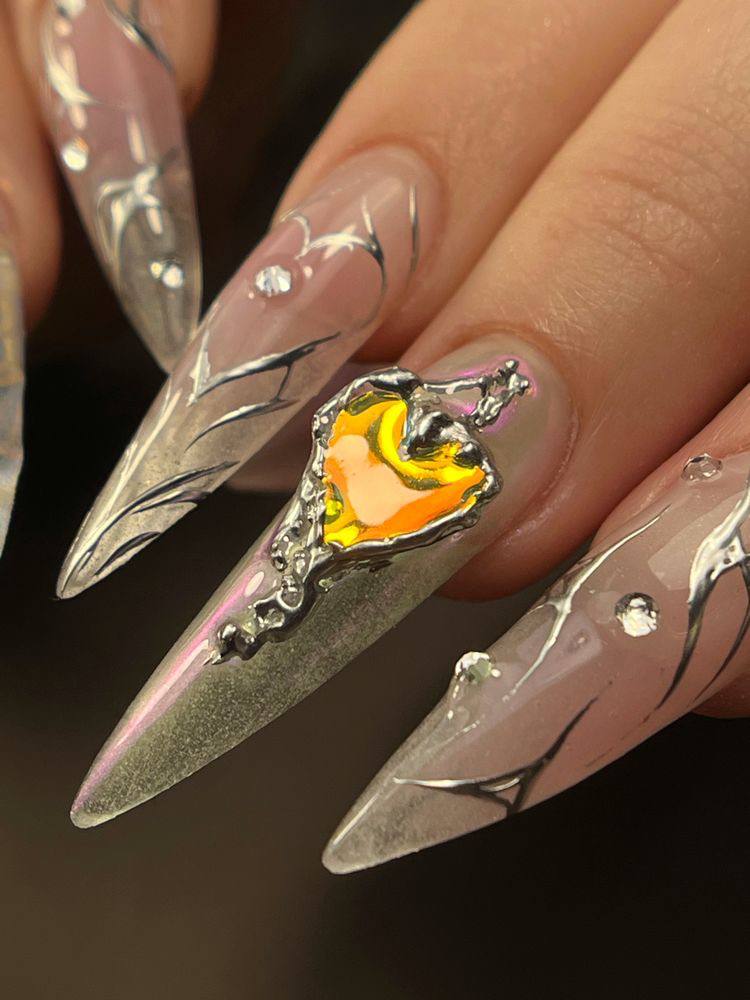
This aesthetic relies on three-dimensional texture and high-shine metallic finishes to mimic the look of poured liquid metal. Built on a sheer, neutral, or completely translucent base, the style features raised swirls, droplets, or structural frames created with thick builder gel. These raised elements are then burnished with a fine chrome pigment to create a reflective, mirror-like silver surface that contrasts sharply against the quiet, matte, or glossy negative space beneath it.
Behind the Trend
As we move away from the delicate, sheer pinks of summer and the sugary glaze that dominated the warmer months, there is a collective desire for something with more weight and attitude. While traditional autumn manicures often lean toward flat, warm earth tones like chocolate brown or forest green, this style offers a futuristic alternative. It taps into a nostalgic love for late-nineties sci-fi minimalism, channeling the industrial chic of heavy silver jewelry and chunky metal hardware. It feels intentional and structural, acting almost like permanent rings on your fingers that pair naturally with heavy wool knits and dark denim.
How to Get Molten Silver Nails
Recreating this look requires a deliberate building process, starting with your canvas. Begin by prepping the nail and applying a sheer, neutral base coat; a milky pink or a completely clear gel works best to let the metalwork stand out. Once your base is cured, you will need a non-wipe 3D sculpting gel or a thick builder gel to create the raised designs. Using a fine detail brush, map out your shapes—organic drips, thin industrial lines, or even a small frame in the center of the nail. Two thin, layered applications of the sculpting gel will build a more secure, structural dimension than trying to pile on one thick glob, which can cure unevenly. Cure this dimensional layer completely under your lamp. Next, use a silicone tool or your fingertip to burnish a high-shine silver chrome powder directly onto the raised ridges, wiping away any stray shimmer from the negative space with a lint-free wipe dipped in rubbing alcohol. Finish the look by sealing only the chrome elements with a precise application of a glossy top coat to preserve that liquid sheen.
If you want to take the look a step further, consider incorporating a small glass-like gemstone or a drop of colored jelly polish in the center of your silver frames. An amber, ruby, or emerald tone nestled inside the molten metal adds an antique, heavy-relic quality that feels incredibly rich for the colder months ahead.