Try the Molten Silver Nail Trend for the Coolest Winter Manicure
We’ll be wearing this icy, dimensional look all season long.
Picture stepping out into a crisp, quiet winter evening just as the first frost settles over the pavement. The air feels sharp, and the streetlights catch the glittering ice crystals forming on bare branches, turning the ordinary neighborhood into a landscape of metallic silver and muted whites. There is a quiet, industrial beauty to the cold, where everything soft is temporarily encased in a hard, reflective shell.
While you might currently be bundled up on your couch under three blankets rather than wandering through a frozen wonderland, you can bring that exact icy, high-contrast energy to your fingertips. The winter manicure landscape is shifting away from flat, dark berries and embracing a textural, futuristic aesthetic that feels both cozy and incredibly sharp.
What Are Molten Silver Nails?
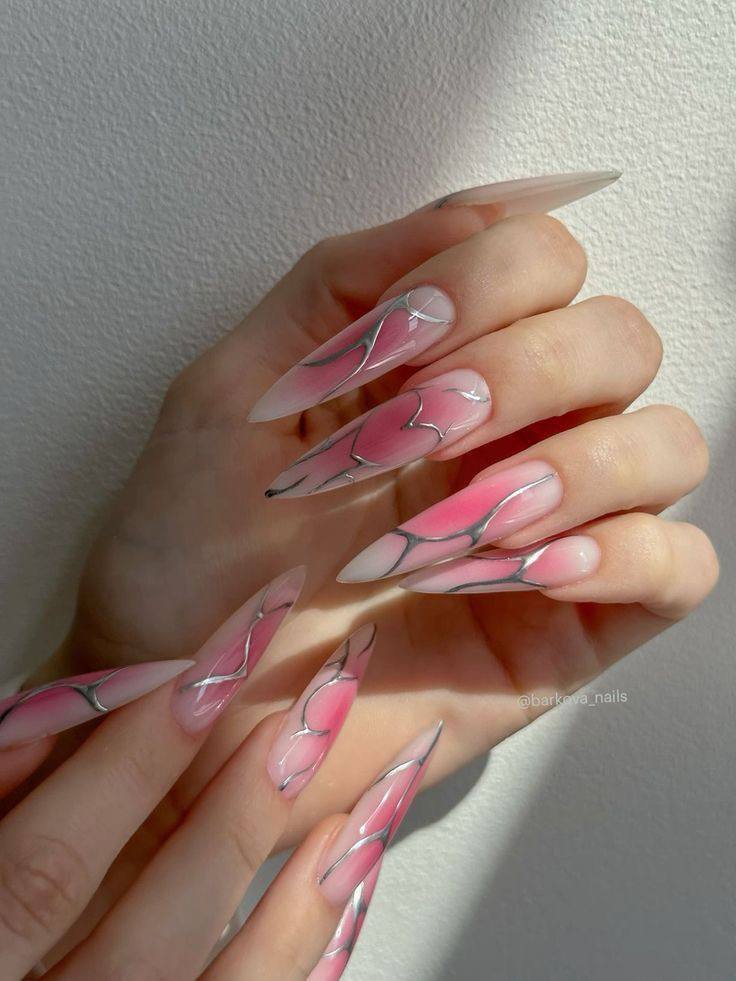
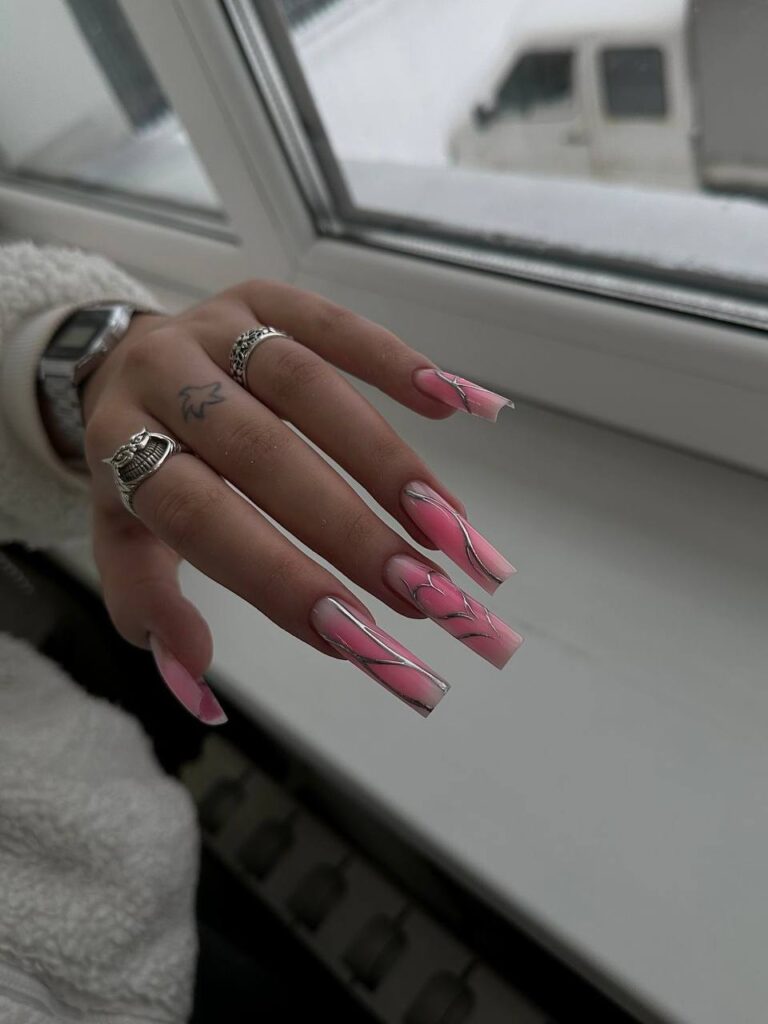
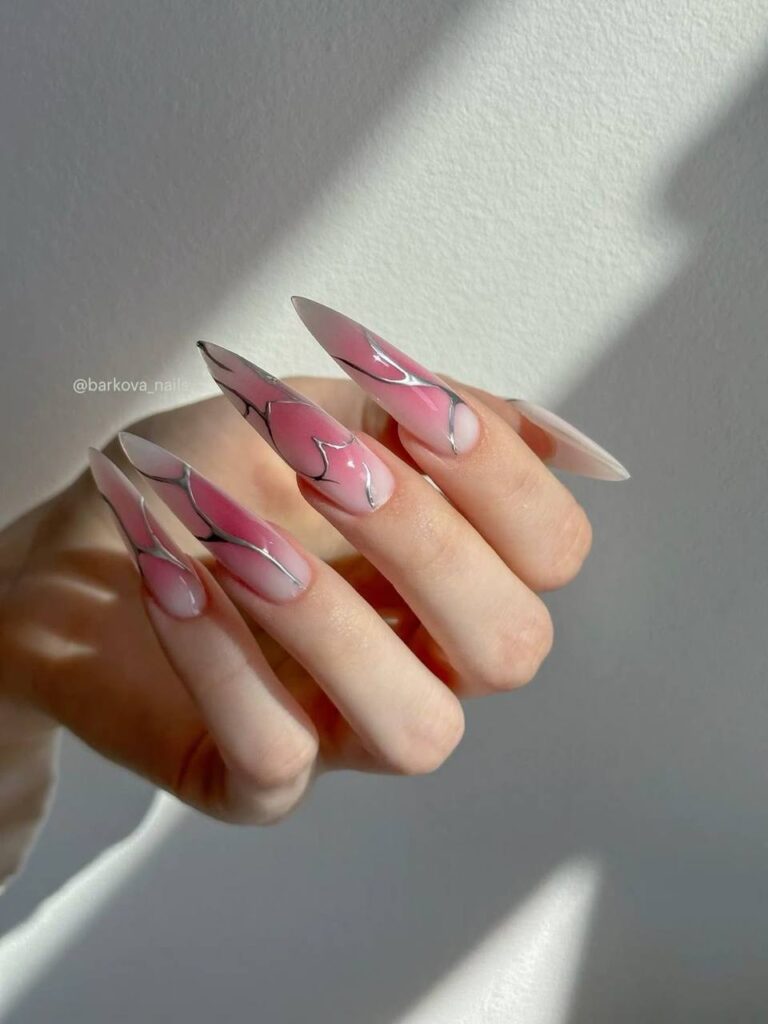
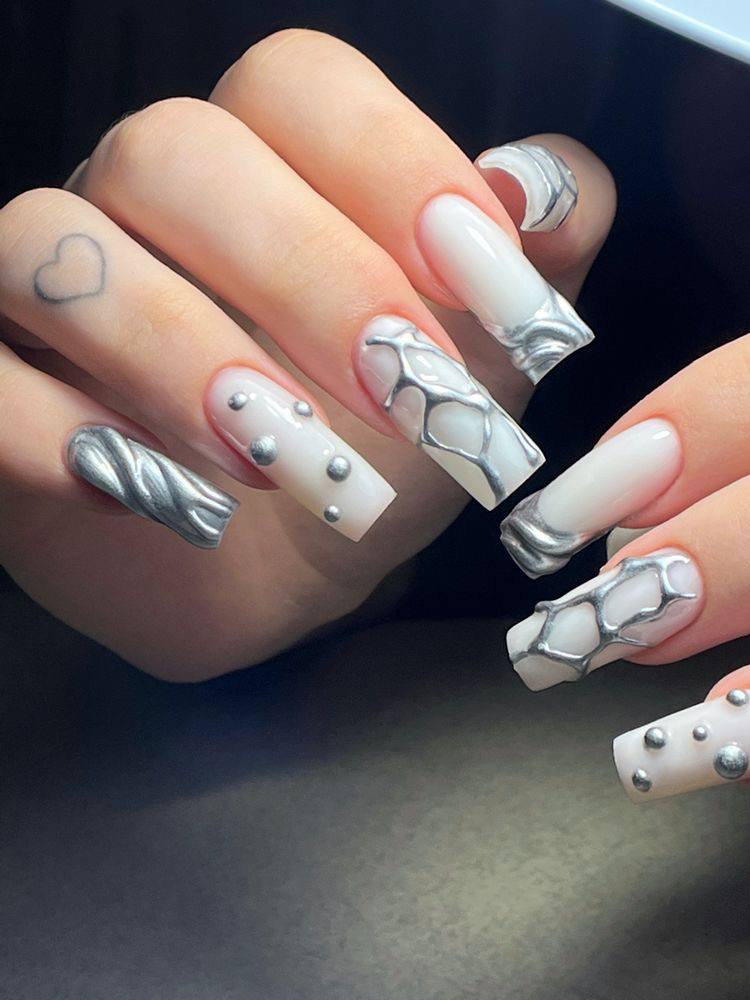
To understand this look, think of classic nail art combined with industrial design. Molten silver nails feature a clean, semi-translucent milky white or sheer nude base topped with raised, three-dimensional silver metallic accents. The texture is key here: the silver elements are not painted flat, but rather built up with a thick gel to mimic the look of dripping mercury, molten metal, or heavy silver jewelry. The finish is high-shine, offering a sharp contrast between the soft, diffused base and the reflective, solid metallic overlay.
Behind the Trend
This aesthetic is gaining traction as a direct response to the hyper-minimalist nail trends that dominated the warmer months. Where summer was all about flat, barely-there sheer nudes and pearlescent glazes, winter demands something with weight and substance. There is a distinct nod to early-2000s tech optimism and the return of heavy, chunky silver jewelry in current fashion. Choosing this style lets you wear your accessories directly on your nails, offering a tactile, sensory experience every time you catch the light.
How to Get Molten Silver Nails
Achieving this dimensional look requires layering specific product types to build the necessary height and shine. Start with a clean nail prep, then apply two thin coats of a milky white or sheer cream gel polish, curing after each layer. This creates a soft, foggy canvas that makes the silver pop. Next, to build the three-dimensional structures, you will need a clear, high-viscosity builder gel or 3D sculpting gel. Using a fine detail brush, paint organic, raised lines, swirls, or droplets onto the nail, allowing the gel to pool slightly to create that heavy, liquid effect. Two thin passes of the builder gel to build height read more true-to-trend than one thick, messy dollop. Cure this layer thoroughly to lock the shape in place. Once cured, apply a specialized no-wipe gel top coat over the raised areas only, cure again, and then burnish a metallic silver chrome powder directly onto the raised shapes using a sponge applicator. Brush away any excess powder, and seal the entire nail with a high-shine gel top coat to prevent the chrome from peeling.
If you want to put a personal spin on the style, try replacing the milky white base with a deep navy blue or charcoal gray to create a midnight-sky effect under the silver. Alternatively, keeping the three-dimensional accents confined to just the ring and middle fingers offers a quieter, accent-style introduction to this highly tactile trend.