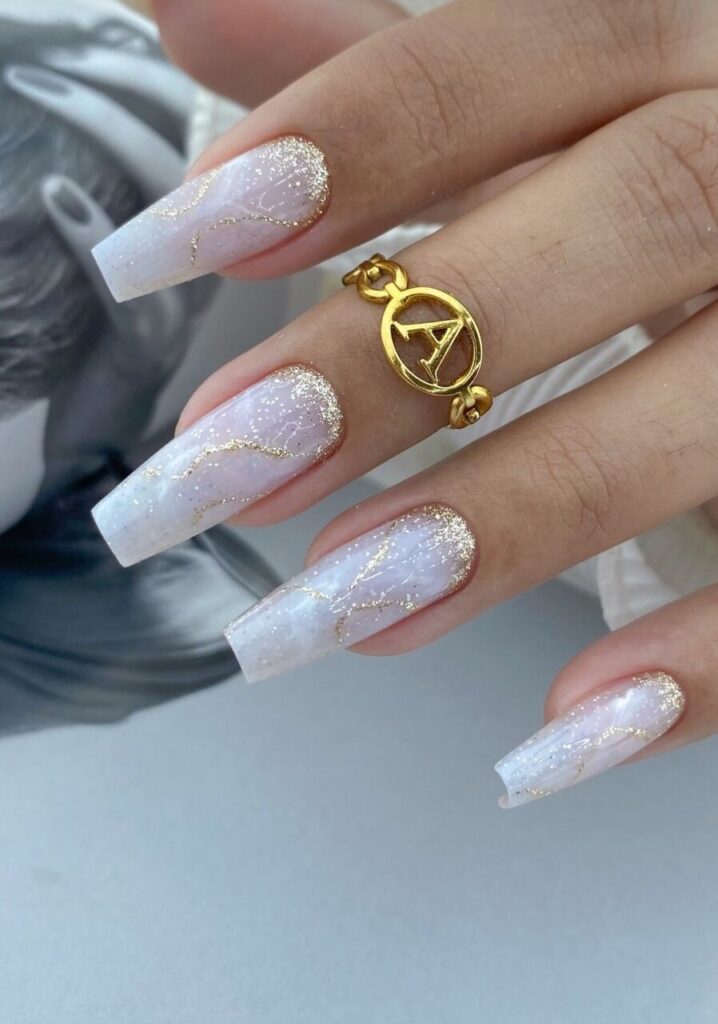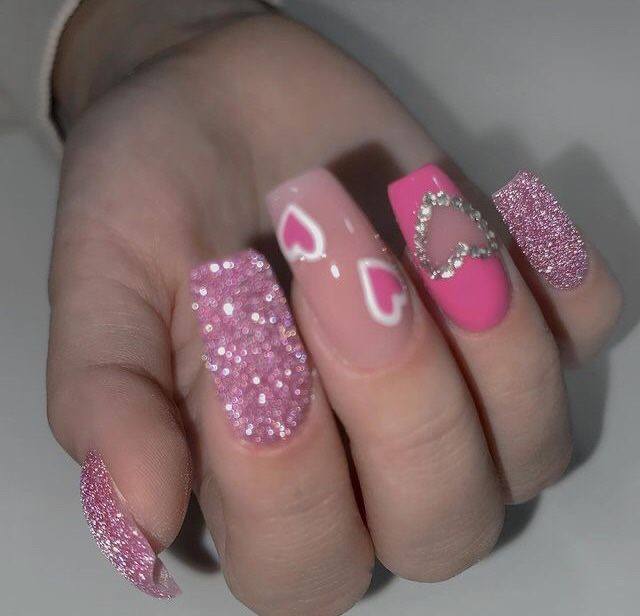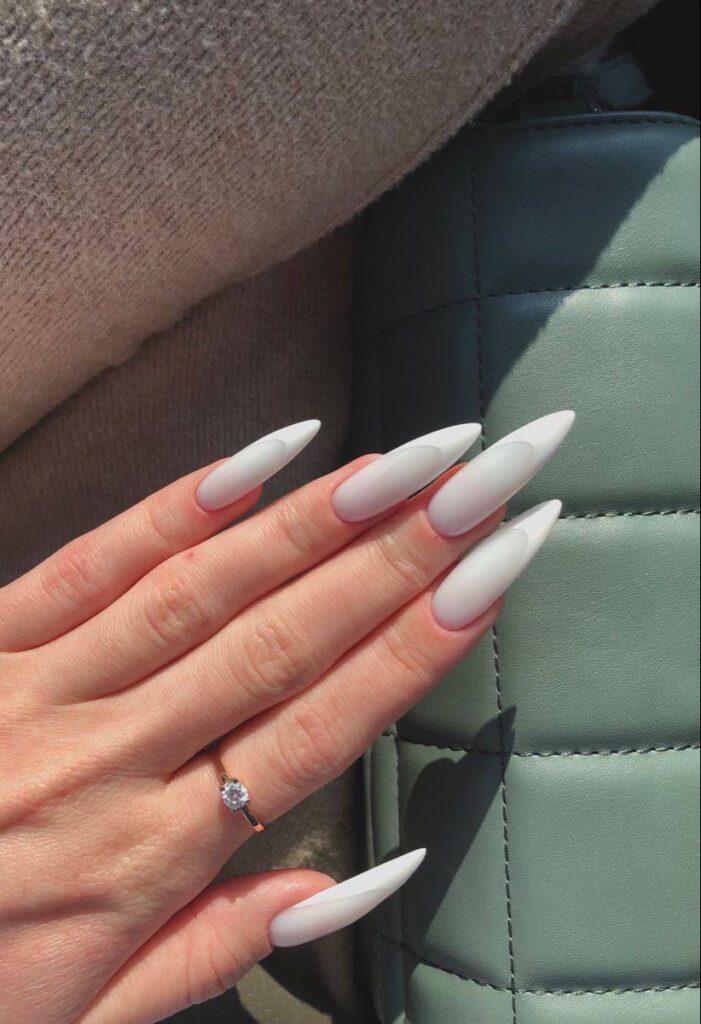
The light catches the edge of your nail, revealing a depth that opaque pigments simply cannot replicate. Instead of a solid wall of color, you see a soft, diffused glow that mimics the quality of frosted glass or fine porcelain. This is the milky jelly aesthetic, a trend that prioritizes translucency and light refraction over heavy coverage. It is a look that feels both nostalgic and modern, bridging the gap between the hyper-feminine coquette style and the clean, minimalist approach to manicures.
Achieving this look requires a departure from standard application methods. When you use traditional cream polishes, the goal is even, flat coverage. With jelly finishes, the objective is depth.
Mastering the Jelly Foundation
The foundation of this look is the jelly base, which refers to a polish with a translucent, high-viscosity formula. To achieve the specific milky effect seen in high-end salons, you are not looking for a single coat of white. Instead, you are building layers. A single layer of a sheer, milky white or a pale blush pink allows the natural nail bed to peek through, creating a soft-focus effect.
If you are working with gel, the technique involves using a builder gel or a highly pigmented translucent gel. You apply a very thin, even layer to establish the milky base, then follow with a sheerer jelly color to add dimension. This layering process creates a three-dimensional quality where the color seems to float within the nail rather than sitting on top of it. If you find the color looks too opaque, you can thin the viscosity by mixing a drop of clear top coat into your pigment, though this requires a steady hand to prevent streaking.
Structural Precision and Shape Selection
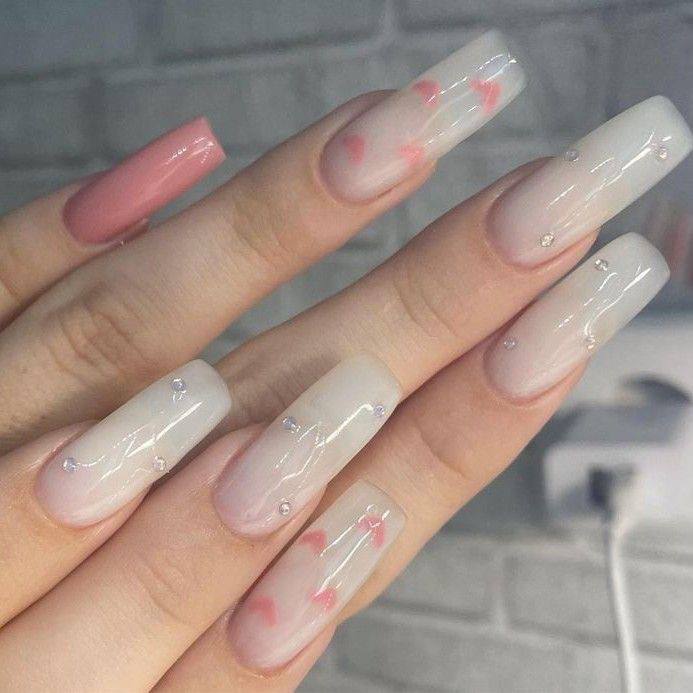
Because the jelly aesthetic often leans into longer lengths, the structural integrity of the nail is a primary concern. The image showcases a tapered shape, somewhere between a long squoval and a soft coffin. This shape provides a large canvas for art while maintaining a sophisticated silhouette.
When applying long enhancements, such as soft gel extensions or acrylics, apex placement is critical. The apex is the highest point of the nail’s curve, located along the center of the nail bed. Without a properly reinforced apex, the length of the nail will become a liability, prone to snapping under pressure. A well-placed apex ensures that the nail can support the weight of the longer tip and the added weight of embellishments like rhinestones or charms. For those preferring a more natural look, a squoval shape with rounded corners offers a sturdy, low-maintenance alternative that still carries the soft, romantic weight of the trend.
Incorporating Micro-Details and Embellishments
The character of this manicure comes from the intentional placement of micro-details. In the example provided, we see a combination of hand-painted elements and three-dimensional accents. The pink hearts are not solid blocks of color; they are rendered in a similar jelly consistency, making them appear as though they are suspended deep within the layers of the nail.
To replicate this at home, you can use a fine-liner brush and a highly pigmented sheer gel to paint small, organic heart shapes. Do not aim for clinical symmetry; the slight irregularities contribute to the hand-crafted, editorial feel. Once the hearts are cured, apply a layer of clear builder gel to “trap” them, then add your final top coat.
For the crystalline elements, the placement should feel deliberate rather than cluttered. Small, clear rhinestones or tiny pearls placed near the cuticle or scattered sporadically across the mid-shaft add a touch of light refraction. When applying these, ensure you use a dotting tool to place a small bead of clear gel to act as an adhesive, then cure immediately to prevent the stones from shifting.
Color Theory and Skin Tone Pairing
While milky pinks and whites are the standard, the translucency of jelly polishes allows for significant versatility in color pairing. The goal is to choose shades that complement your undertones without overwhelming the skin.
For those with cool undertones, a milky lilac or a sheer, icy blue can look incredibly refined. For warmer undertones, a translucent peach or a warm, milky cream provides a soft glow. The key is to maintain the “sheer” quality. If the color becomes too saturated, you lose the light-play that defines the aesthetic. Pairing a milky base with a single accent nail in a slightly deeper, more saturated jelly shade—such as a soft rose or a muted coral—can also add sophisticated visual interest without breaking the cohesive, soft-girl aesthetic.
Maintaining the Luminous Finish
A jelly manicure relies entirely on its shine. Because the color is so subtle, any dullness or surface scratching will immediately diminish the effect. To maintain the clarity of the finish, a consistent cuticle oil regimen is necessary. Applying oil daily creates a moisture barrier that prevents the surrounding skin from looking dehydrated, which can otherwise detract from the clean lines of the manicure.
As the weeks progress, the natural growth at the cuticle can disrupt the illusion of the suspended pigment. To extend the life of the look, you can use a high-shine top coat to buff out minor surface scratches, but for a true refresh, a professional fill to reset the apex and the milky base is the most effective route.
You now have the technical framework to navigate this delicate aesthetic with precision. Whether you are requesting a layered jelly build at your next salon appointment or practicing your micro-painting at home, the result is a manicure that feels intentionally curated and quietly striking.