The Pink Micro French Manicure
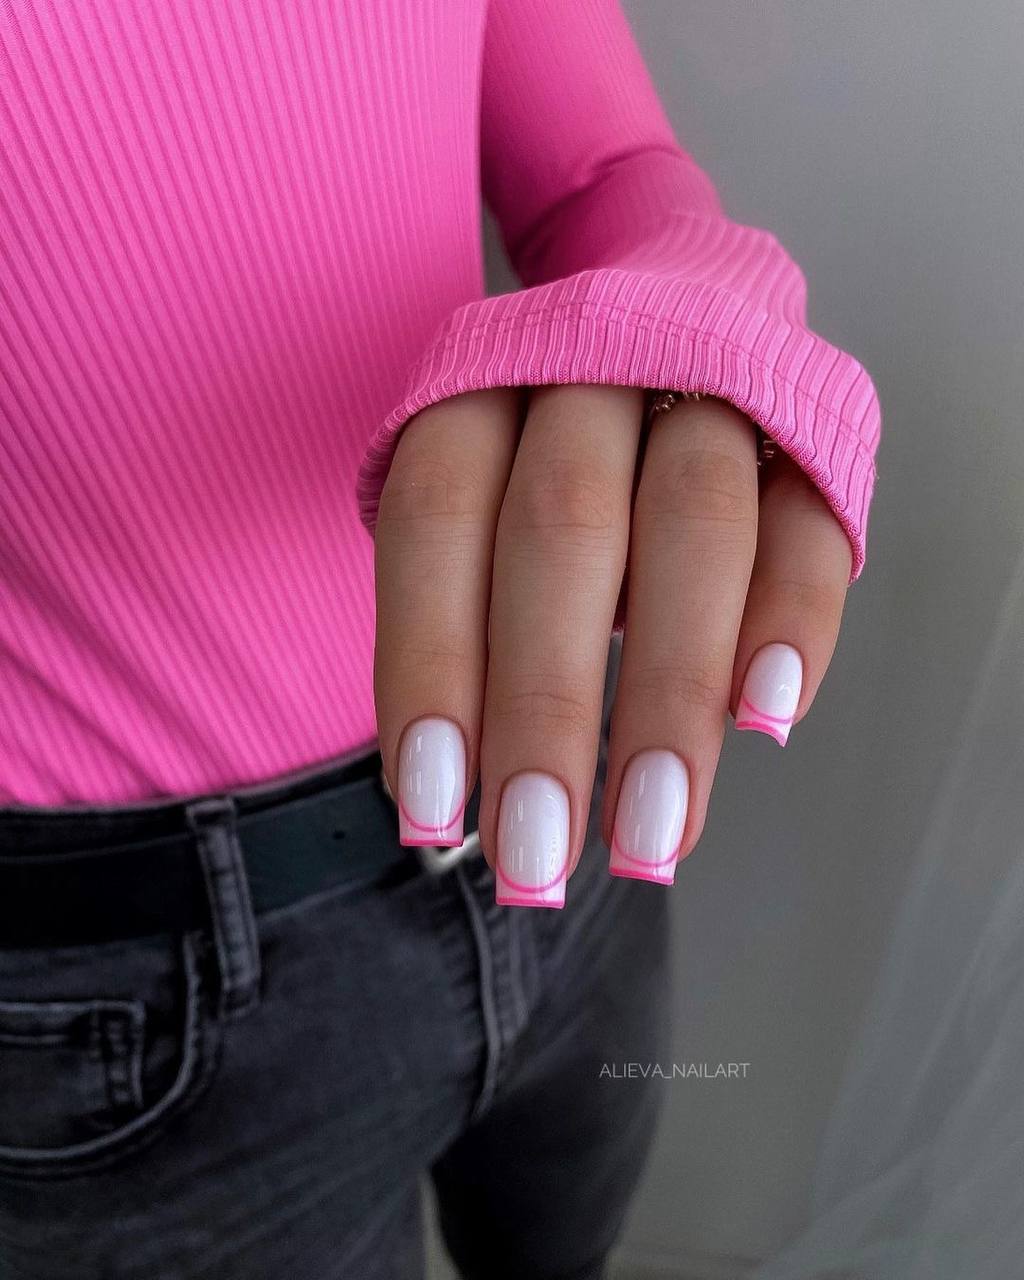
The visual tension between a soft, milky base and a sharp, saturated line creates a specific kind of modern sophistication. While the traditional French manicure often relies on a heavy, opaque white tip that can feel dated or overly formal, the micro French approach favors minimalism and precision. By stripping the design down to a hairline of pigment, you achieve a look that feels intentional rather than performative. When that single line is rendered in a high-saturation pink against a translucent, jelly-like white base, the result is a striking balance of sweetness and clinical sharpness.
Defining the Micro French Aesthetic
To understand this look, you must distinguish between a standard French tip and the micro variation. A traditional tip covers a significant portion of the free edge, often creating a thick, visible boundary. The micro version, however, utilizes a fine liner brush to deposit a razor-thin arc of color along the very perimeter of the nail. The base is rarely a solid, stark white; instead, it leans toward a milky, semi-sheer finish. This translucency allows the natural nail bed to peek through, providing a sense of depth and making the manicure appear as though it is growing from the nail rather than sitting heavily on top of it.
The addition of a secondary pink curve near the cuticle area—often referred to as a reverse micro French—adds a contemporary, architectural element. This detail breaks up the verticality of the nail and draws the eye toward the center of the nail bed, creating a more cohesive, custom-designed appearance.
Achieving Technical Precision
Whether you are executing this at home or sitting in a salon chair, the success of this manicure relies entirely on line weight and apex placement. If you are requesting this at a salon, do not simply ask for pink French tips. Instead, specify a milky, semi-opaque base with a micro-line in a high-pigment neon or fuchsia. Request that the technician use a long-haired liner brush to ensure the line remains consistent in thickness from the lateral sides to the center of the smile line.
If you are attempting this DIY, your kit requires a high-viscosity gel or polish to prevent the pink line from bleeding into the white base. Start by applying your milky base and allowing it to cure or dry completely. Use a detail brush—the kind with a very fine, tapered point—to map out the arc. A common mistake is attempting to draw the entire line in one continuous stroke, which often leads to wobbles. Instead, work in short, controlled segments. To ensure the shape looks professional, pay close attention to the symmetry of the smile line on each finger; the arc should mirror the natural curvature of your cuticle.
For those using gel extensions, ensure your technician maintains a proper apex placement. A well-structured nail with a slight reinforcement in the center of the nail plate will prevent the micro-line from cracking or lifting at the free edge, which is the most common point of failure for thin-line designs.
Curating Color and Shape
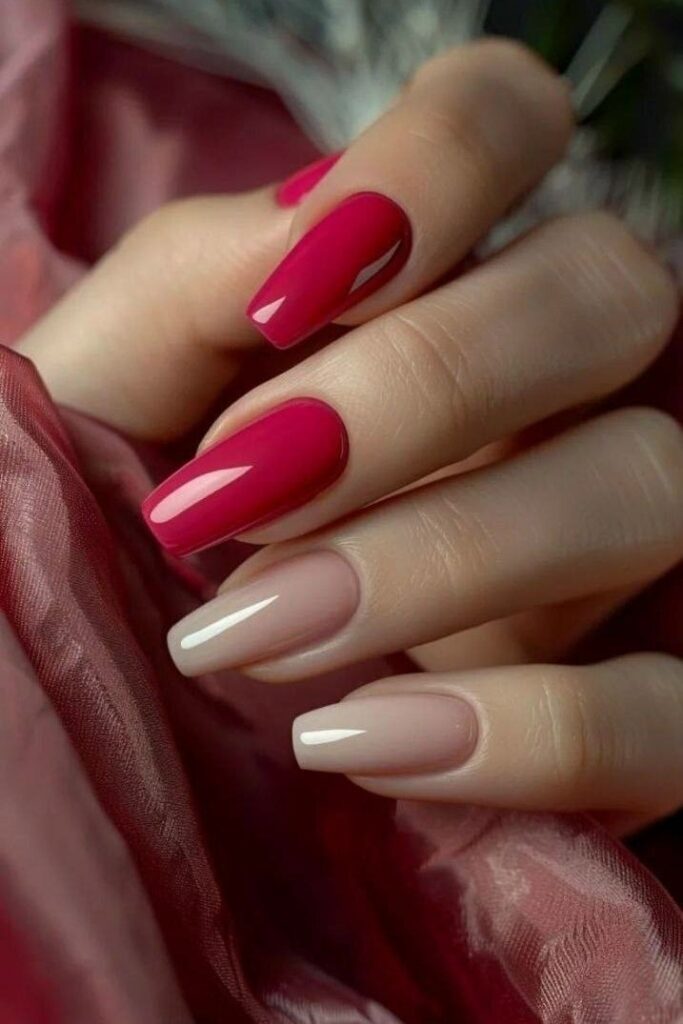
The versatility of the pink micro French lies in how you manipulate the color temperature and the nail geometry. A cool-toned, bubblegum pink offers a playful, Y2K-inspired energy, whereas a deep, saturated magenta or a warm coral-pink feels more mature and editorial. Because the line is so thin, you can experiment with high-contrast colors without the design feeling heavy or overwhelming.
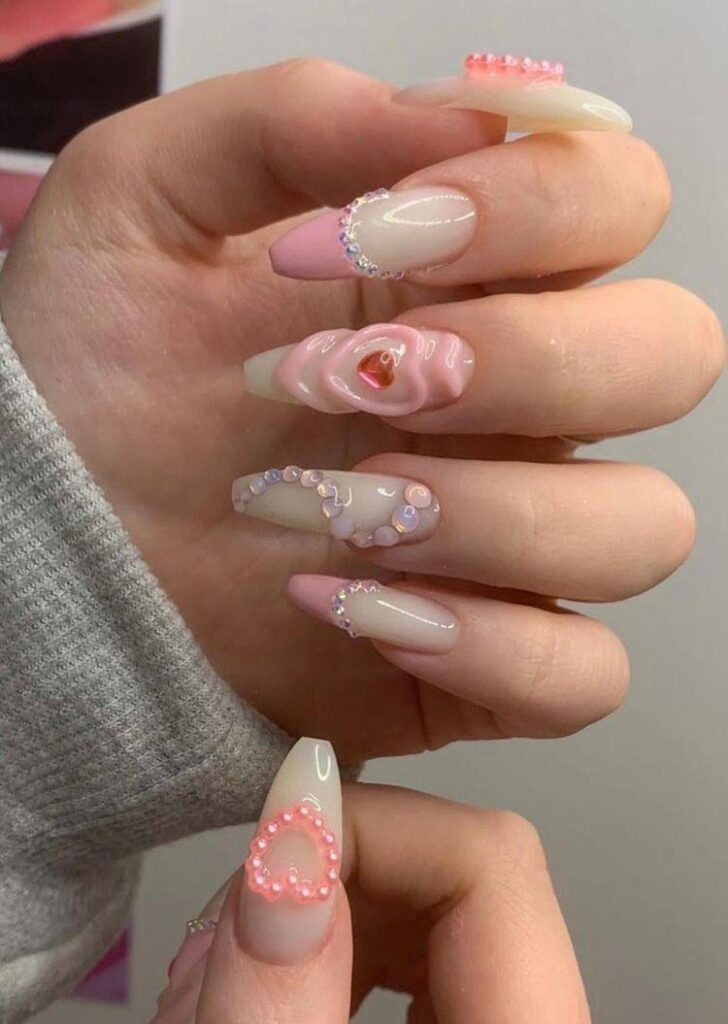
Your choice of nail shape dictates the final mood of the manicure. A squoval shape—a hybrid of square and oval—provides a wider, flatter canvas that makes the micro-line appear exceptionally crisp and structured. This is ideal for a professional setting or a minimalist wardrobe. Conversely, an almond or tapered coffin shape elongates the fingers and softens the sharp pink line, lending a more romantic, fluid aesthetic to the look. When working with longer shapes, the micro-line serves as a frame, highlighting the length of the nail without sacrificing the clean, “quiet luxury” feel of a neutral manicure.
Maintaining the Luminous Finish
Because this look relies on the clarity of the milky base and the sharpness of the pink arc, maintenance is centered on preventing discoloration and chipping. The translucent nature of the base can sometimes take on a yellowish tint if exposed to heavy staining or certain chemical cleaners. To prevent this, treat your nails as part of your skincare routine.
Apply a high-quality cuticle oil barrier daily. This does more than just hydrate the skin; it helps maintain the flexibility of the enhancement, preventing the micro-line from snapping off due to impact at the free edge. If you are wearing gel or builder gel, keep an eye on the proximal nail fold (the area near the cuticle). As the nail grows out, the gap between the cuticle and the milky base can become apparent. Using a slightly thicker, more opaque milky polish for touch-ups can help camouflage this growth.
To keep the pink line looking as sharp as the day it was applied, avoid aggressive cleaning with acetone-based products near the tips. A sudden loss of pigment or a blurred line immediately diminishes the intentionality of the design. By treating the manicure as a structural element of your grooming, you ensure the pink micro French remains a refined staple of your personal style.